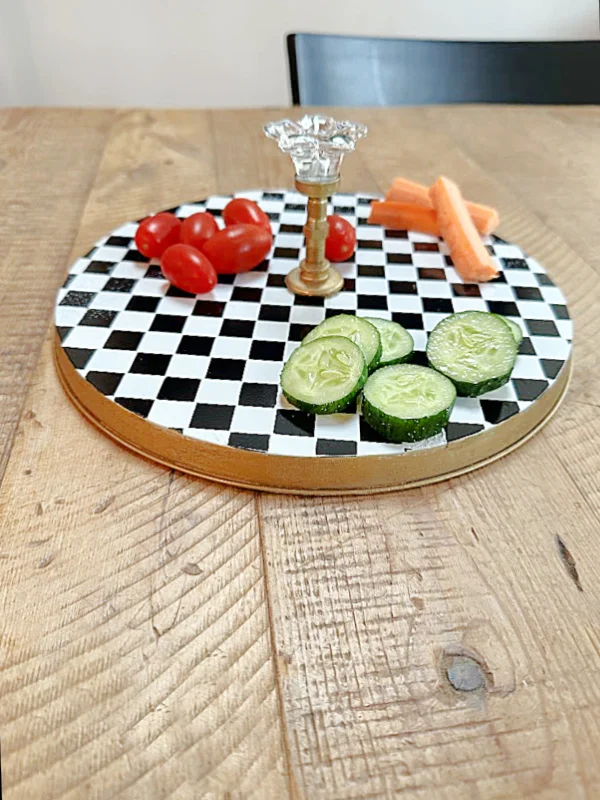
MacKenzie-Childs™ Inspired Cheese Tray
Good Morning! Today I'm working on a Mackenzie-Childs™ inspired cheese tray.
Back in the day I was a huge fan of MC, I think it was the black and white checks that drew me in.
These days I'm a little more neutral but still a fan of the graphic black and white designs so when I saw their Courtly cheese tray I knew it was something I wanted to try.
Take a look...
To begin this project I was trying to think of something that was a similar shape as the original cheese tray and I immediately thought of a burner cover from the dollar store. Specifically, I'm using the large burner cover from Dollar Tree, it had the same shape and rim as the inspiration piece.
As you're reading through this post please pay attention to the bold blue links that will take you to more information and the products I used for this project. Also the READ MORE sections will take you to related Homeroad projects.
I began by spray painting the cover black with a satin spray paint I had on hand. The black jars were from a previous project.
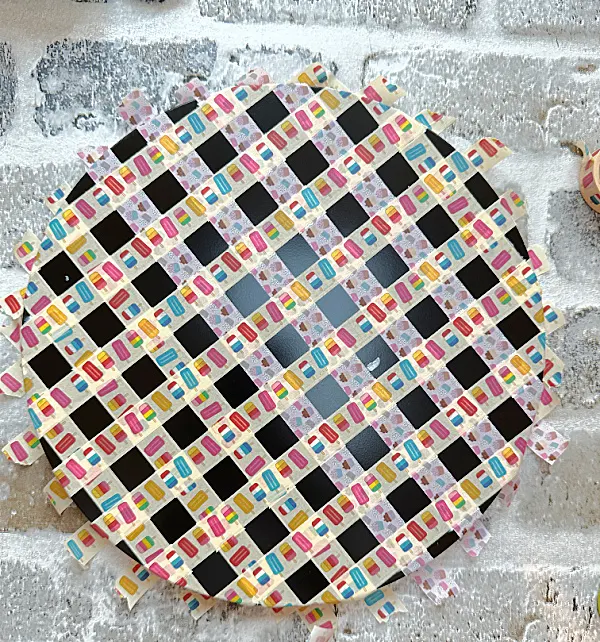
When the black paint was dry I used Washi tape to create a striped pattern across the tray. Washi tape is a very thin rice paper tape, it works well for projects like this because there is little or no bleed under it.
I began putting down the tape in the center of the tray. The width of the tape is up to you, wider tape will create larger checks.
I used a small piece of the tape to lay down between the stripes as I added them to create an even distance between them.
When I finished laying down the Washi tape in one direction, I did the same going in the opposite direction on the tray. Be sure all the tape is securely pressed down before the next step.
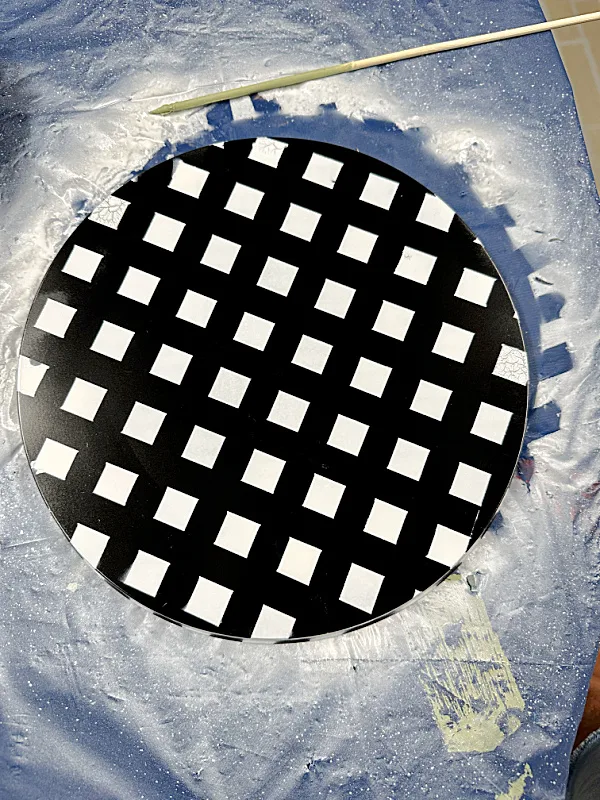
Once my entire tray was criss-crossed with tape I gave it a couple coats of white satin spray paint.
I gave the tray a quick shot with the heat gun to set any very wet spots then carefully removed the tape while the paint was still wet. Be sure not to heat the tray too much, this is just to dry any very wet spots, too much heat will bubble the paint.
I let the tray dry overnight before the next step.
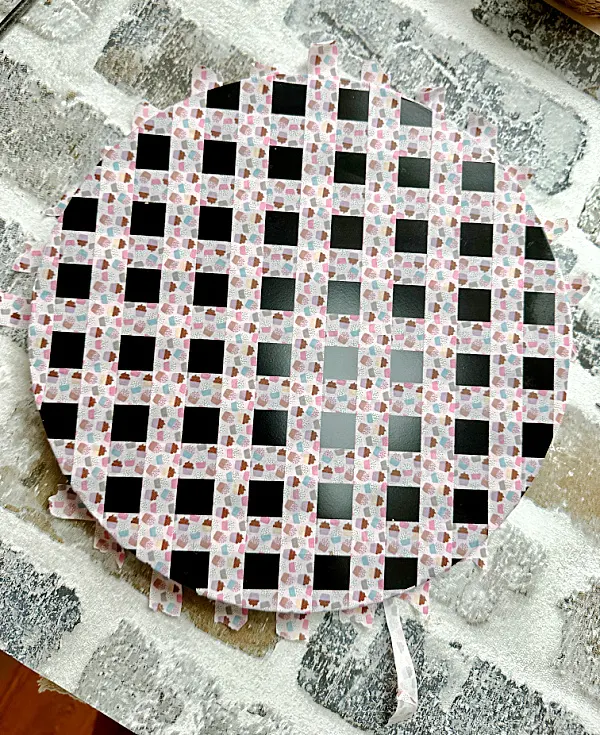
Next, I laid out the Washi tape once again only this time I laid it down on top of the white squares I just painted. I laid out the tape over the white squares in one direction and then the other. You will lay the tape down only over the white squares.
Once the tray was covered in both directions with tape, I spray painted another couple coats of white spray paint. Again, let dry any puddles with a heat gun or blow dryer and remove all the tape while still wet. You can see the pattern emerging!
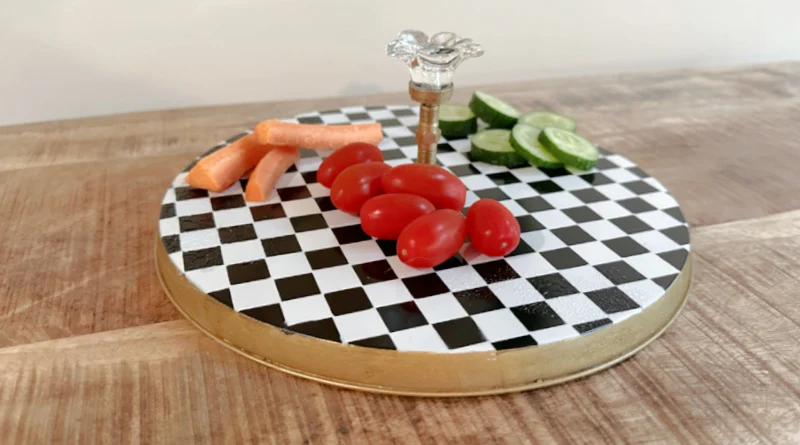
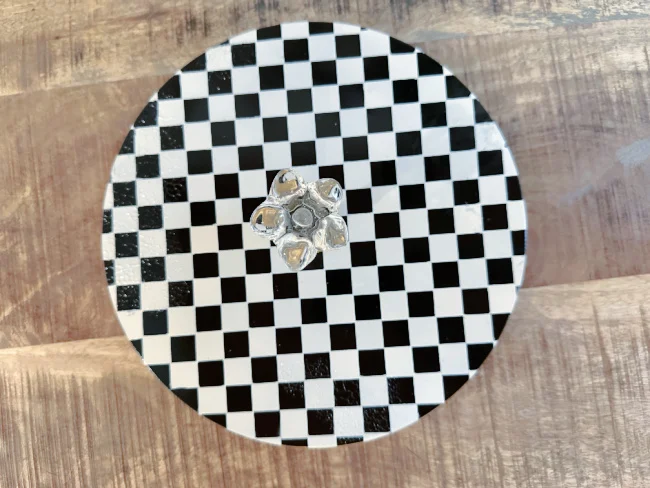
Now you have your checkerboard pattern! You can touch up any issues by spraying the spray paint you used into the cap and use a paintbrush to fix any spots.
The sides didn't come out exactly as I had hoped so I used gold leaf Rub and Buff around the edges of the tray.
The original inspiration piece had gold only on the rim but doing the whole side will cover any issues on the sides and it looks beautiful!
Let the tray dry for 24 hours before you attempt the spray sealer. Don't spray the tray too soon or you will get bubbling, and yes... I know from experience! Wait for the checkerboard to dry completely and then give the tray 2 coats of a food safe glossy spray sealer.
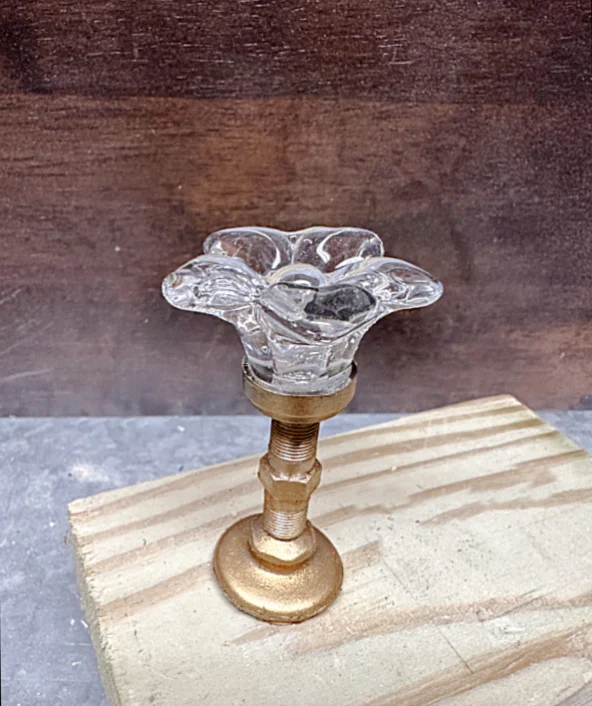
While the sealer dried I searched my workshop for pieces I could use to create the pedestal in the middle of the tray. I found a few random parts and a crystal cabinet knob.
I created a finial for the center that mimicked the original inspiration piece then gave it a coat of Rub and Buff gold leaf to match the sides of the tray.
And that's it! I glued the finial to the center of the tray with E6000 and held it down with a piece of wood to dry overnight. The handle is decorative and not meant to hold heavy weight. If you'd like you can drill a hole in the center of the tray and attach your finial with a screw.
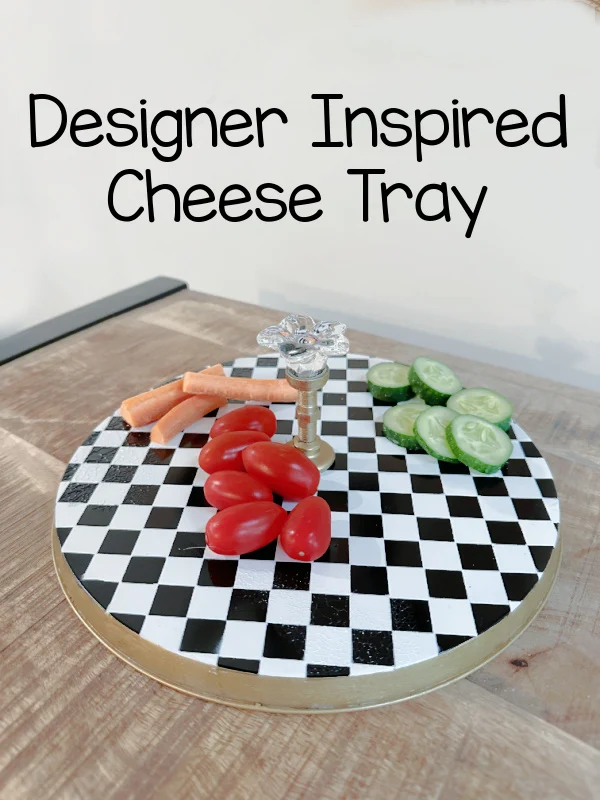
The next morning I had the perfect dupe tray for entertaining.
There are a few imperfections due to my impatience but I will embrace them.
If you're a MacKenzie-Childs™ fan and you enjoy a new challenge, you're going to want to give this fun project a try!
Please pin for later --->>
Thanks so much for visiting and before you go please sign up for the Homeroad emails so my next DIY tutorial will be sent straight to you!

