Decoupaged Valentine's Day XOXO
Today I'm trying a new product!
Just in time for Valentine's Day, I had a couple of wooden X's and O's to experiment with.
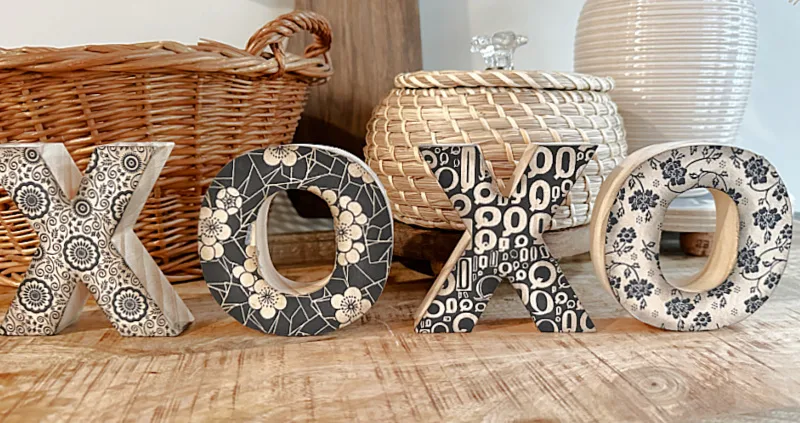
This kind of Valentine decoration is right up my alley with it's antiqued edges and black and white neutral vibe!
Take a look...
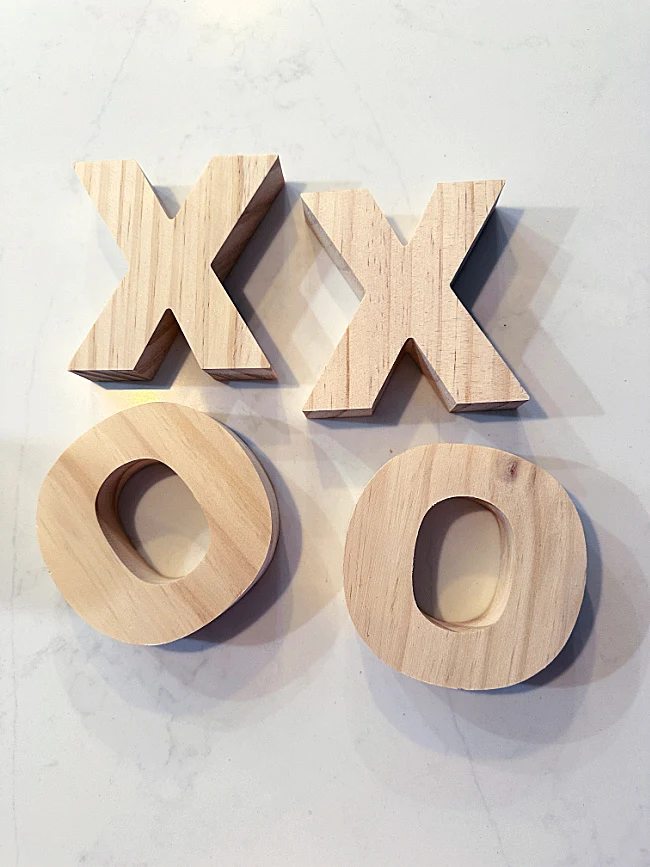
I began with two wooden X's and two O's that came from Target last year but this project will work for wooden hearts or any other shape you want to decoupage.
As you're reading through this post please pay attention to the bold blue links that will take you to more information and the products I used for this project. Also the READ MORE sections will take you to related Homeroad projects.
Recently, I found this very interesting decoupage tissue online but I have decided not to use or promote this company any longer. I suggest you use a decorative napkin for this project.
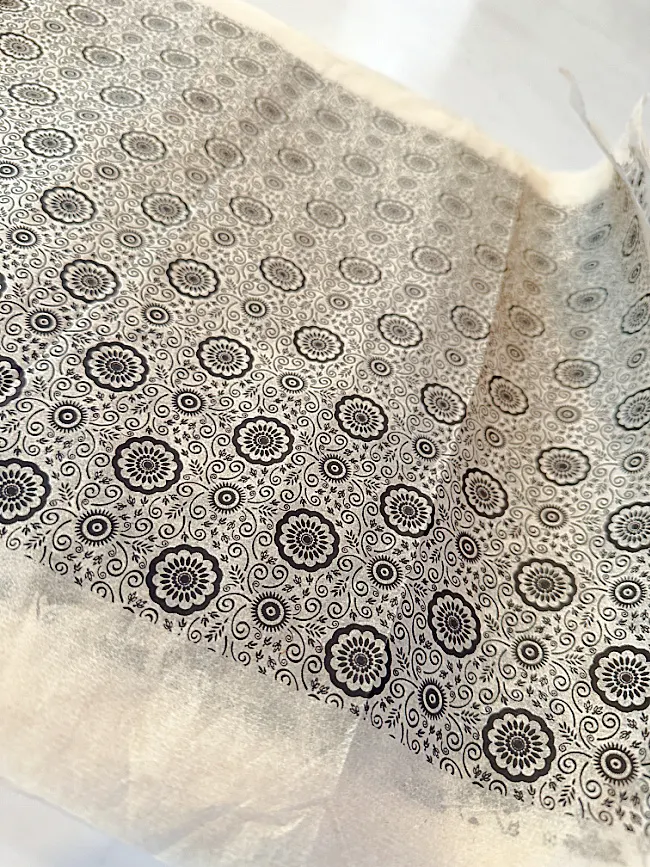
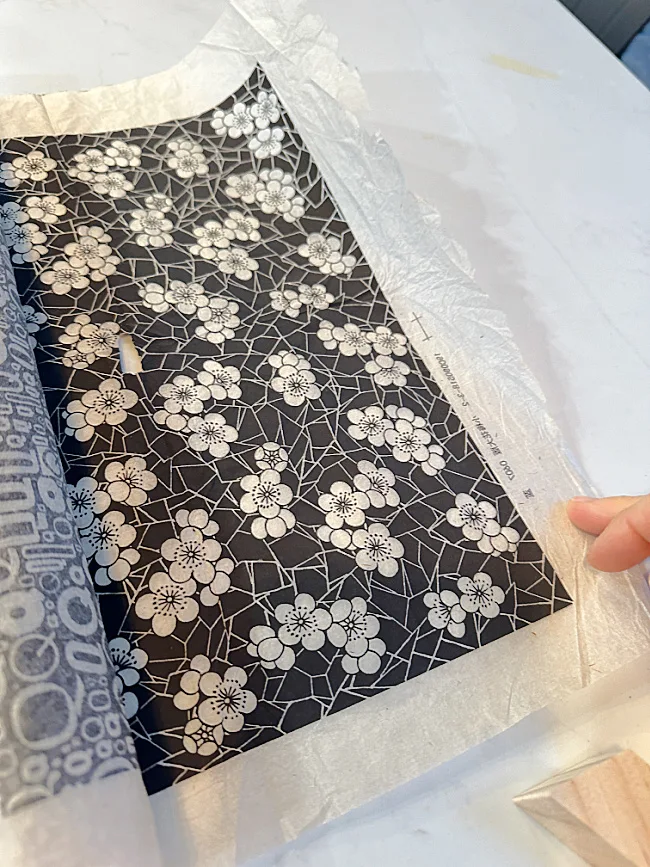
When my order came I was a little surprised that the paper was very much like tissue paper but had a little bit thicker feel. It was also a gorgeous antiqued color.
I'm giving this decoupage paper a try today using plain old school glue and an iron.
The first thing I did was to paint the white school glue all over the top of the X's and O's.
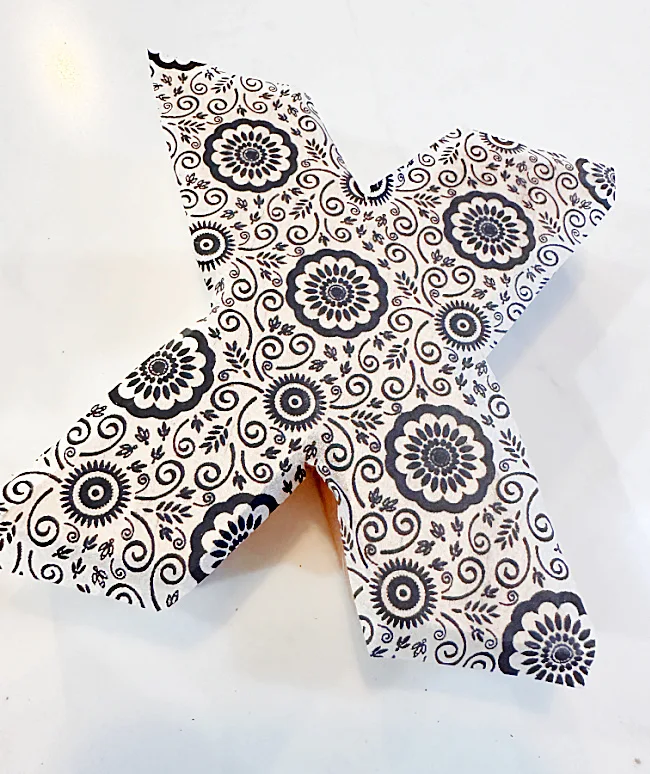
I let the glue dry then laid a small piece of the decorative tissue paper over the top of the dry glue.
I put a piece of parchment paper over the decorative paper and ironed using my small craft iron.
The decorative paper adhered to the dry glue in minutes.
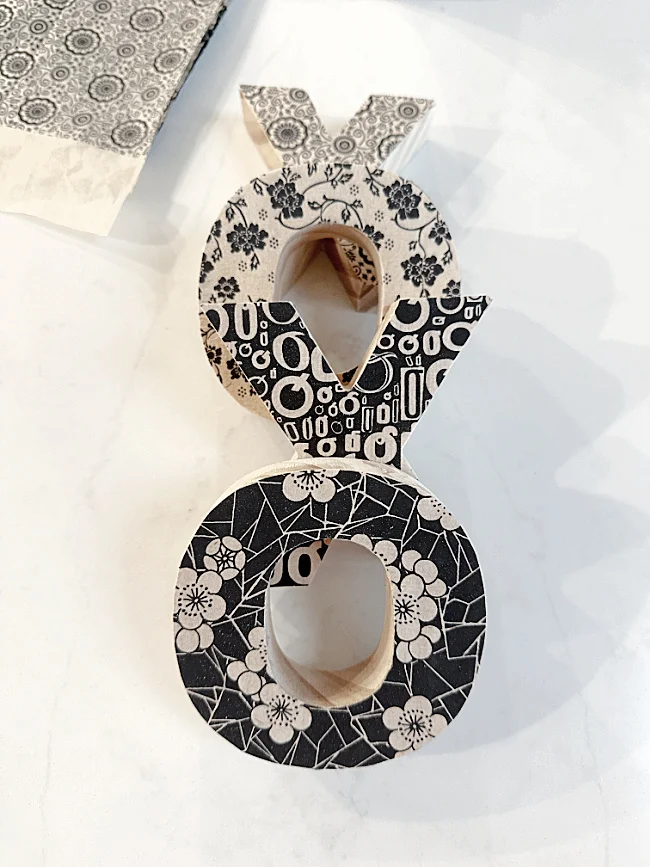
I trimmed the decorative paper closer to the wooden shape then using a craft sander, sanded the edges of the letter to trim off the rest of the paper.
The paper is attached to the wooden letter perfectly!
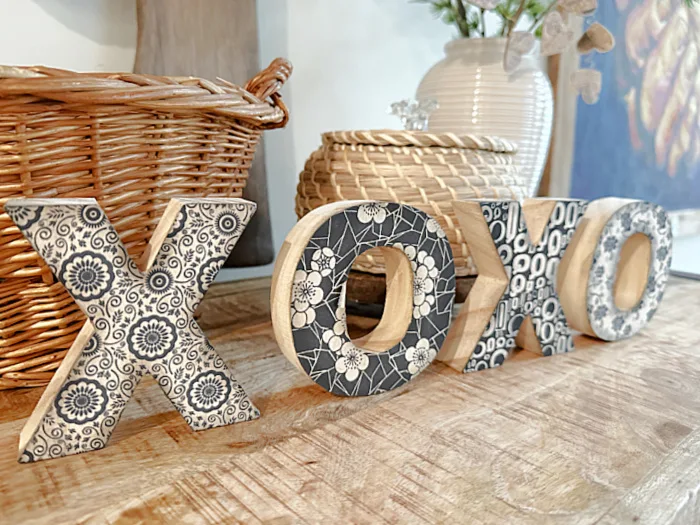
I did the same thing to the rest of the letters using a different decorative tissue paper on each letter.
Please pin for later --->>
Once I was finished I used an ink pad and a soft brush to give the edges of the letters an antiqued look.
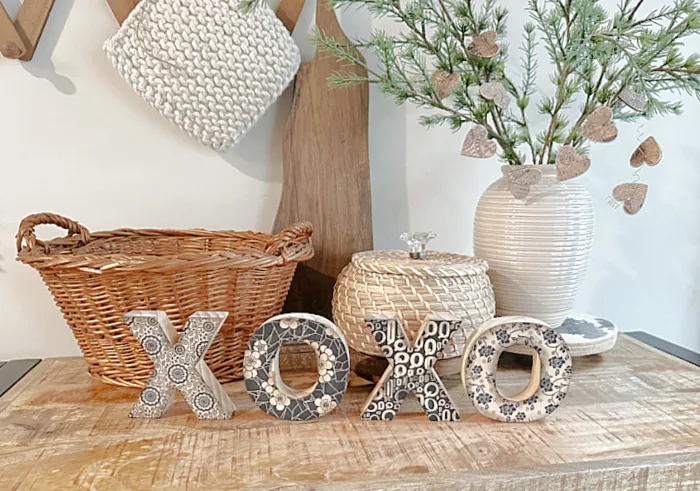
And I just love the look of these letters now!
READ MORE: DECOUPAGE TECHNIQUES
I apologize for any confusion about this paper but after seeing that this online based company stole copyrighted printables I'm out.
READ MORE: VALENTINE'S DAY PROJECTS
The little heart garland in the plant in this photo is coming soon!
I hope you enjoyed this project and you'll sign up for the Homeroad emails so my next DIY tutorial will go straight to you next time!

