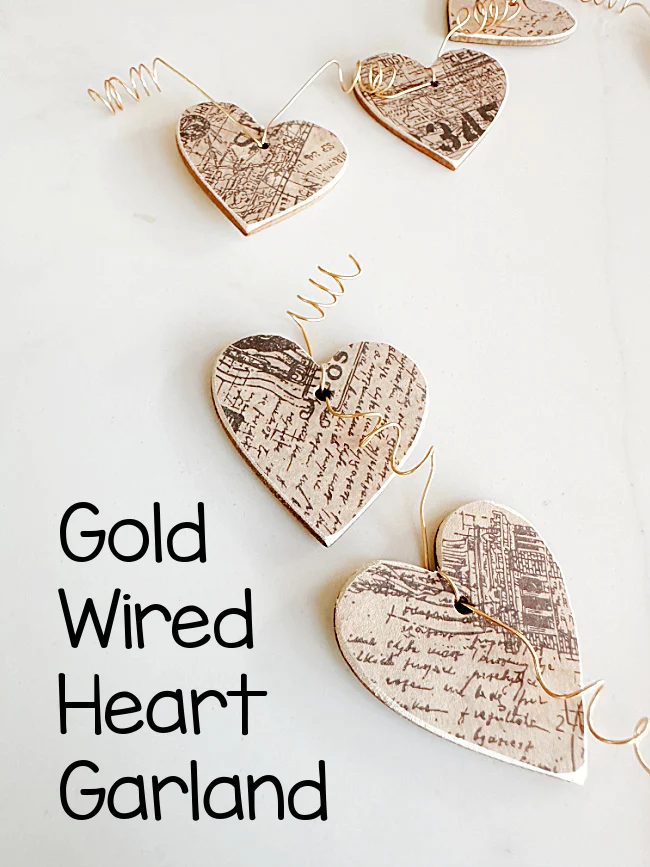
Wired Decoupaged Heart Garland
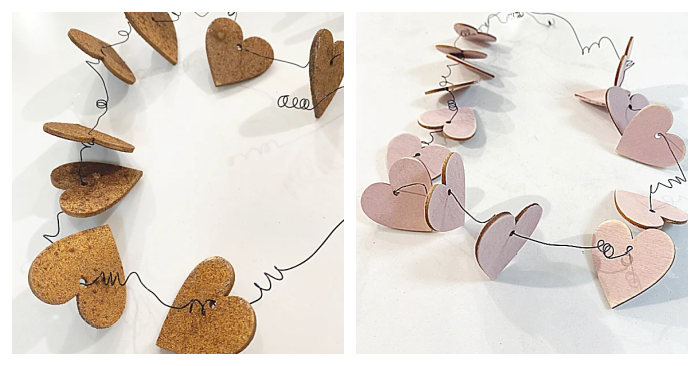
If you've been around a while you may remember the small heart wired garland I made last year.
This year I'm creating a similar garland only I'm giving a new decoupage technique a try.
This cute little wired garland can be wrapped around pegs, baskets or gifts.
Take a look...
The decoupage technique I've seen all over Pinterest involves using plastic wrap to adhere your decorative paper to a surface.
As you're reading through this post please pay attention to the bold blue links that will take you to more information and the products I used for this project. Also the READ MORE sections will take you to related Homeroad projects.
I'll admit I had my doubts about this one and melting plastic probably isn't the safest technique for your health but I'm going to do a quick project to give it a try.
I began with plastic wrap from Costco and small 2" wooden hearts.
I cut a small piece of plastic wrap and laid it onto my surface. In this case I put 5 wooden hearts close together with the plastic wrap over the top of them.
Next, I found a piece of copy paper weight decorative paper and laid that on top of the plastic wrap and hearts.
Lastly, I laid a piece of parchment paper on top of that and used my small craft iron to iron the surface.
I will admit, this didn't work as quickly as I had hoped. Maybe my decorative paper was too thick? Maybe a napkin would work better? Maybe I am using the wrong kind of plastic wrap? I am not sure but I didn't give up.
I held the iron down on the surface for a few minutes.
Finally I removed the parchment paper and ironed directly on the decorative paper. This seemed to work much better. Just be sure not to get melted plastic wrap on your iron.
I did this two times to make 10 hearts.
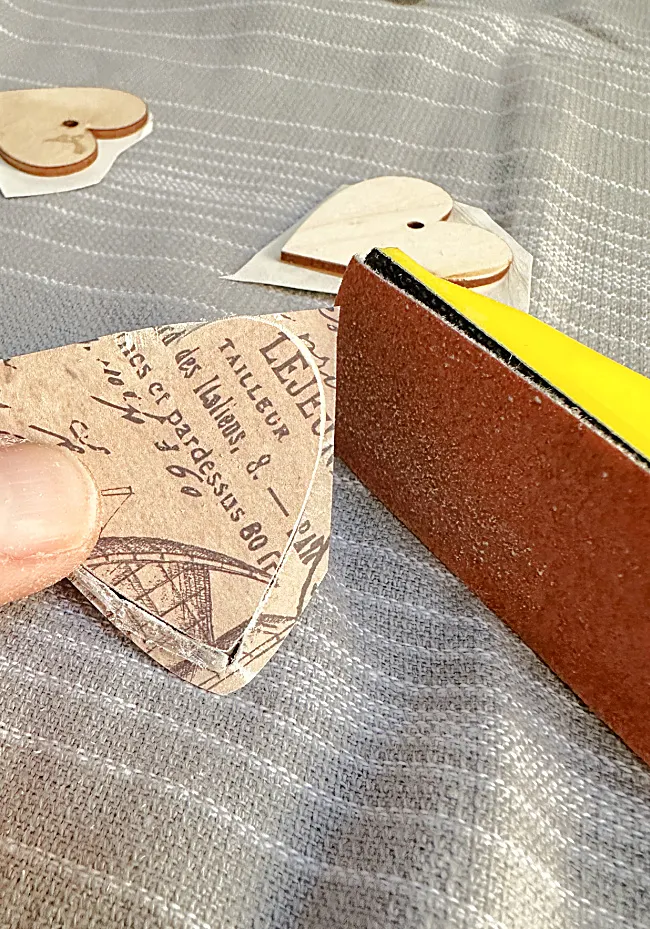
I cut the wooden hearts adhered to the paper into smaller pieces and used a small craft sander to sand off the edges of the decorative paper. The hearts are on the back.
Once all the hearts were decorated I used a pencil to punch through the original hole in the wooden hearts.
This technique did work, I am just not sure why it took a long time to get the paper to adhere. It also didn't smell like burning plastic.
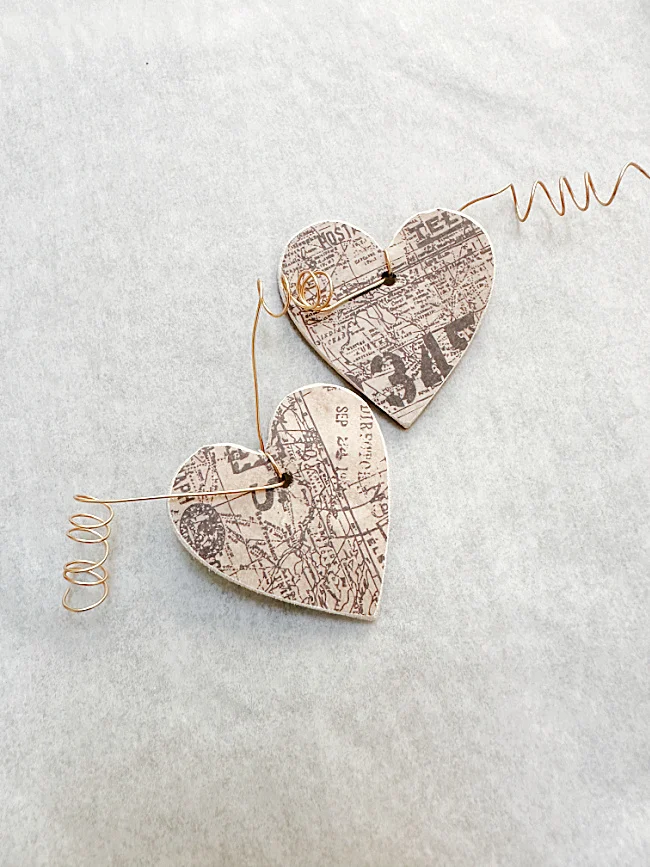
Next, I used thin gold wire that I purchased at Michaels a while back to string the hearts.
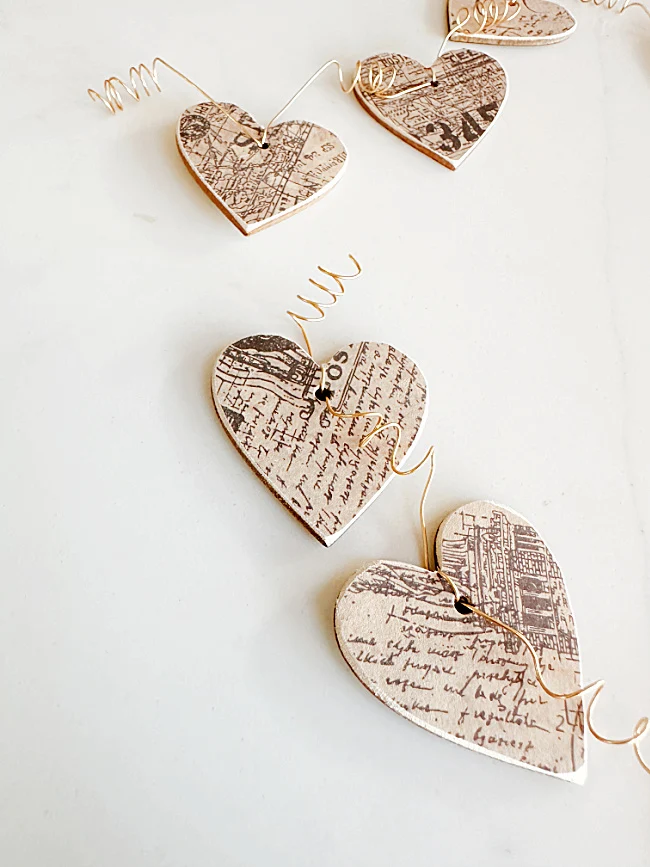
I started out by wrapping the wire around a paint brush a few times then stringing on a heart. I went through the hole in the heart 2 times with the wire so it held in place.
Between each heart I made a coil of wire.
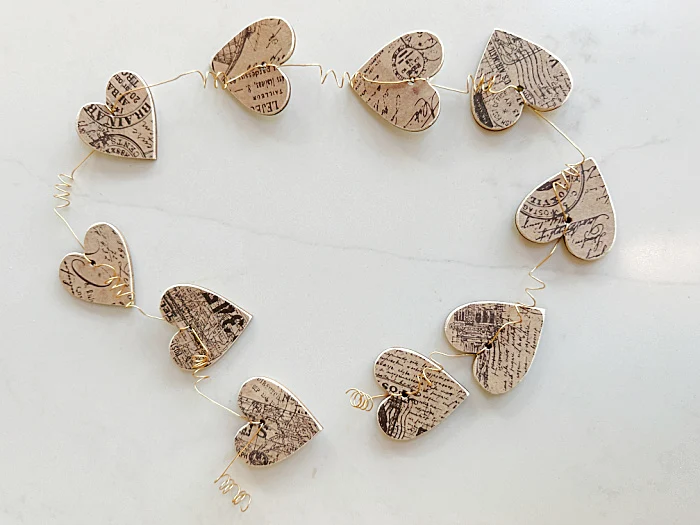
That's it!
This adorable little garland looks perfect hanging on the peg rack in my kitchen.
Wrap it around gifts, hang it around a basket, or on a peg rack. You could even make more and wrap them to make a wreath!
Please pin for later ---->>
READ MORE: VALENTINE'S DAY PROJECTS
It even looks adorable in a plant!
I hope you like this cute little garland for Valentine's Day. Don't forget to take a look at the one I made last year that looks like cinnamon hearts.
Thanks so much for visiting and before you go please take a minute to sign up for the Homeroad emails so my next DIY tutorial will be mailed out straight to you!


