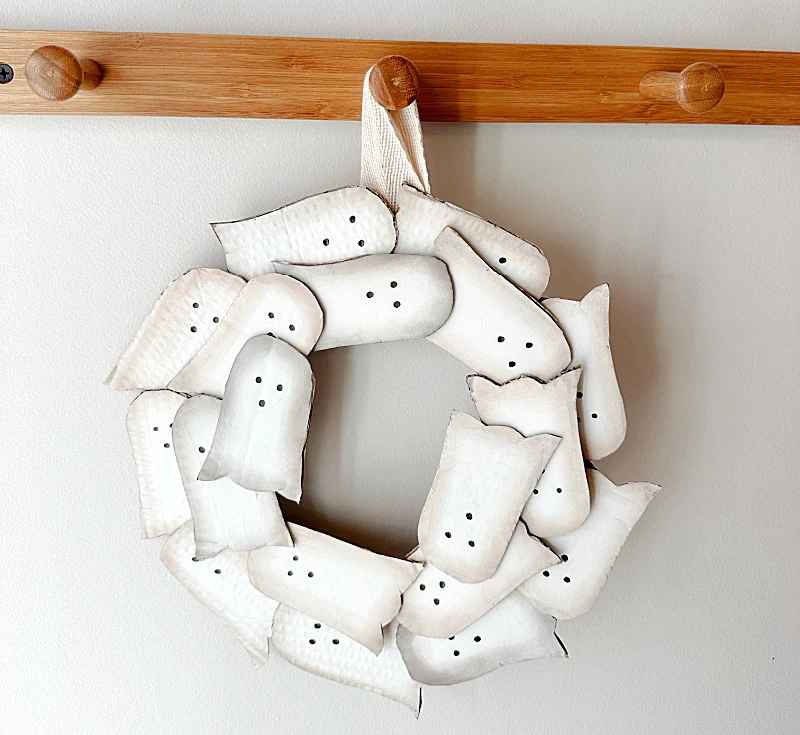
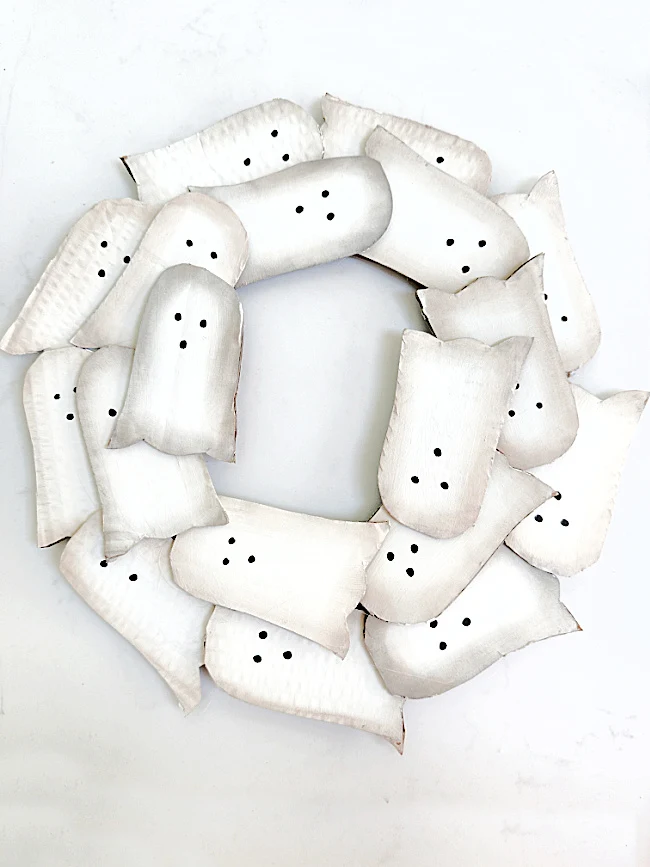
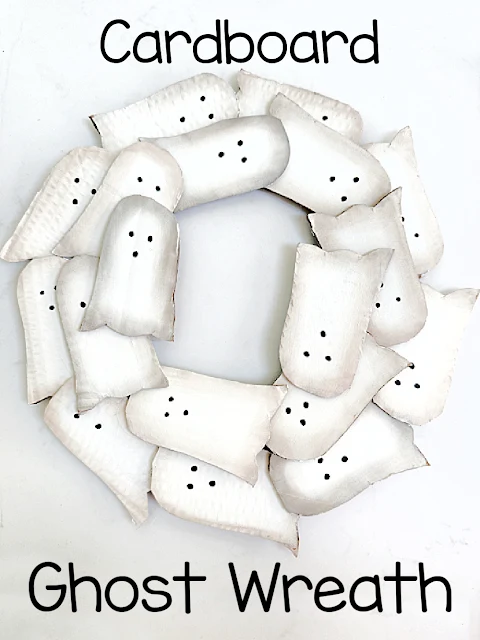
Cardboard Flying Ghost Wreath
If you're looking for a cute Halloween project that is made with things you have around the house then this is it! It's a project the kids will love to help with too!
Recently while out shopping I saw this adorable metal flying ghost wreath and thought right away that it was something I could make in no time.
I had to figure out what I could use and teach you to use that was readily available.
So I figured it out and it came out very cute!
There's still time and you whip this up in no time!
Take a look...
Cardboard! Everyone has cardboard and if you order from Amazon even half as much as I do then you definitely have plenty of cardboard. I wanted to use it to create a wreath like my inspiration wreath:
As you're reading through this post please pay attention to the bold blue links that will take you to more information and the products I used for this project. Also the READ MORE sections will take you to related Homeroad projects.
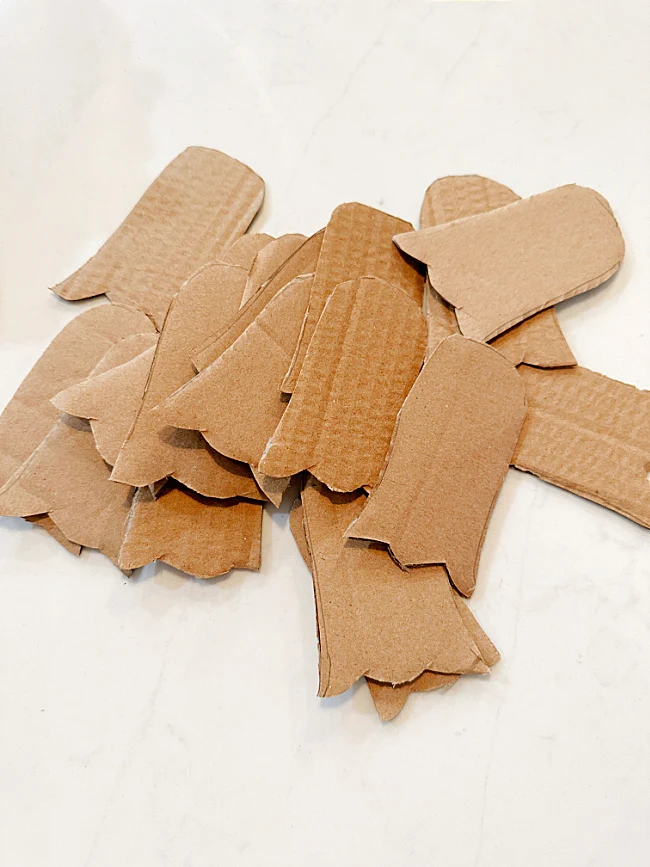
I drew a small ghost shape and cut out a whole bunch of little ghosts while watching TV one night.
I actually cut out about 20 little cardboard ghosts.
Once I had all the ghosts I needed to think about what I could put them on to create a wreath.
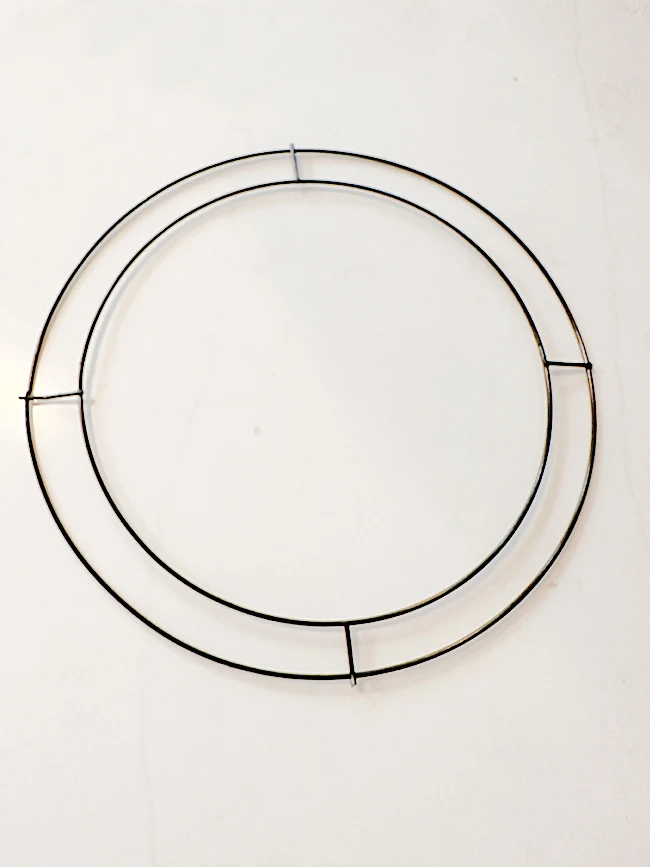
I used part of a wire wreath form from Dollar Tree. I cut off the 2 outside circles so I had a smaller wreath frame to work with.
If you don't have a wreath frame then use more cardboard! Cut yourself out a small circle of cardboard with a hole in the center for your wreath base.
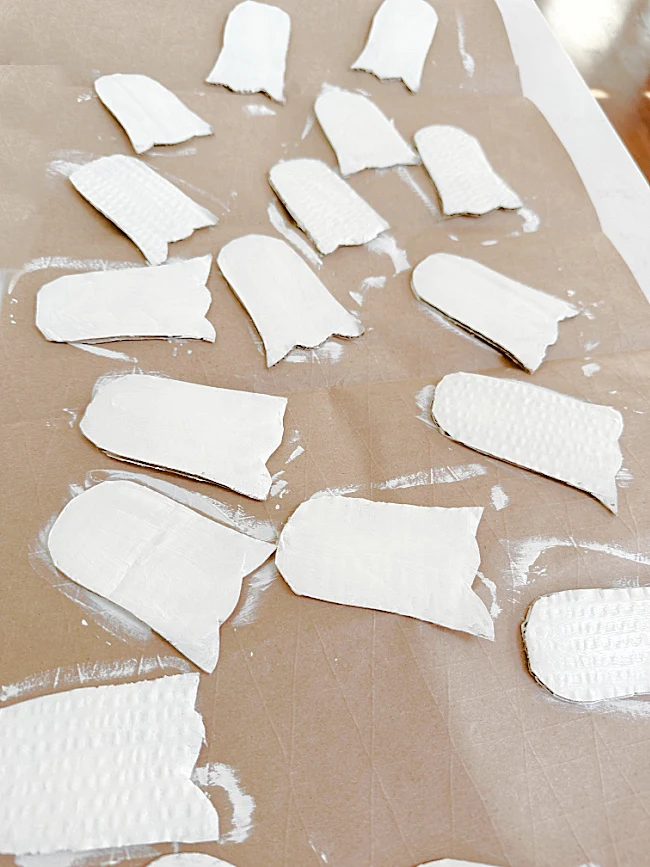
Next, I used Waverly Chalk Paint in the color Plaster to paint 2 coats on the cardboard ghosts. I only painted one side but you could certainly do both sides.
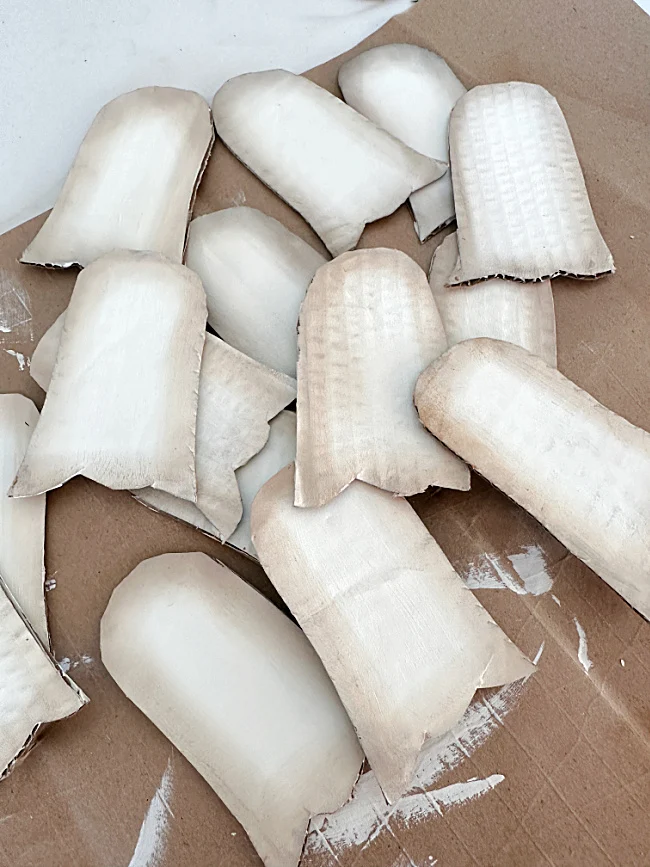
Once the ghosts were dry I used a Distress Ink stamp pad and a soft brush to rub color around the outer edge of each ghost.
The Distress Ink will give the ghosts shading and definition.
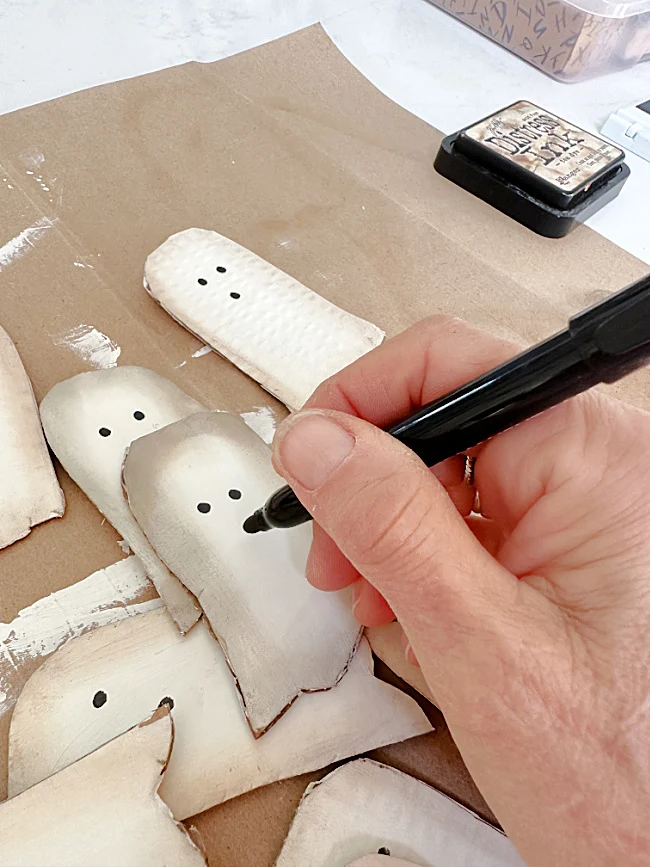
Lastly, I gave each ghost a little face with a Sharpie Marker.
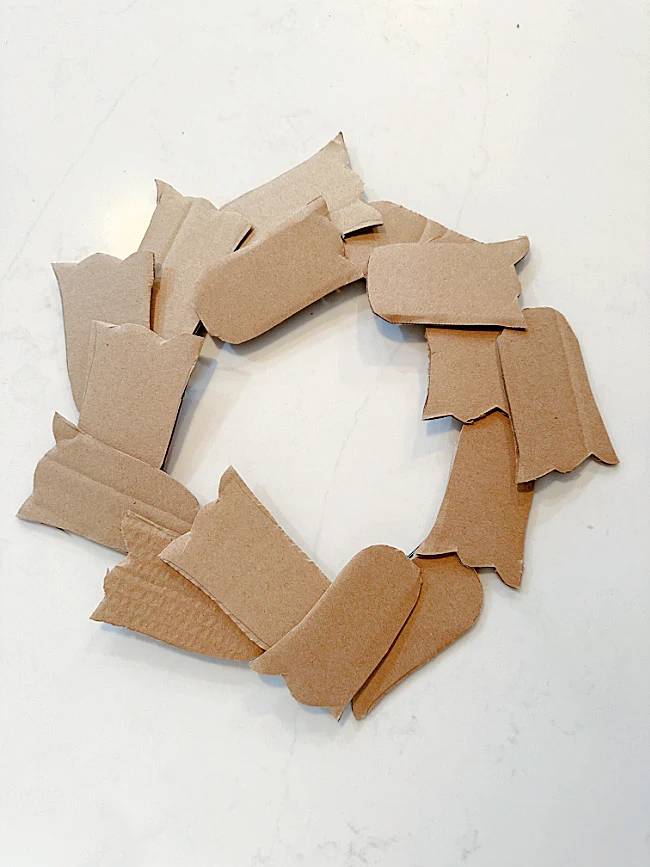
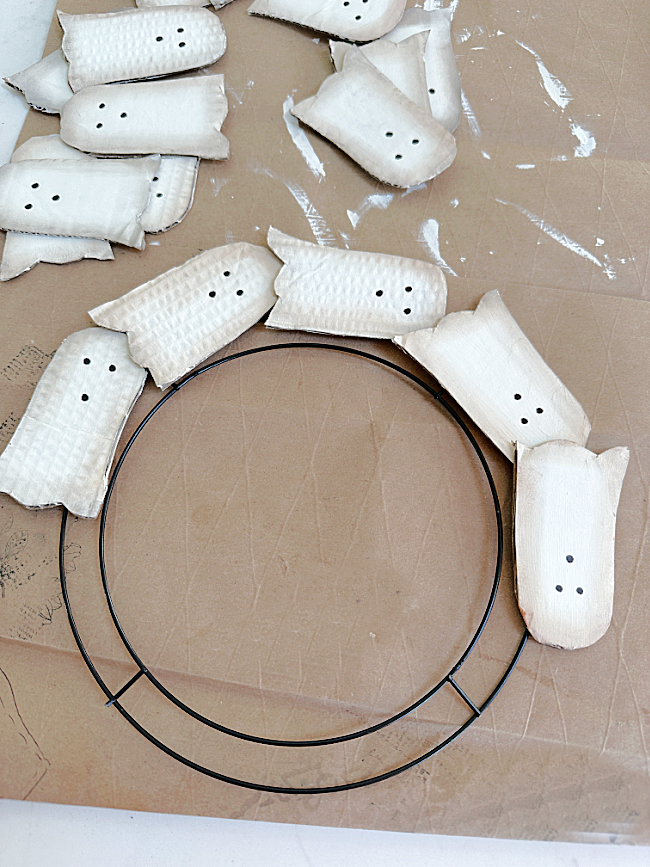
I began hot gluing the little ghosts around the outside of the wreath form first, overlapping each one slightly and all going in the same direction.
When I went all the way around I began gluing on the inside circle of ghosts. After that I overlapped the few remaining ghosts.
I wanted to cover the back of the wreath to hide the hot glue so I traced a bowl to make a circle on a paper bag then cut a hole in the center of the circle.
I glued the circle to the back of the wreath to cover all the imperfections.
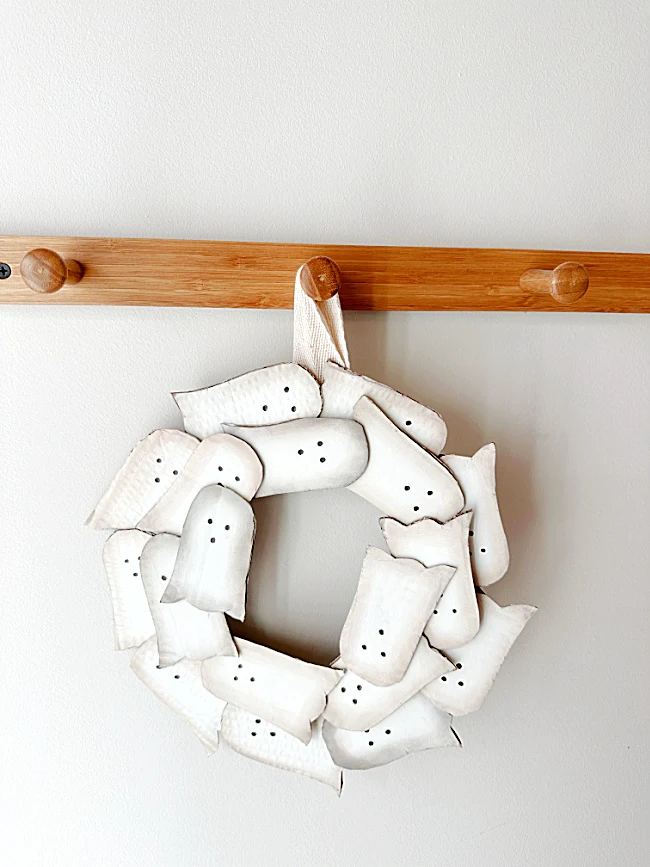
Then to finish off the wreath I glued a piece of cotton ribbon to the top of the wreath.
Please pin for later --->>
Once it was cardboard from Amazon and now it is an adorable little flying ghost wreath.
This was a fun project and cost just about nothing to make.
It would be a great project to make with the grandchildren too!
Thanks so much for visiting and before you go please take a minute to sign up for the Homeroad emails so my next DIY tutorial will go out straight to you!

