Hand Stitched Primitive Ghosts
Today's project was very easy and doesn't require any special machines. It is made just like they may have been made 100 years ago.
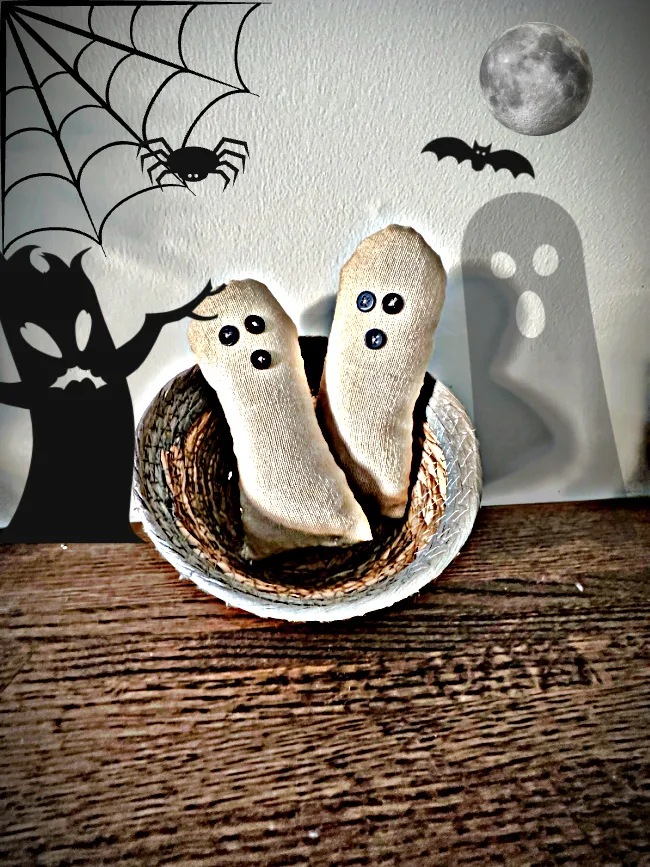
I'm making primitive, coffee stained ghosts out of recycled fabric and they couldn't be cuter!
I'll show you how to coffee or tea stain and make your stuffed ghosts look like they came right out of the 1800's!
Take a look...
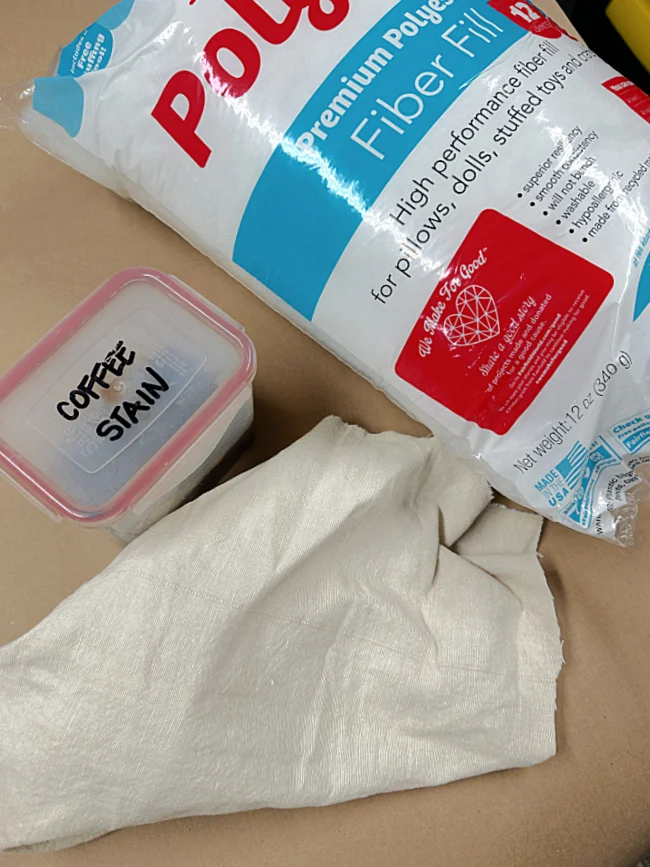
The first thing I did was to find some fabric. I am using an old Ikea curtain once again, I've used it on about 100 projects!
As you're reading through this post please pay attention to the bold blue links that will take you to more information and the products I used for this project. Also the READ MORE sections will take you to related Homeroad projects.
My curtain is old and faded already but I'm going to give it a more vintage look by giving it a coffee bath.
To make the coffee bath I combined a cup of coffee that I left on my Keurig and forgot about with about 2 teaspoons of instant coffee. To this you may need to add a little water. Just a warning, if you don't like the smell of coffee you may want to use tea bags instead.
All you do is to drop the fabric into the coffee bath and squeeze it out. You don't need to leave it in for very long but it may depend on the fabric you use.
Next, I hung the fabric to dry overnight. That cool tobacco drying rack came from the Country Living Fair several years ago, it's one of my favorite finds and I actually use it for my laundry every day!
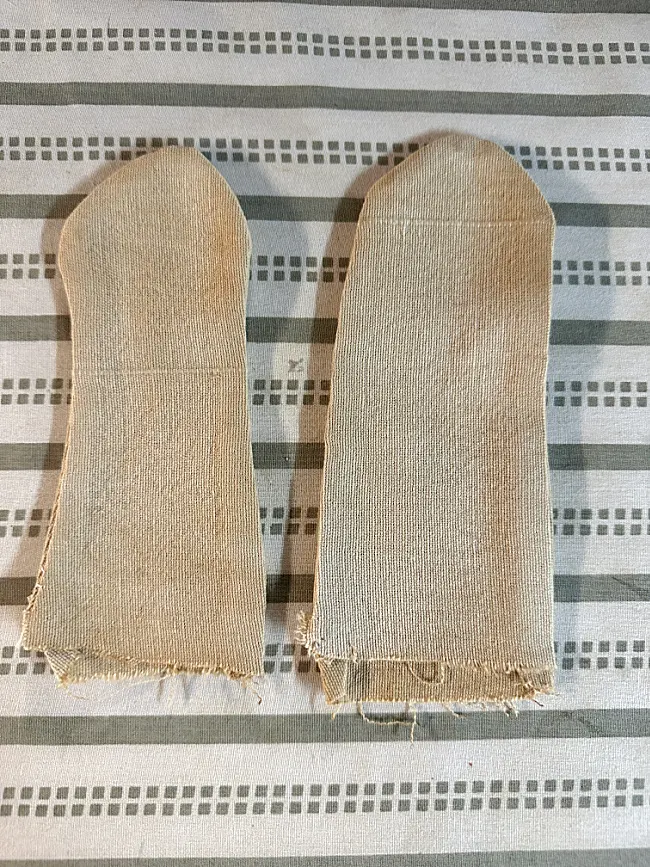
The next day I cut out ghost shapes. Each one you make should be a little different.
I hand stitched with tiny stitches around the edges of the ghost shape leaving the bottom open.
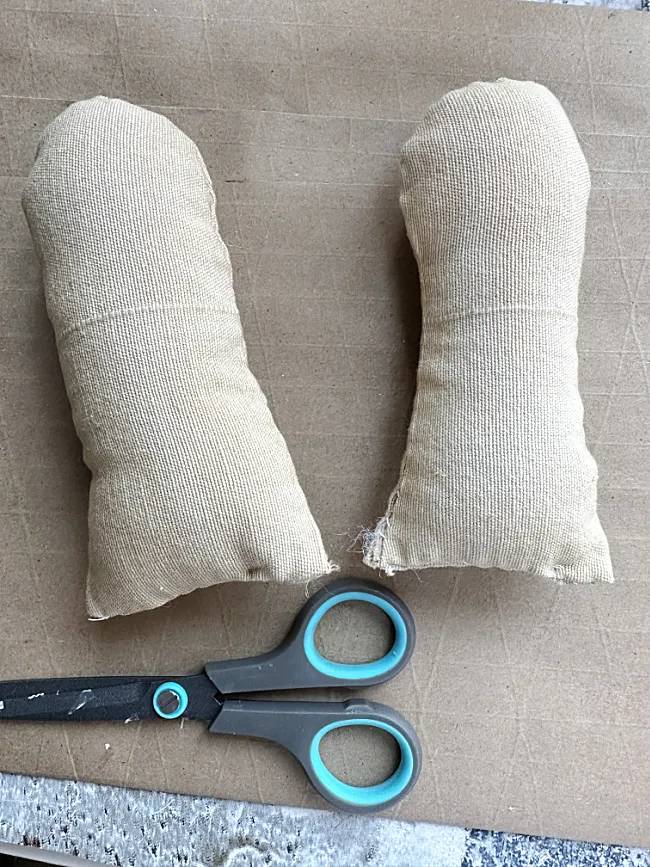
Next, I turned the ghosts right side in and ironed them.
I used Polyfil to stuff my ghosts, you can also use the stuffing from an old pillow or I could probably use all the stuffing my puppy pulls out of the toys I keep buying him. LOL
Anyway, stuff the ghosts with whatever makes you happy and then close off the bottom of the ghost with more hand stitching but try to do invisible stitches that don't show.
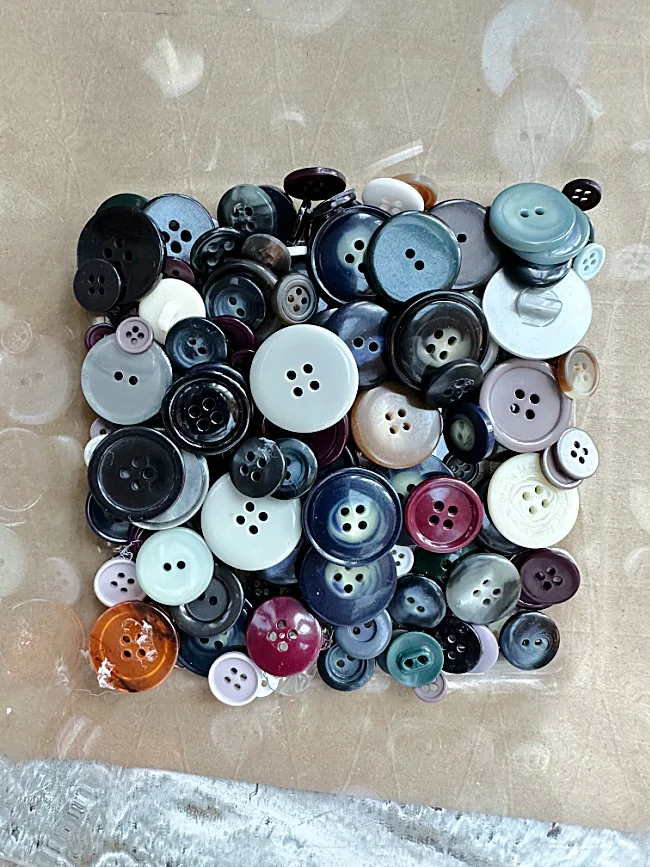
I dug into my button collection for the eyes and mouth of the ghost. I sewed on the buttons after the ghosts were stuffed but you can do it before if it is easier.
I used white thread to sew on my buttons but used a tan marker to stain the thread in the eyes and mouth so it wouldn't stand out.
And that's about it...
They are so cute I think I'll need to make about 6 more and fill a big bowl.
Please pin for later ---->>
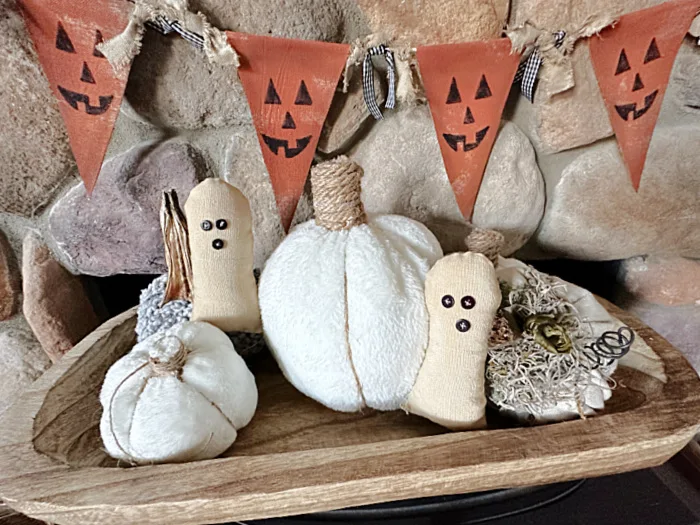
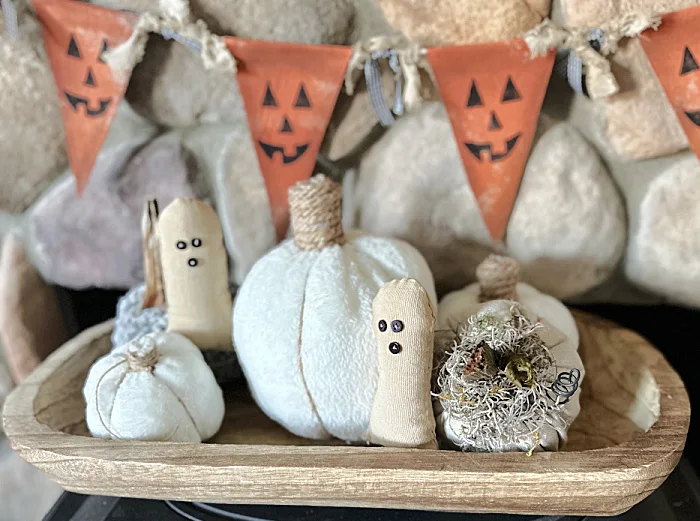
You can fill a big bowl or just make a couple and add them to your centerpiece.
I made all these pumpkins this year too, you can find them by visiting these posts.
The vintage looking jack-o-lantern banner is also another Homeroad project and I think it is my favorite this year!
Another idea is to add a little BOO to your little friends!
Thank you so much for visiting and before you go please take a minute to sign up for the Homeroad emails so my next DIY tutorial will go out straight to you!


