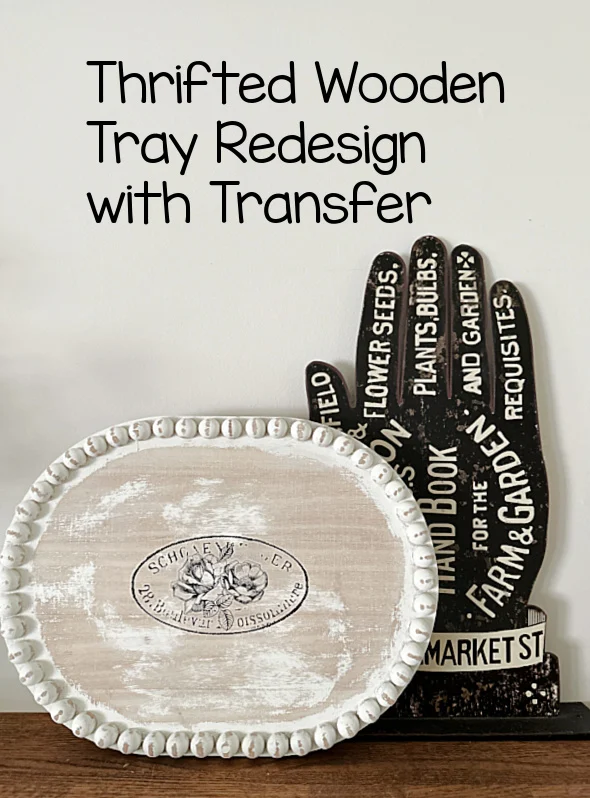
Beaded Thrift Store Tray with Transfer Design
Don't you just love it when you find just what you were hoping to find at the thrift store?
You definitely have to be willing to do the work sometimes to get it just the way you want it.
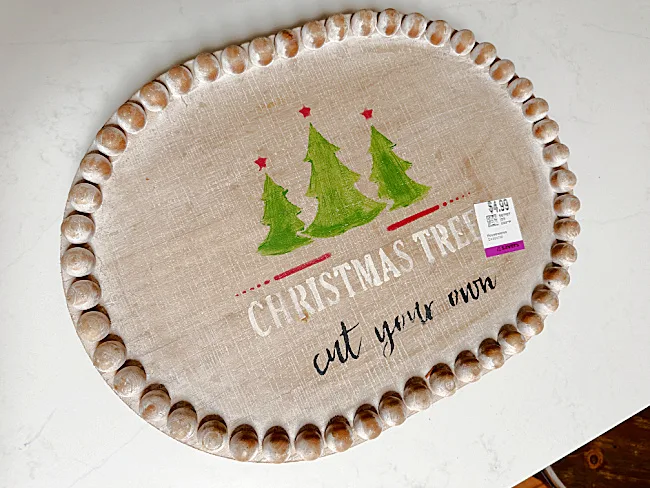
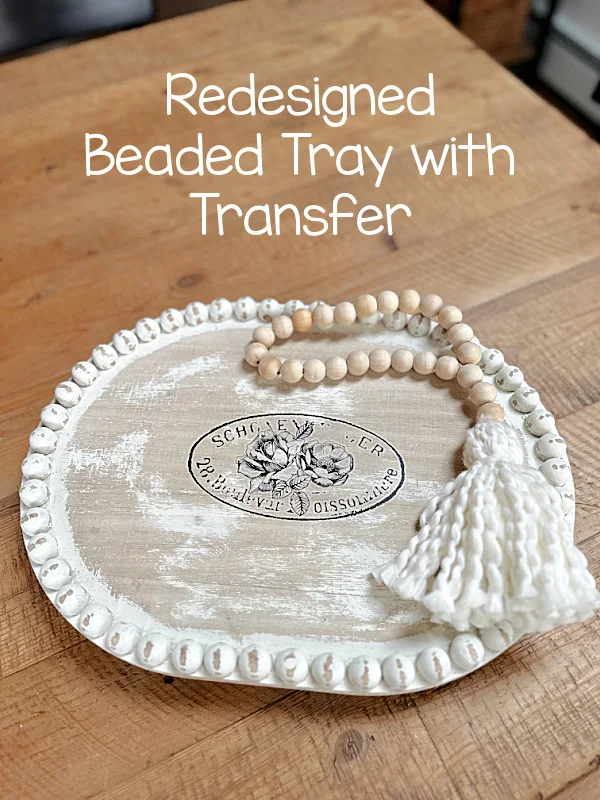
Today I'm recreating a beaded wooden tray I found with a not so good Christmas stencil on it.
Take a look...
The tray was perfect, the faded wood, the beads, the size, everything but the stencil in the center. The price was right too and was 30% off!
As you're reading through this post please pay attention to the bold blue links that will take you to more information and the products I used for this project. Also the READ MORE sections will take you to related Homeroad projects.
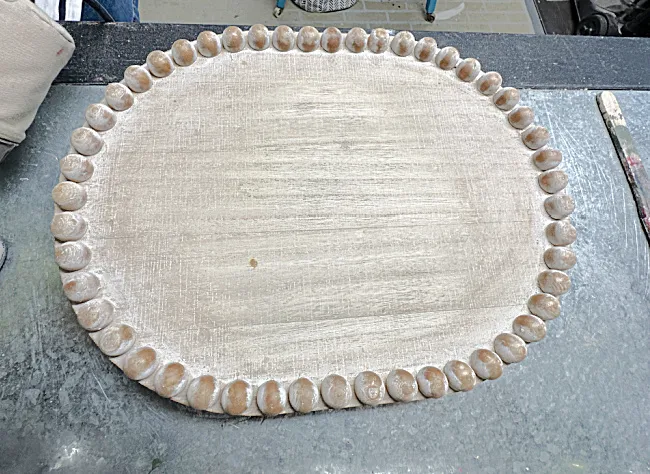
Luckily, I knew just how to fix it with a quick sanding using my electric sander. The stencil came right off.
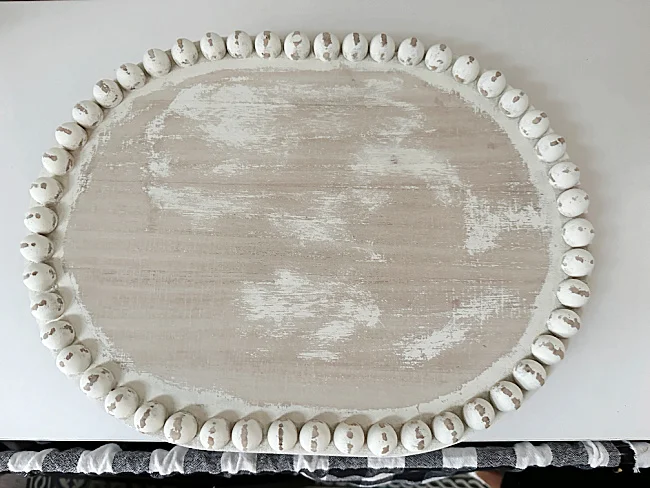
Next, I decided the tray would look good with a coat of white but sanded almost all the way off. I painted the tray with Waverly paint in Parchment.
When the paint was dry I sanded the center and edges of the tray with the electric sander. I went back over the tray with a piece of sand paper to distress the beaded edge as well. Be sure to wipe off any dust that remains on the tray from the sanding.
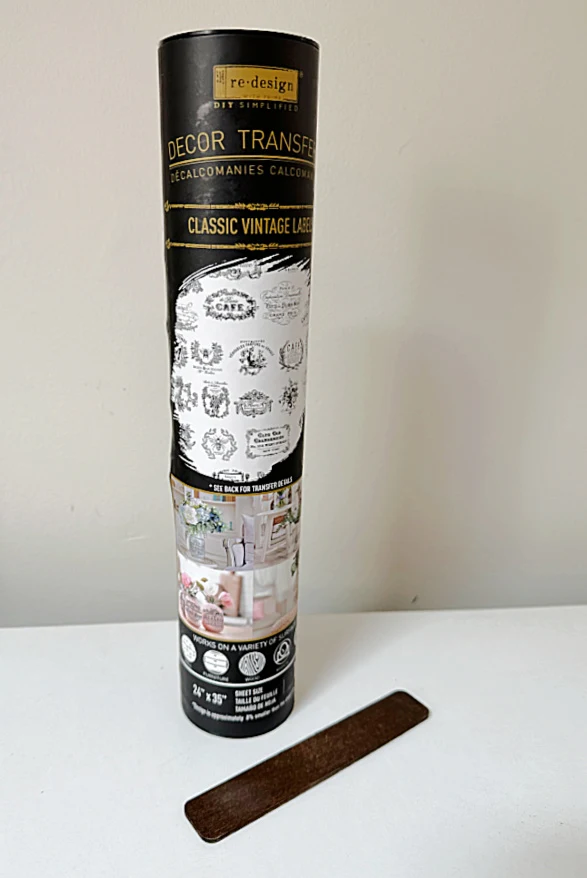
Next, I used a rub on stencil from redesign by Prima. I received the Classic Vintage Label collection from Piglet's Closet and I just love these transfers, not to mention there are about 30 transfers in this tube to work with.
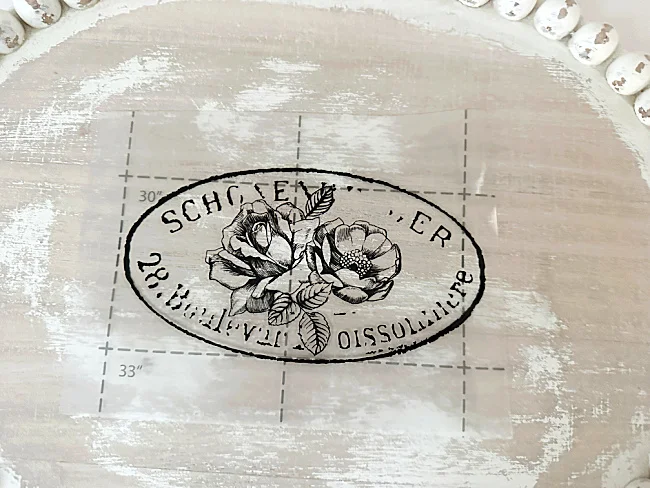
I chose one that went with the shape of my tray and centered it using the grid lines on the transfer paper.
Using the wooden stick that comes with the transfers, I rubbed the image until it became lighter and I knew it was adhering to the wood.
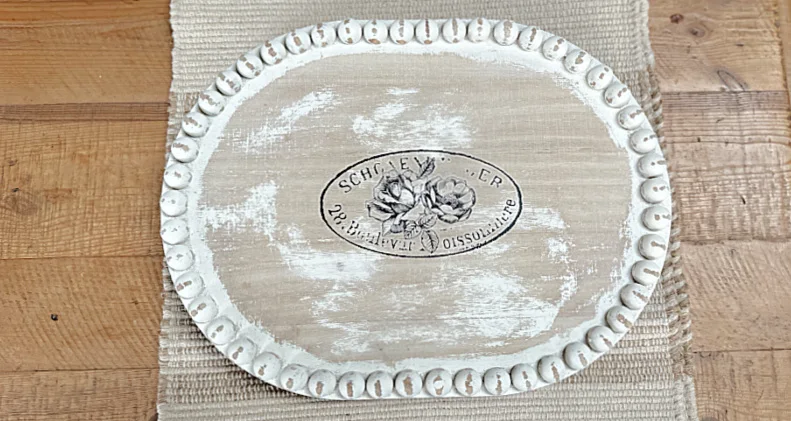
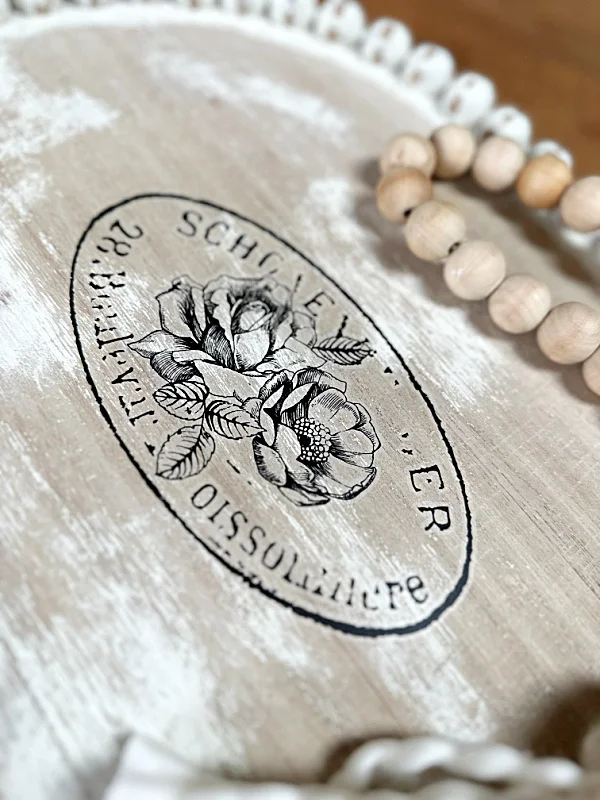
Next, I peeled off the transfer paper and my design looked amazing!
I sealed the image with a matte spray sealer to protect it from wear.
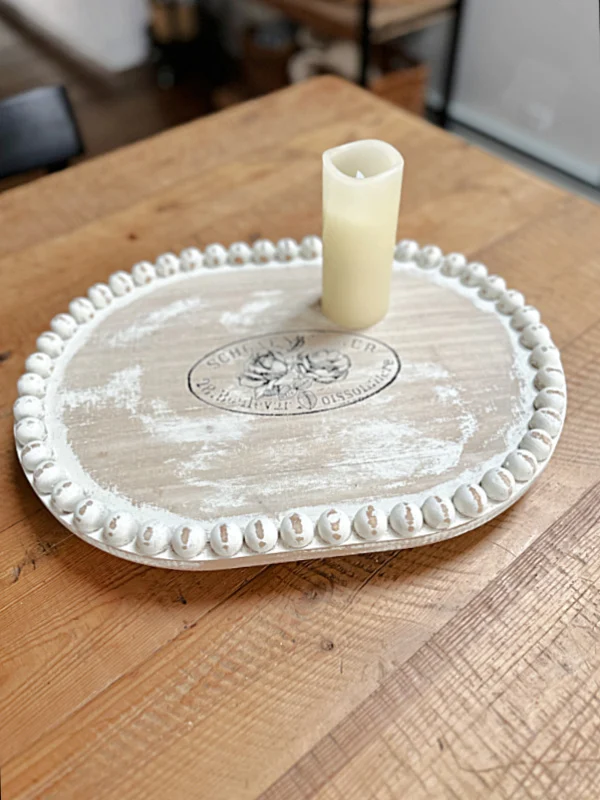
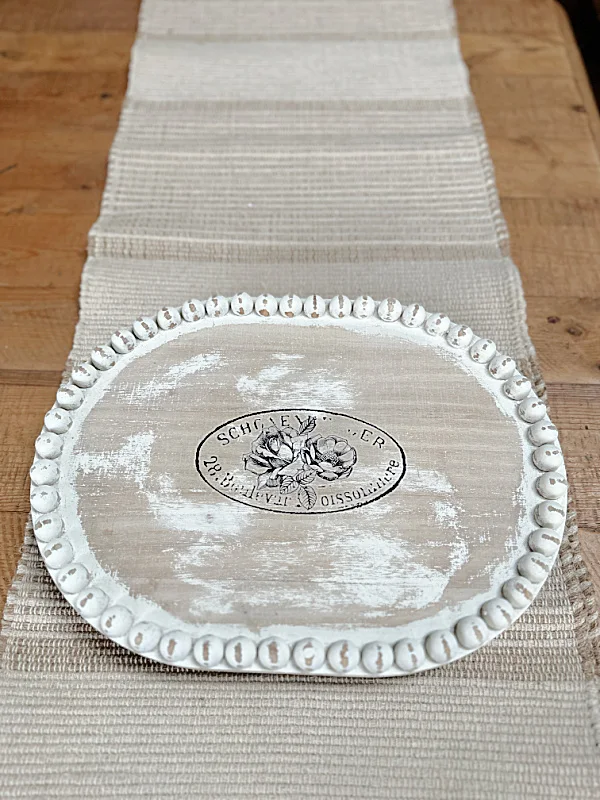
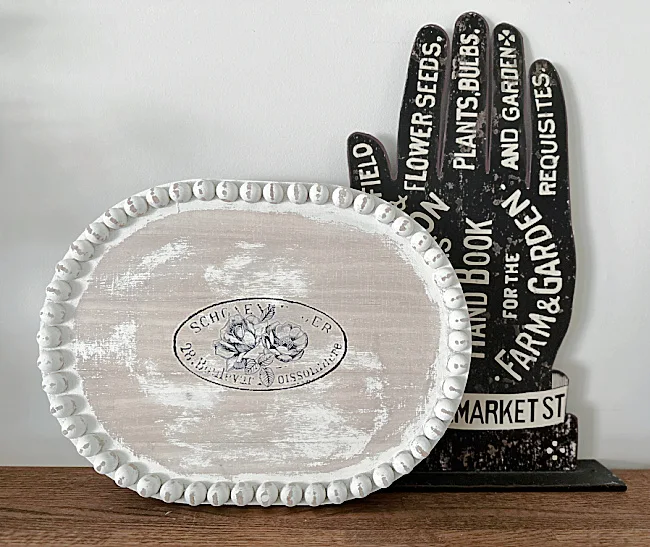
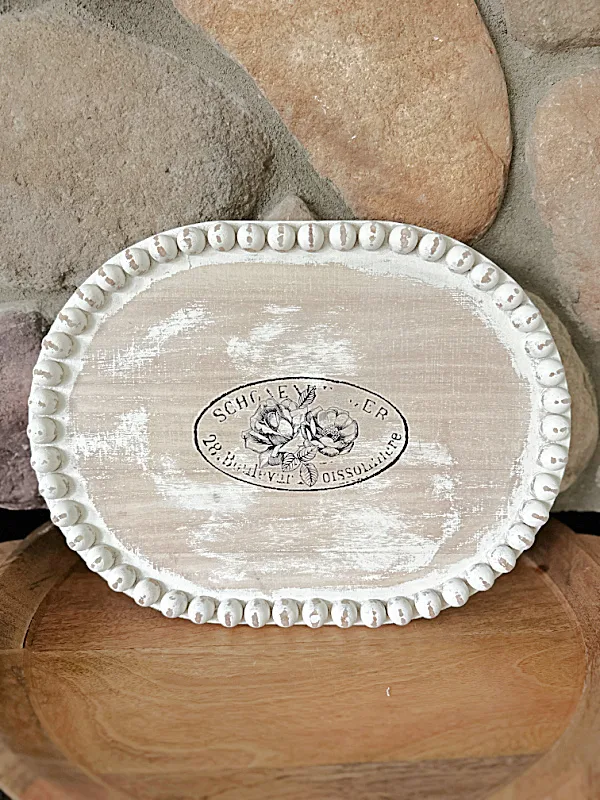
I think it turned out beautifully!
It was just as I hoped it would look with a highly distressed painted finish and a gorgeous transfer in the center.
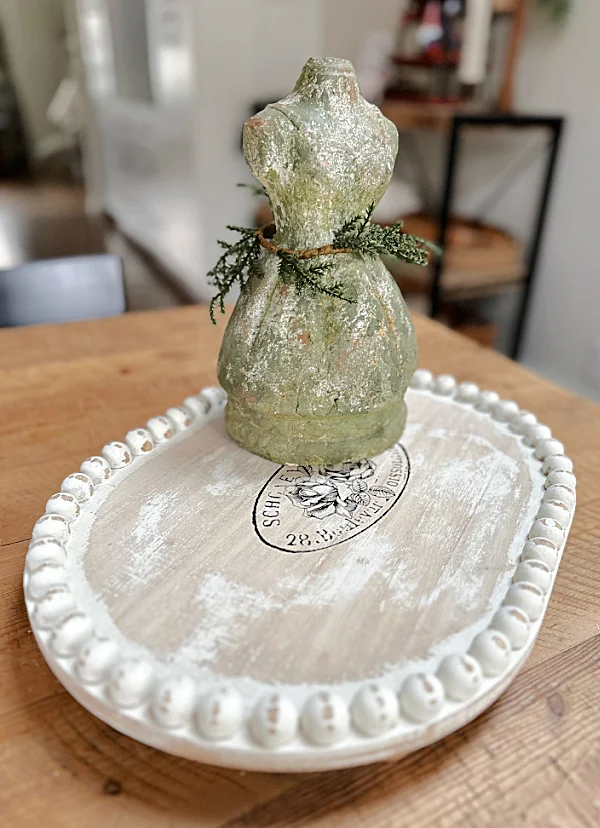
Stop in and see the cute makeover on this little mannequin while you're here.
Please pin for later >>
I hope you give these great transfers a try, they are easy to use and can be used on many surfaces. The fact that so many come in the tube will keep you busy for many a project!
Thanks so much for visiting and before you go please take a minute to sign up for the Homeroad emails so my next DIY tutorial will go out straight to you!
Piglet's Closet provided me with the transfers but all opinions are my own.

