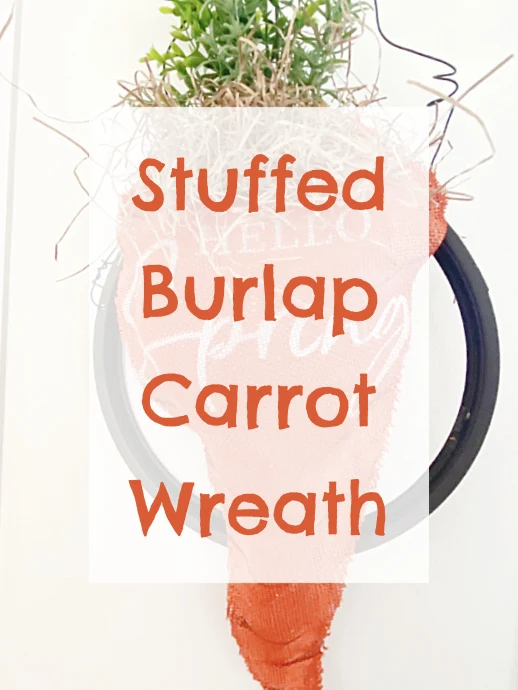
Stuffed Carrot Wreath for Spring
Sometimes I like to just mess around in the workshop and see what I come up with. Today that was my plan and I think my project is pretty darn cute!
I began this project with a piece of orange burlap.
As you scroll through this post please pay attention to the bold blue links for more Homeroad projects and the products I used for this project.
I ironed the burlap flat and folded it in half.
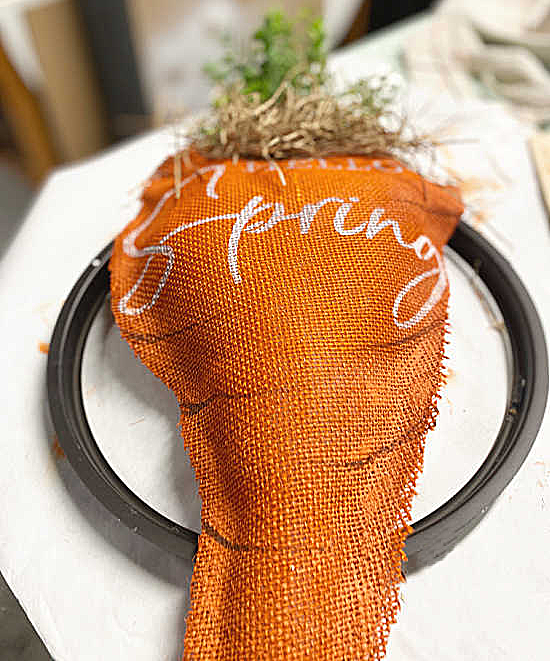
Using one of my new favorite packs of spring stencils from Amazon, I chose the one that welcomes Spring.
I'm pretty ready for Spring for sure!
I used white craft paint to stencil the words.
Next, I cut the burlap into a realistic carrot shape with a cute little tip on the bottom.
I used hot glue to go around the carrot edges to seal them closed.
I used orange and brown craft paint to add realistic details to my carrot.
It was then that I needed to re-stencil the words to make them darker, this was no problem I just laid the stencil down where it was and gave it one more coat of white.
Now it was time to stuff my carrot.
I'm using pillow stuffing and a ruler to get the stuffing down to the tip of the carrot.
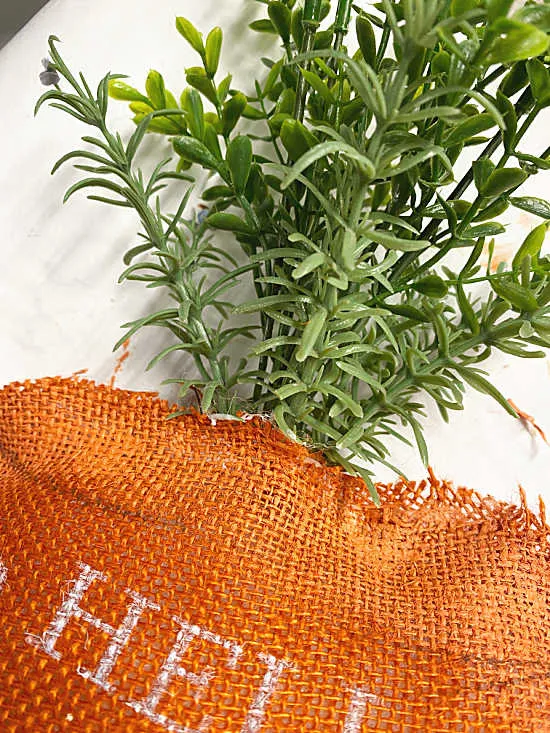
Next, before I sealed the top, I gathered a bunch of faux greens and stuffed them into the top of the carrot.
I used the hot glue to seal the top opening.
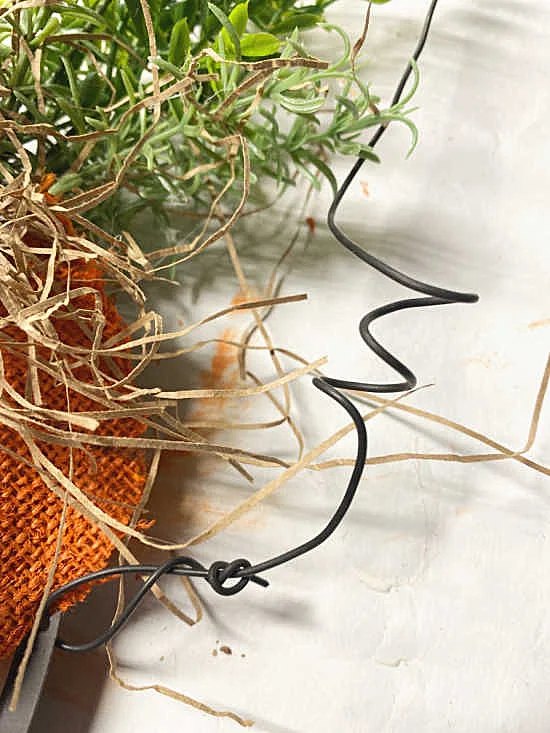
I used shredded gift box paper for a Spanish moss like look at the top of the carrot.
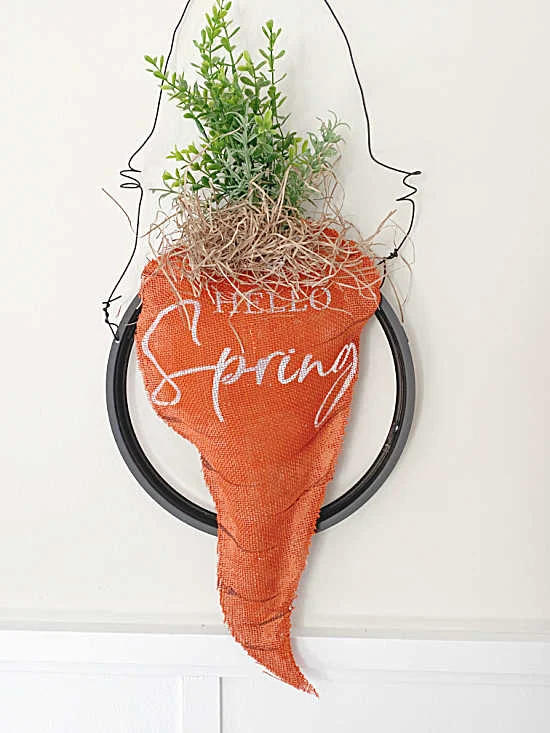
Now I looked around for something that would give my carrot a little stability and I found this old metal clock part.
I hot glued the carrot to the metal circle then added rebar wire for a handle.
This project turned out even better than I had expected!
I think the painted detail on the carrot made all the difference.
SEE MORE: SPRING PROJECTS
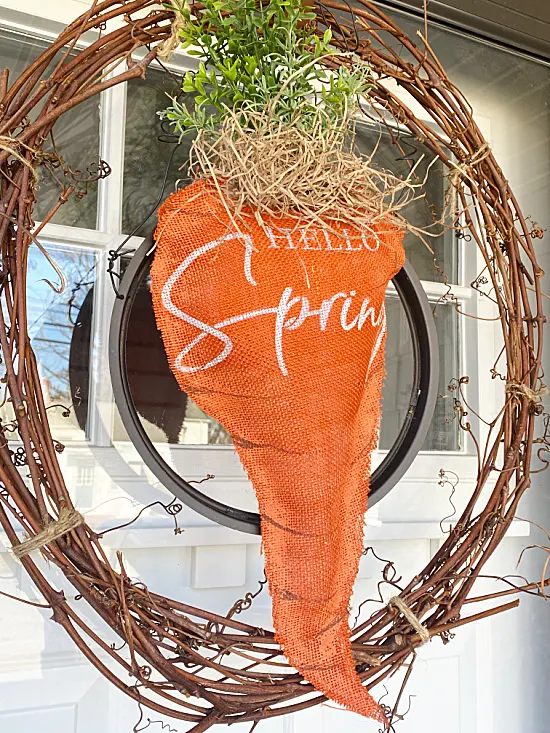
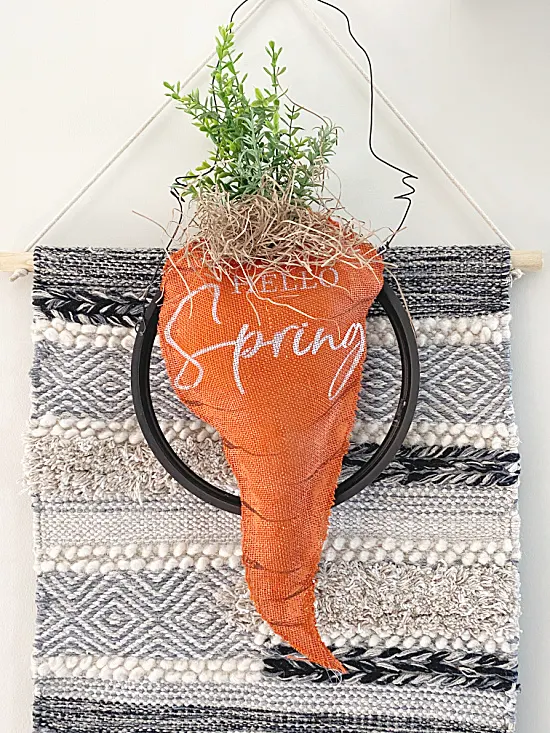
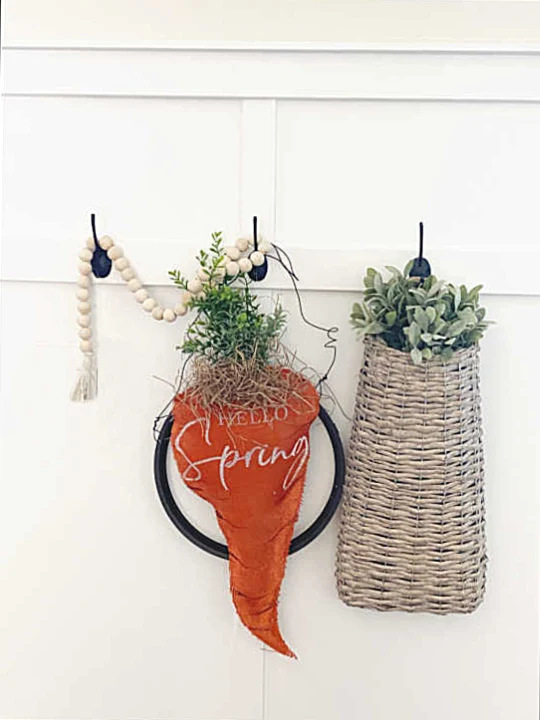
I can hang this on my front door, on a grapevine wreath, or use it to decorate indoors.
Thanks so much for visiting and I hope I inspired you to mess around in the workshop and see what you can create!
SEE MORE: EASTER PROJECTS
Please sign up for the Homeroad emails so my next DIY tutorial can be sent straight to you!


