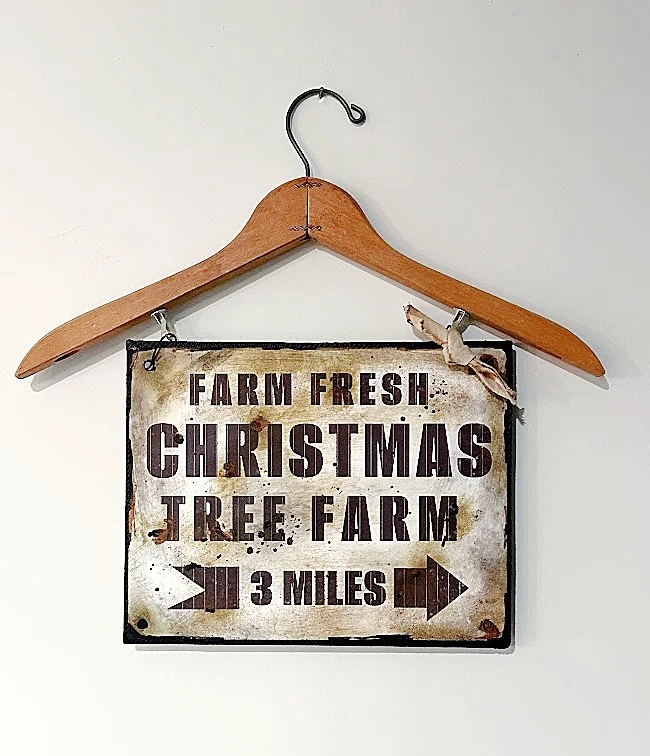
Distressed Christmas Tree Sign
A fun project this morning that doesn't require many supplies and looks amazing if you're a lover of distressed signs.
If you've been following along for a while you know I love making Christmas signs, decorations and DIY ornaments so get ready for even more easy and inexpensive Christmas projects! If you're finished with your Christmas decorating, be sure to pin this project for next year!
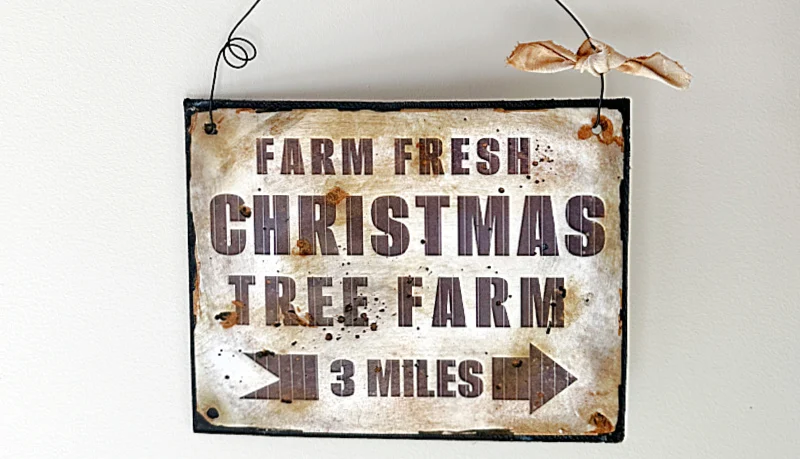
All you need for this one is some card stock, a printer, and a piece of cardboard or chip board to create the cutest little tree farm sign to hang anywhere! It's hard to believe you can get such a realistic rusty sign from the printer!
Take a look...
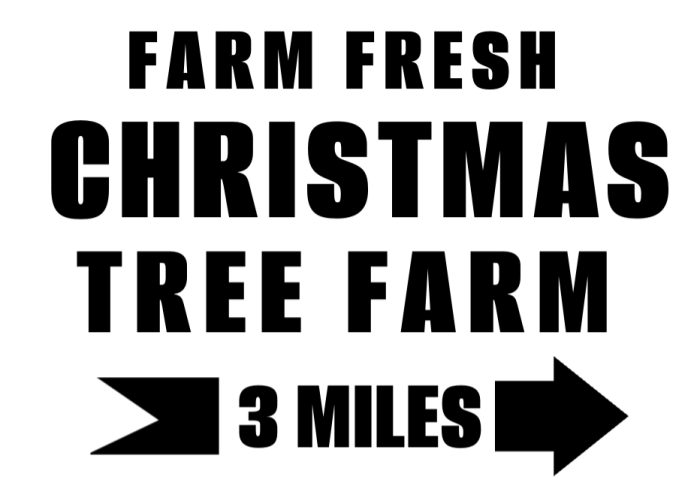
Like I said, this one starts with a printed page. I saw a sign in the background of another website and I knew I could make something that says the same thing only smaller and easier to make! You can use this one by swiping it onto your desktop.
As you're reading through this post please pay attention to the bold blue links that will take you to more information and the products I used for this project. Also the READ MORE sections will take you to related Homeroad projects.
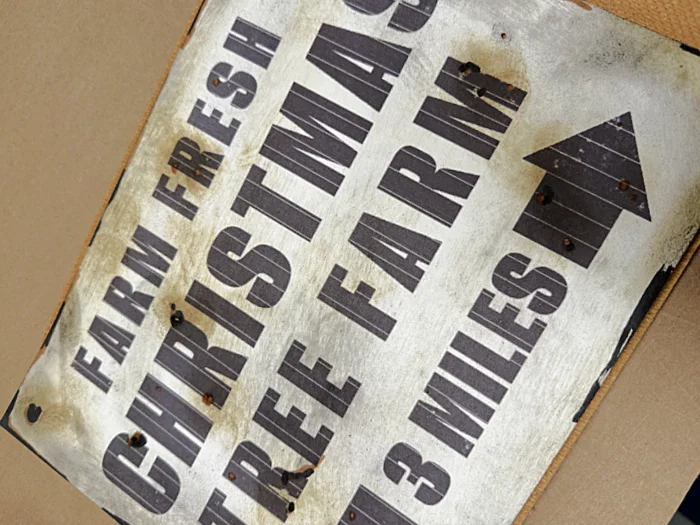
I printed this design that I created on PicMonkey photo editor on white card stock. The printer I use is an Epson Eco Tank Printer and I love it! The letters in my sign have stripes because the heads need to be cleaned on my printer but I didn't mind because I was heavily distressing this one.
How to distress card stock:
I used a small hand sander to rub around the edges and across the center of the page. This caused the card stock to get a little fuzzy and even tore it in a few places.
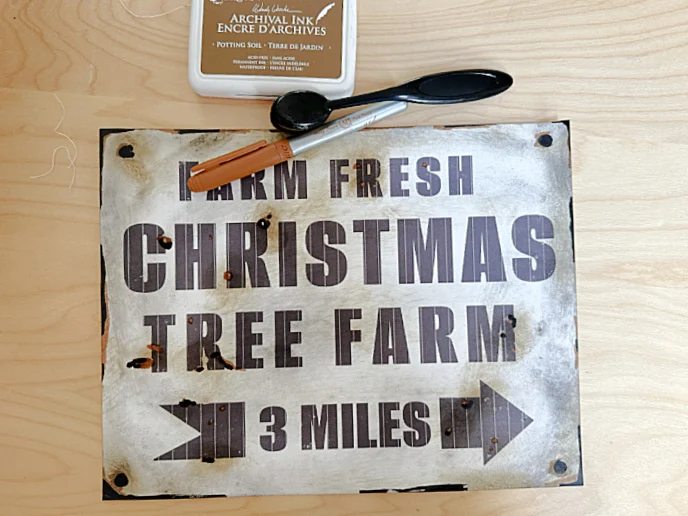
Next, I used a black stamp pad and a soft brush to distress the edges and in random places on the paper. Then I used a vintage ink brown stamp pad to add a dirty look to the paper.
I used a black Sharpie marker to go around the edges of the paper and add a chipped enamel look to the corners and sides. I also used the marker to create a "hole" in each corner of the paper.
I followed up the black marker with a rust colored marker and went around the page creating "rust" around where I made the black Sharpie marks.
Lastly, I dabbed a little Matte Mod Podge in places and sprinkled it with cinnamon to get a rusty look.
Before I did anything I gave the card stock sign a spray of a matte sealer to make sure there would be no running of colors and to seal the cinnamon.
My sign was already looking like a grungy old metal sign!
Next, I cut a piece of chip board to the size of the card stock sign. I made sure there was about an extra 1/8 of an inch all the way around the paper. You can also use cardboard for this part.
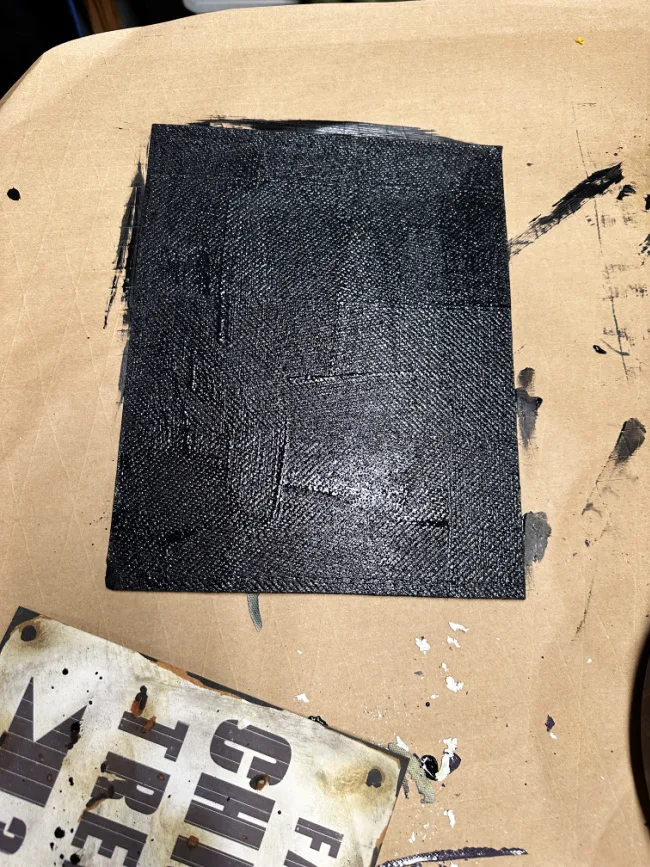
I painted the chip board black and while I was doing that I made sure to splatter a little black dots onto my card stock sign. I use Fusion Mineral Paint in Coal Black for my projects and furniture!
When the black paint was dry, I used Fusion Mineral Paint Decoupage and Transfer Gel to paint over the black board and let it dry. You can also use Mod Podge for this step.
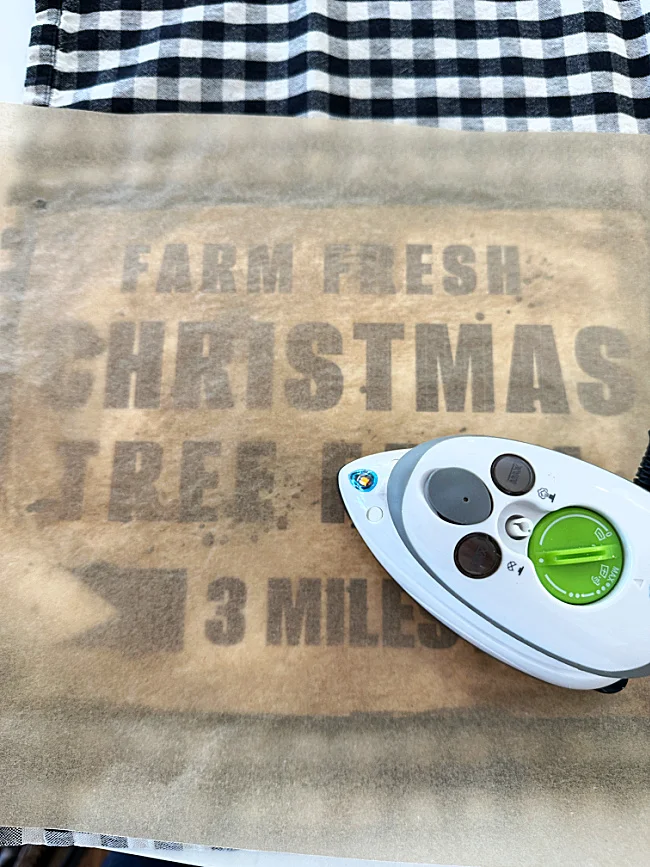
When the transfer gel was dry I used a small craft iron to iron the card stock sign right onto the black chipboard. I used a piece of parchment paper over the sign. The transfer gel reactivates and holds the paper down with no wrinkles or air bubbles.
Wow! I'm loving it already!
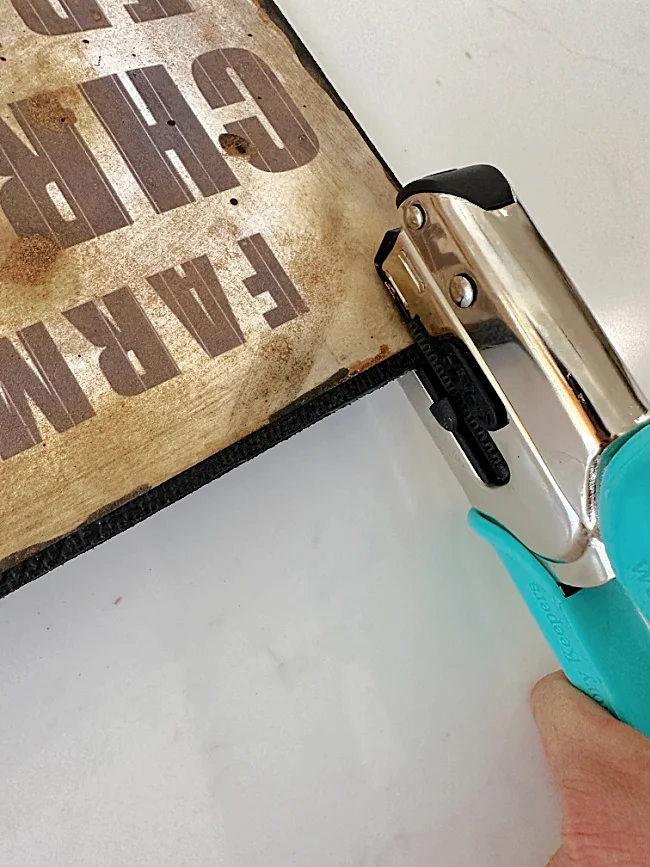
Next, I used a heavy duty hole puncher that is seriously something you need in your supplies! This hole puncher will go through chip board or thick cardboard!
I punched a hole in the 2 top black holes I made with the Sharpie marker.
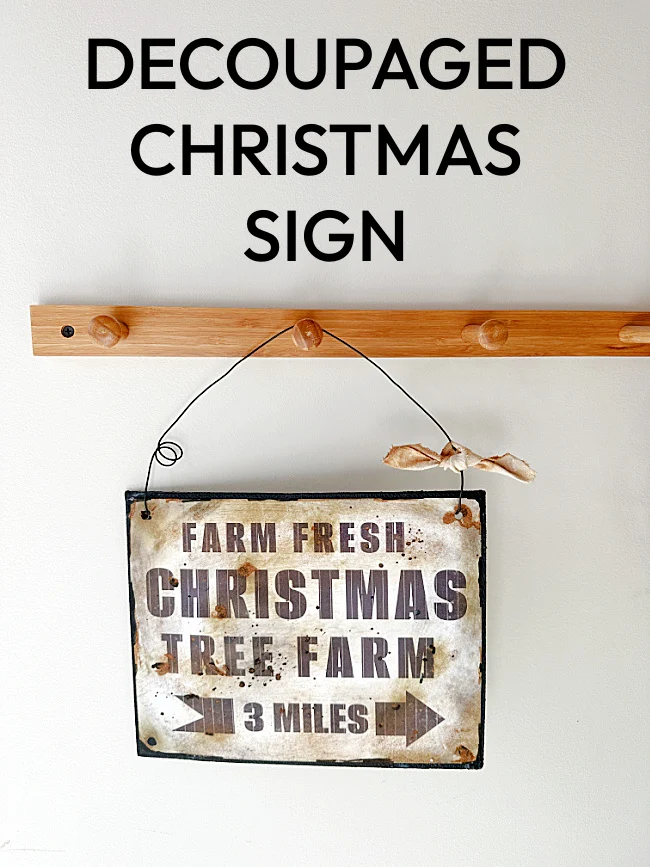
Finally, I gave the sign another coat of matte sealer and attached a piece of rebar wire through the holes and tied on a coffee stained ribbon!
Please pin for later -->>
That's all it took to create a grungy sign for Christmas!
Another version of this sign is to hang the sign from an antique hanger with a couple of clips!
I love both looks!
I hope you like this project and you'll sign up for the Homeroad emails so my next DIY tutorial will go straight to your inbox!
Fusion Mineral Paint provided me with the Transfer Gel and the Paint. All opinions are my own.

