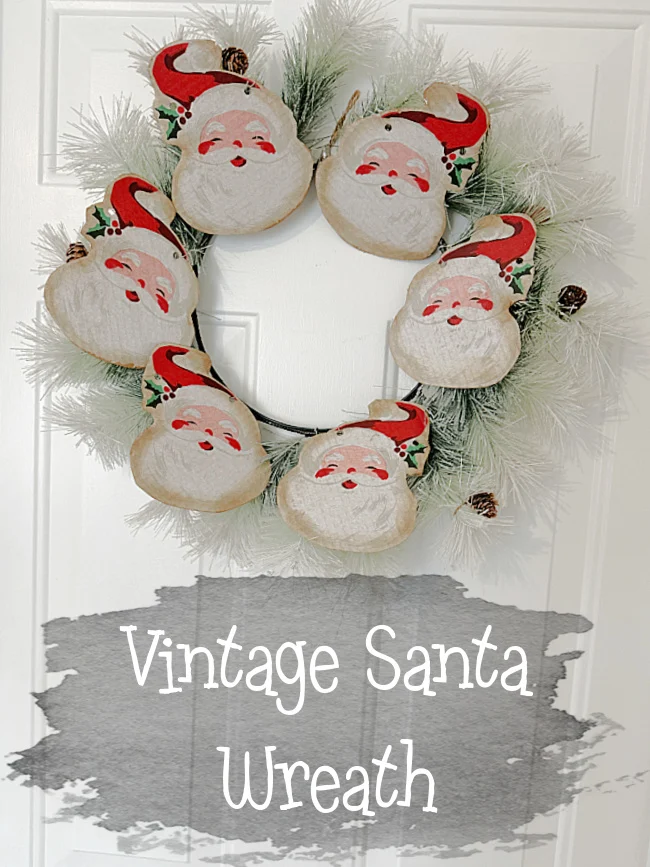
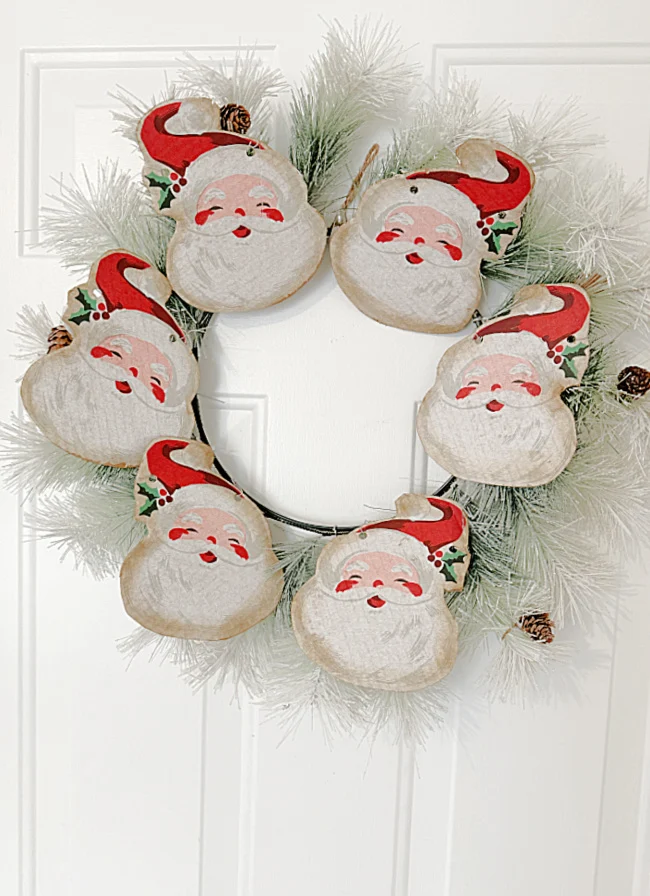
Vintage Christmas Wreath
If you've been around for a while this season you may have seen the vintage snowman banner I made from napkins I found at Home Goods.
What you probably don't know is that it was a super popular project! One of my very favorites this season and right now it is enjoying life in its new home.
Recently, on another trip to Home Sense, which is like Home Goods in case you don't know, I found a few more packs of Christmas napkins and today I'm doing another fun project with them.
Take a look...
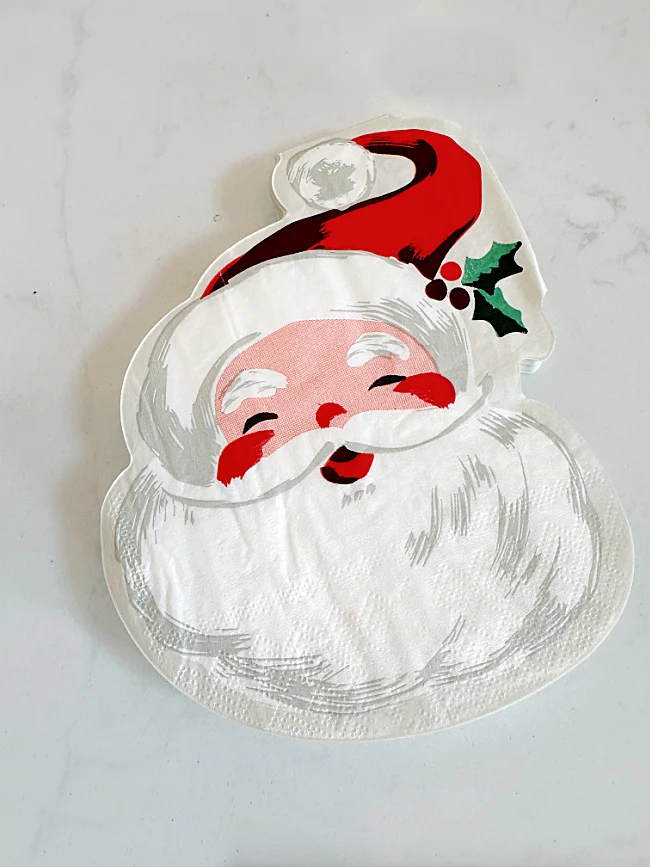
This time, it's Santa!
A great pack of Santa napkins in the same vintage style as the snowmen.
This time I'm doing a different technique with slightly different supplies. Last time I used cardboard and Mod Podge. This time I'm using cardboard and plain old white school glue. The last time I traced the napkins onto the cardboard, this time I am just slopping the glue all over the cardboard and going from there! A different technique that might be easier for some!
First thing was to cut apart the napkin. One napkin makes 4 Santas. I separated the layers and made a pile of only the top layer with the Santa designs.
For this project I'm making 6 Santas so I'm using 2 napkins. There are plenty leftover for Christmas entertaining too!
Like I said I slopped the white glue all over my 2 cardboard pieces and let it dry.
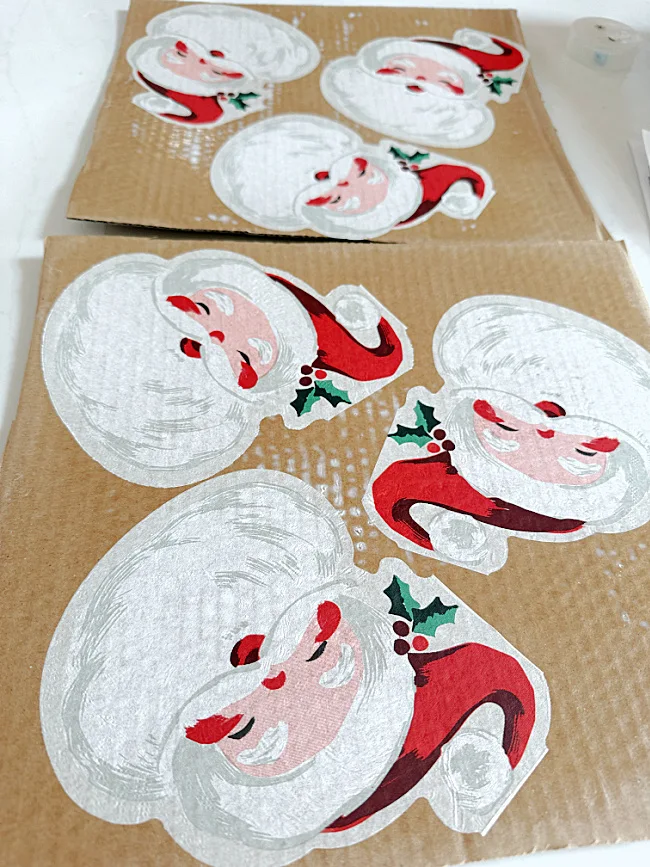
Then I laid my top napkin layers onto the cardboard. Ok, it was almost dry!
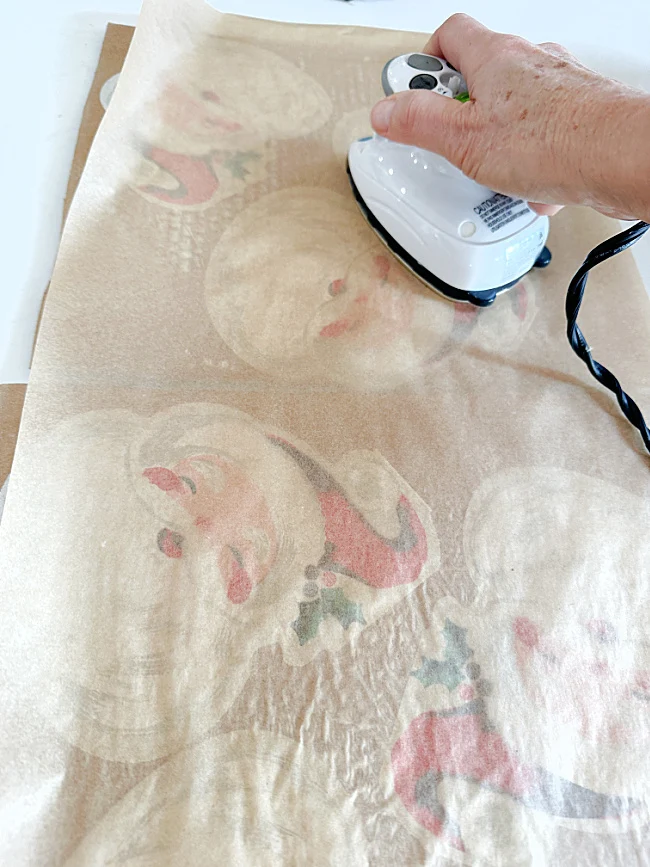
Next, I covered the napkins with parchment paper and ironed it using my small craft iron.
When I lifted the parchment paper, the Santas were perfectly flat and stuck to the cardboard.
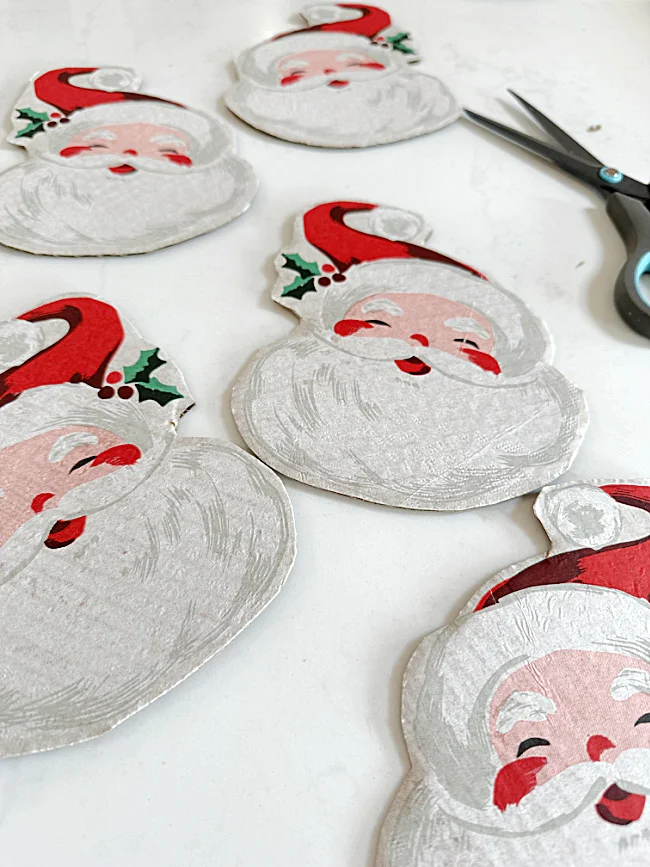
Next, I cut out each Santa head.
I used a heavy duty hole punch to punch holes in the Santas. At this moment the heavy duty hole punch is unavailable.
The next step is to sand the edges of the Santa heads with fine sandpaper.
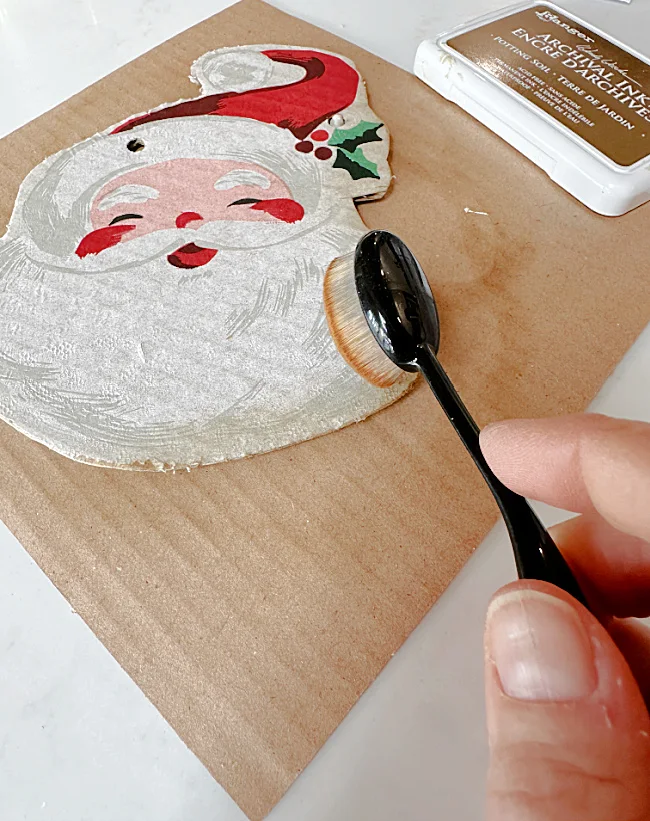
Then I used an archival stamp pad and a soft brush to distress the edges of each Santa.
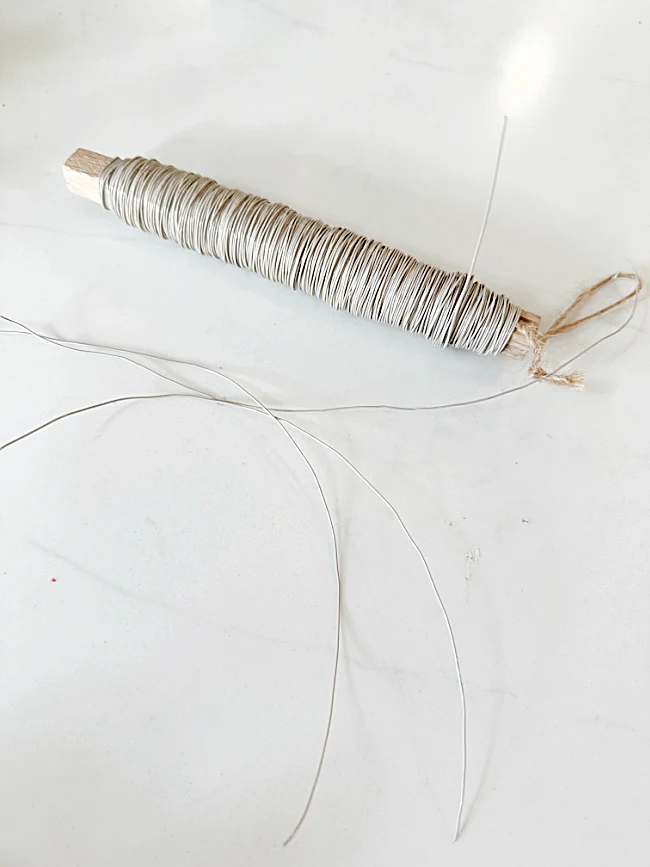
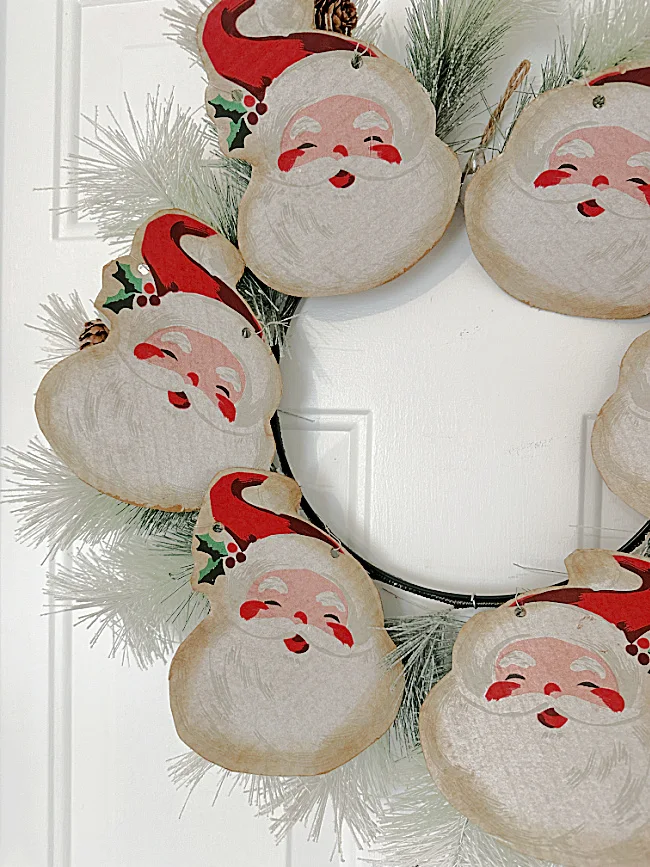
Next, I used a thin white wire to attach the cardboard Santas to a wreath. This one came from Michaels.
And that was it!
You could add a bow but I liked it without one. All that was left to do was to hang it up!
Please pin for later --->>
You could also attach these Santa heads to twine and create a Christmas banner like the snowman banner.
I think my favorite is the 1950's look of these vintage napkins!
Thanks so much for visiting and before you go please take a minute to sign up for the Homeroad emails so my next DIY tutorial will go out straight to you!


