Coffee Stained Snowman
Are you ready for snow? Do you already have snow? I'm not a big fan and I'm hoping the Farmer's Almanac is wrong because they say we are in for a lot this year.
Do you believe in the Farmer's Almanac predictions?
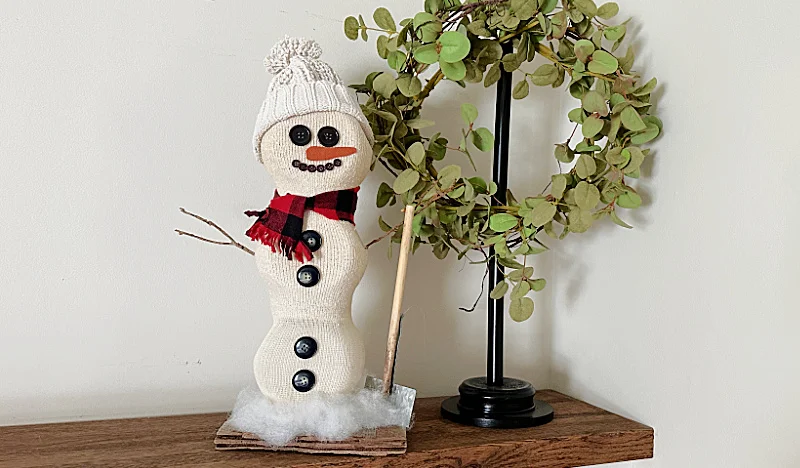
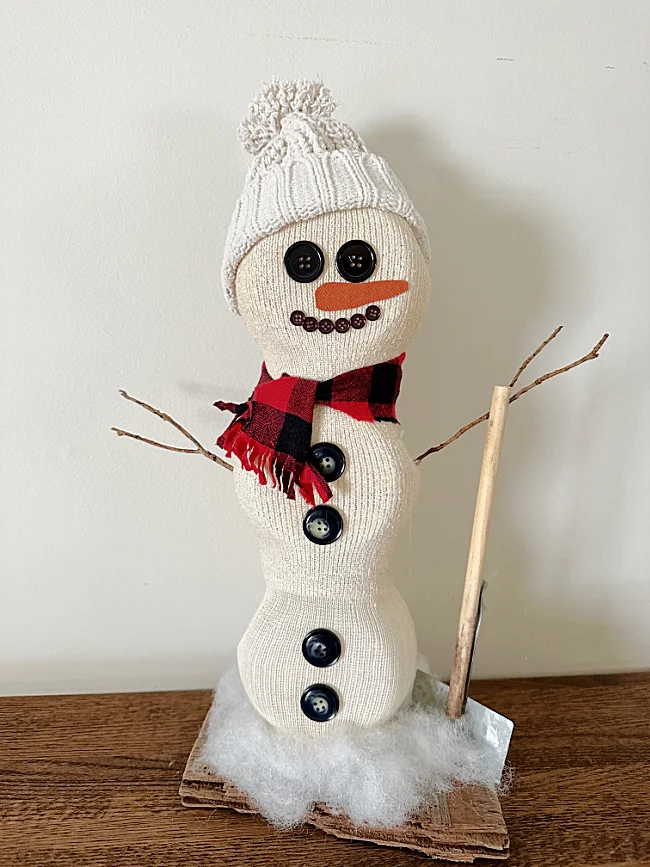
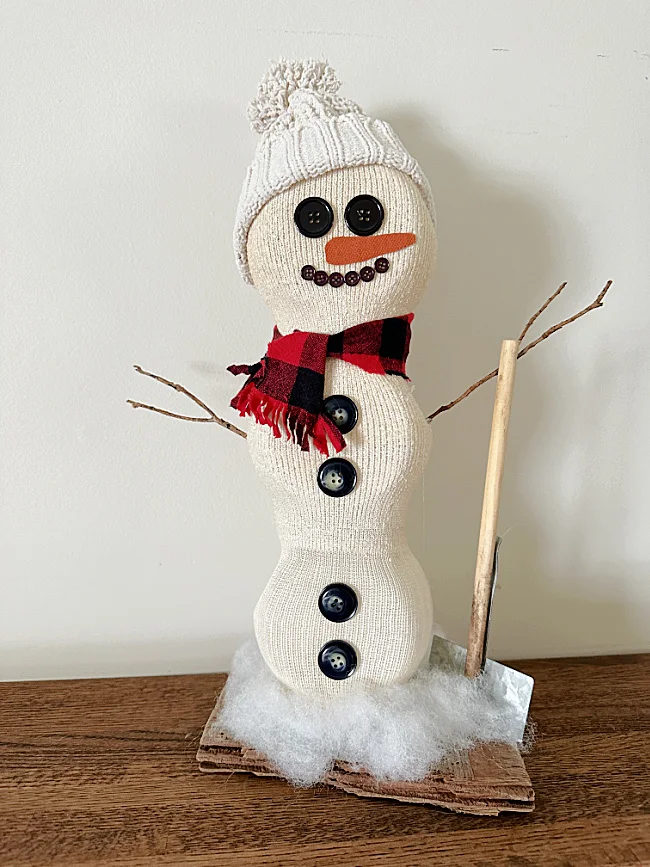
Anyway, love snow or hate it, you're gonna love making this adorable 2 foot high snowman that can be customized to fit your decor.
I started with a few supplies from the dollar store and whipped this guy up as soon as I got home.
Take a look...
Dollar Tree to the rescue for this one! While cruising the store I noticed a stack of glass jars on one of the end caps.
As you're reading through this post please pay attention to the bold blue links that will take you to more information and the products I used for this project. Also the READ MORE sections will take you to related Homeroad projects.
The 3 layers of jars were stacked so neatly... they almost looked like a snowman!

At first I thought about spray painting the stacked jars white but when I saw the socks I had a better idea.
Now I wanted my snowman to be off white and a little rustic so I coffee stained the socks I bought. You can certainly leave them bright white for your snowman.
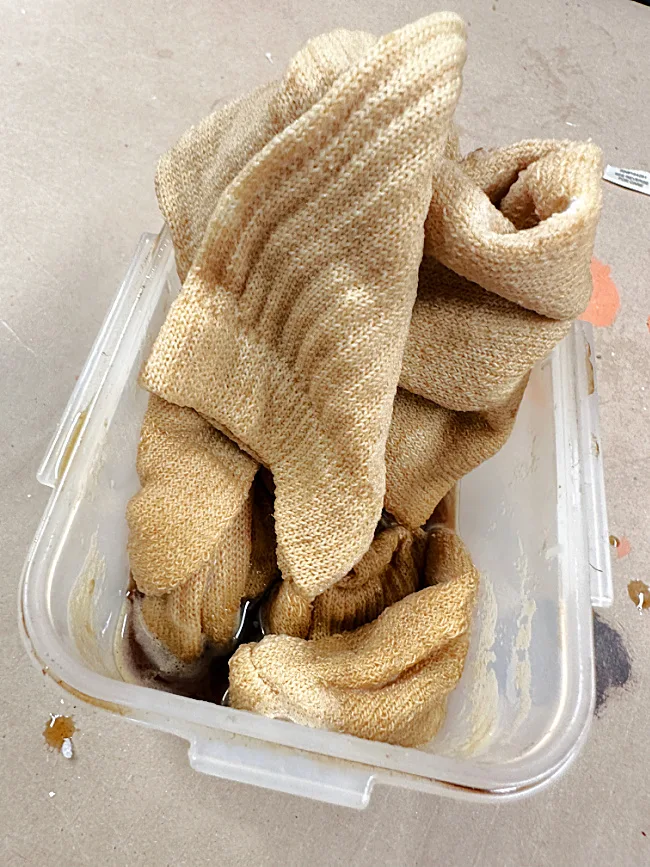
I made a coffee bath of cold brew instant coffee and water. I put about 4 scoops in 2 cups of water. I immediately dropped 2 socks into the coffee bath.
I only left the socks in the coffee for a few minutes then I wrung them out and rinsed them under water. They got much lighter. I then squeezed out the water and threw them into the dryer.
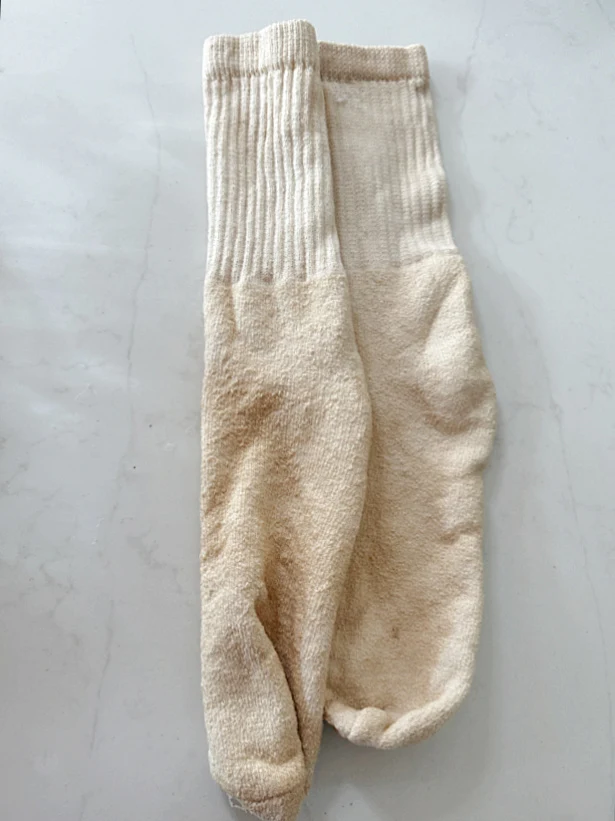
Once dry, the socks were the perfect color! I'm only using one sock for this project so I'll save the other stained sock and the other 2 white ones for something else. They actually look a little dirty in this photo! 😂
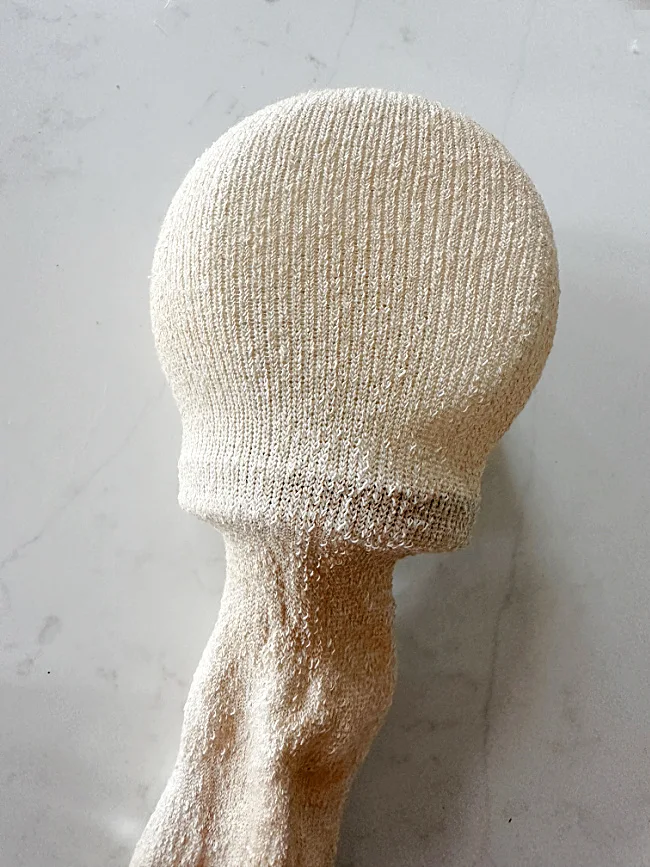
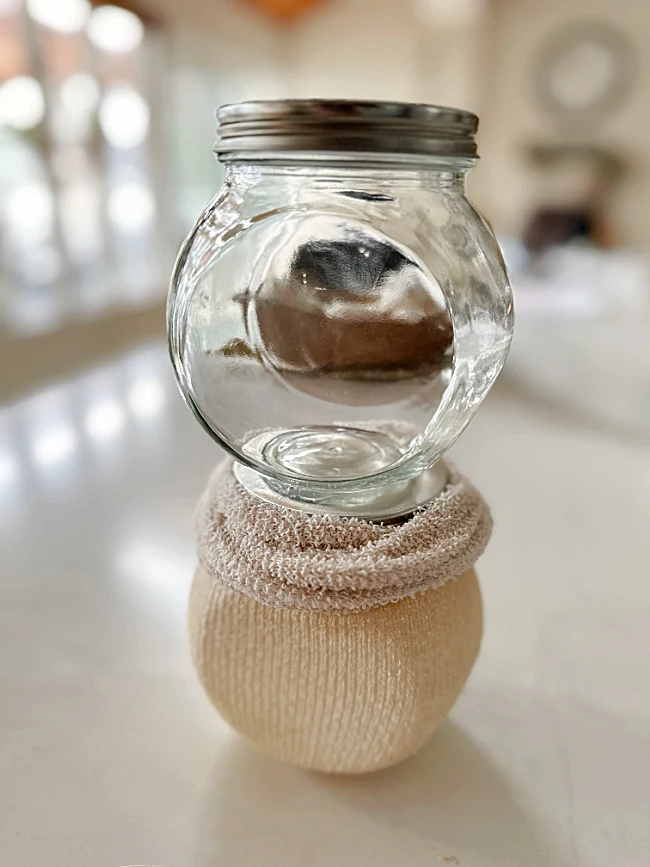
The first thing I did when the sock was dry was to put a jar into the sock and slide it all the way to the top with the lid down. The jars each have one flat side so I alternated the flat side when I put them in the sock.
I pulled back the sock and hot glued the second jar to the lid of the first one then pulled up the sock.
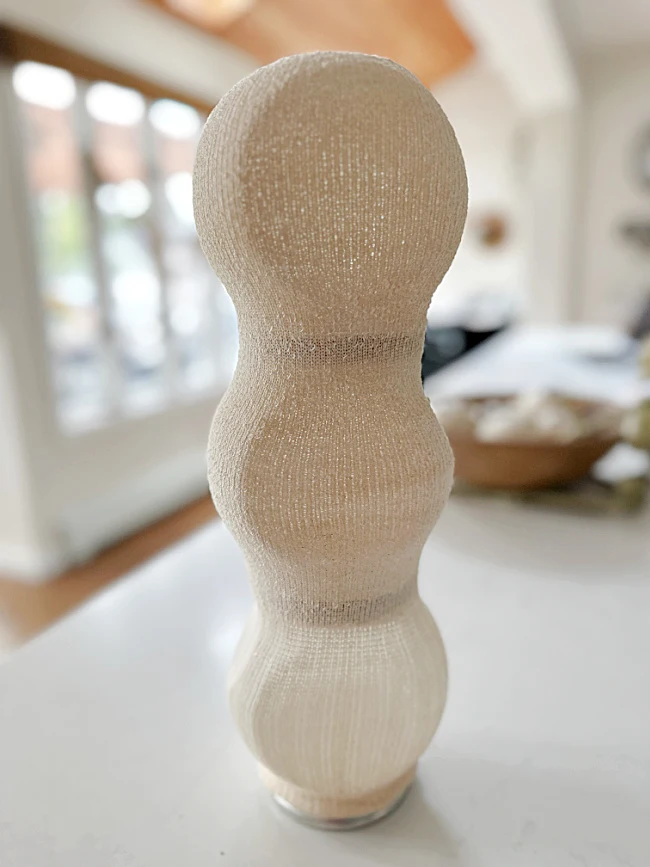
Next, I pulled back the sock and hot glued the third jar to the lid of the second and pulled up the sock. The sock fit perfectly around all 3 jars.
I hot glued the end of the sock to the last lid. Note: all the jars are in the sock lid side down.
Now it was time to decorate!!
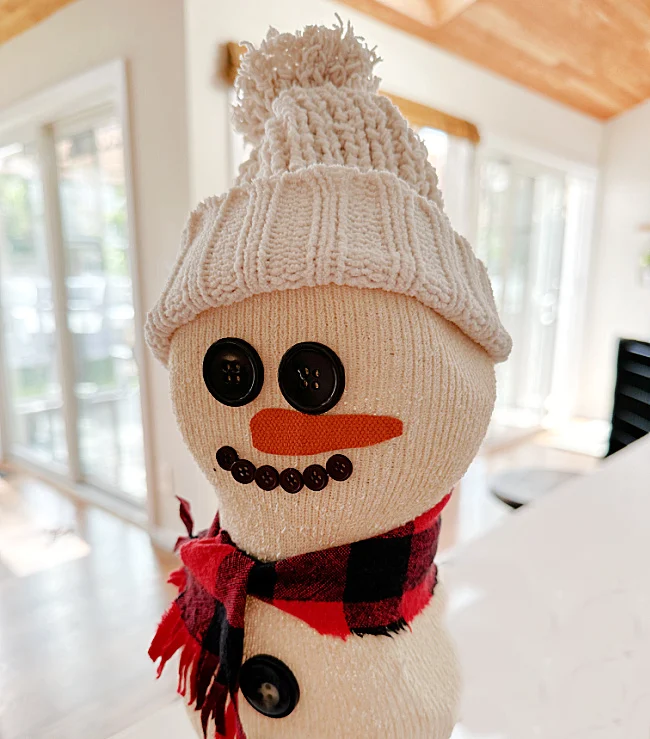
I grabbed my button jar and found buttons that would work for the buttons on the snowman's belly, his eyes, and tiny ones to create a mouth. I used hot glue to attach all the buttons.
For the nose, I had some orange painted fabric leftover from the jack-o-lantern banner I made recently so I cut out a carrot nose and hot glued it on the snowman's face.
I'm using recycled fabric I had in my workshop, I wasn't sure just what I was going to use for the hat so I brought up a few choices.
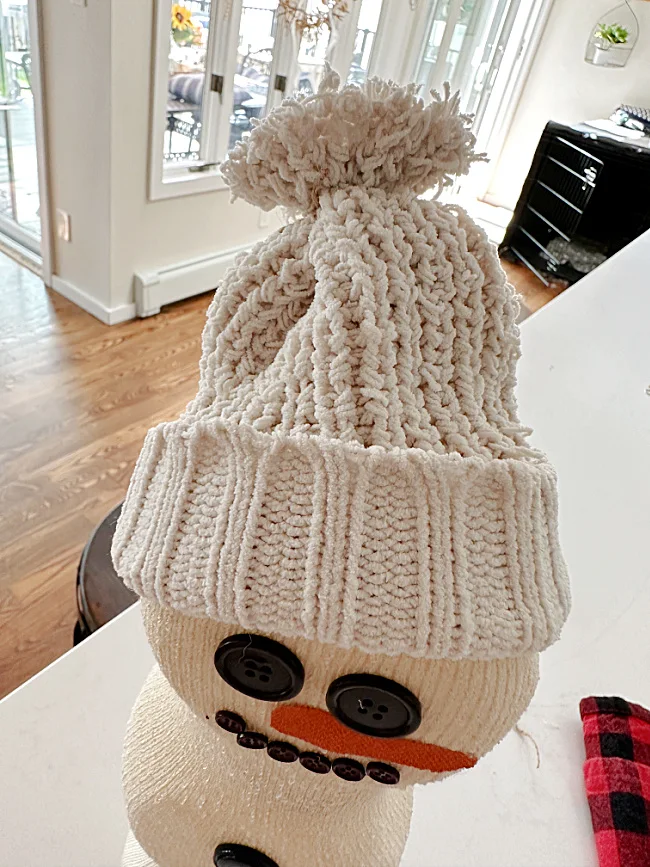
For the hat I ended up going with the easiest one. A knit sleeve cut from the arm of an old sweater. It was perfect to make a little hat for the snowman.
At the top of the sleeve where it was cut, I tied a piece of string very tightly. I used a comb to brush out the stitches then trimmed the edges to create a little pom pom. I just folded over the cuff to create the cutest winter snowman hat!
Next I did the scarf by tearing off a piece of an old fabric napkin I had and fringed the ends.
I tied the scarf around the neck of the snowman.
Now for the arms. I'm using 2 small sticks. I cut a tiny snip in the sock, don't make it too big or it will unravel. I put a couple drops of hot glue in the hole then stuck the stick into the hole and added more glue.
I had an old driftwood board I found while on vacation so I used hot glue and E6000 to attach the snowman to the board.
I made a shovel for the snowman with a dirty dowel and a piece of galvanized steel.
Lastly I put a little Polyfil pillow stuffing around the base of the snowman for snow.
Isn't he adorable?!! He reminds me of another light up snowman I made a few years ago from recycled light globes!
Please pin for later --->>
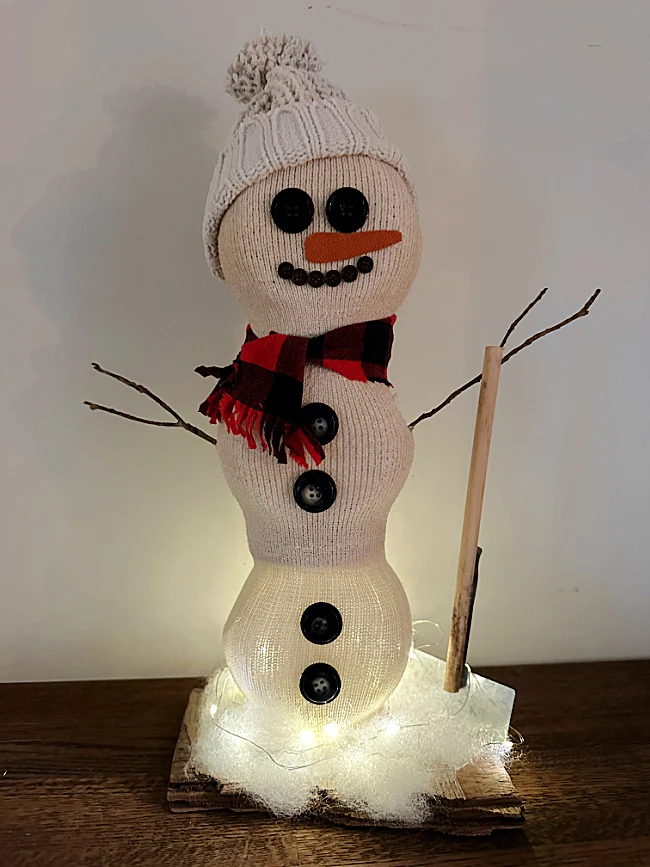
I'm adding fairy lights to the snow at the bottom so he lights up.
READ MORE: DIY SNOWMAN PROJECTS
I had so much fun making him and he reminds me of a snowman I made years ago using repurposed bathroom lights.
See how I made the wreath display here.
Thanks so much for visiting and before you go please take a minute to sign up for the Homeroad emails so my next DIY tutorial will go out straight to you!

