Mini Terra Cotta Pumpkins
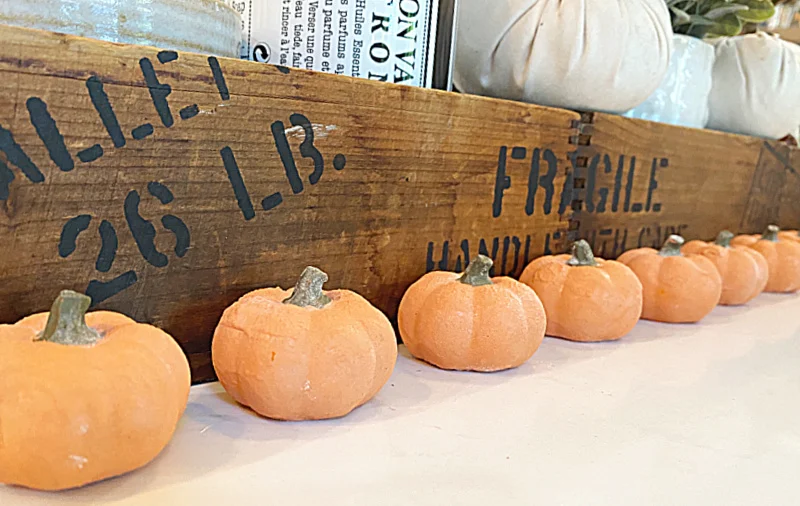
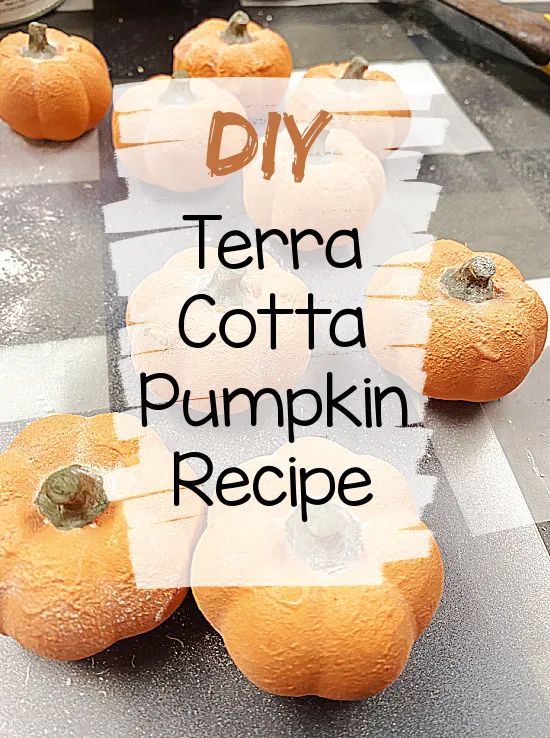
If you haven't seen the do it yourself terra cotta pumpkin craze you're going to want to try it.
It's the easiest project with great looking results and you probably have all the ingredients you need at home right now.
Take a look at mine...
Not too long ago I posted a recipe for a textured paint that I painted on glass to make it look like pottery. Actually, I've done a lot of textured paint projects.
This project is similar only we are going to paint on a pumpkin... lots of pumpkins!
As always, I'm linking the supplies I use and the projects I've made in the bold blue fonts so you can visit these links. Visit the READ MORE sections for even more DIY projects!
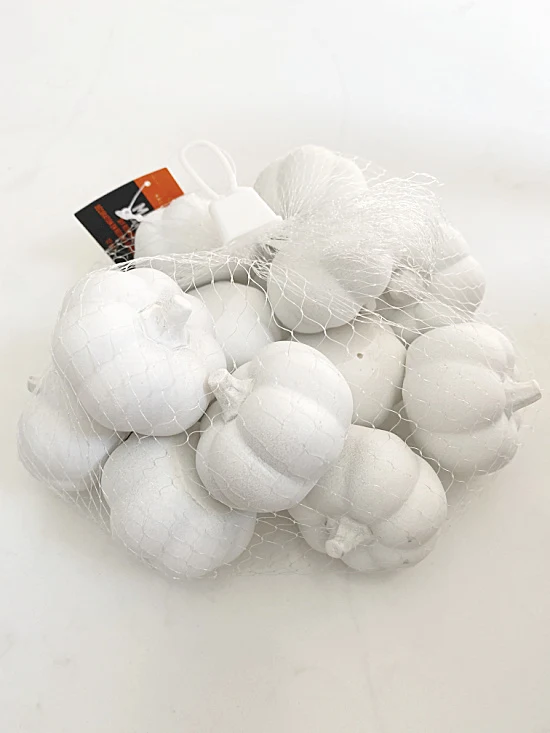
I found this bag of little pumpkins at Michaels yesterday and knew I wanted to do something with them.
The little pumpkins look like plaster but they aren't that fragile, some kind of white resin.
I dumped out the bag and originally thought about spray painting them orange but then remembered the terra cotta pumpkins that I found on Pinterest.
I made a mixture of orange and a grey-white paint to create the color I wanted then added baking soda to the paint. I've linked a few terra cotta orange paints below.
I mixed in the baking soda until I got a pretty thick consistency.
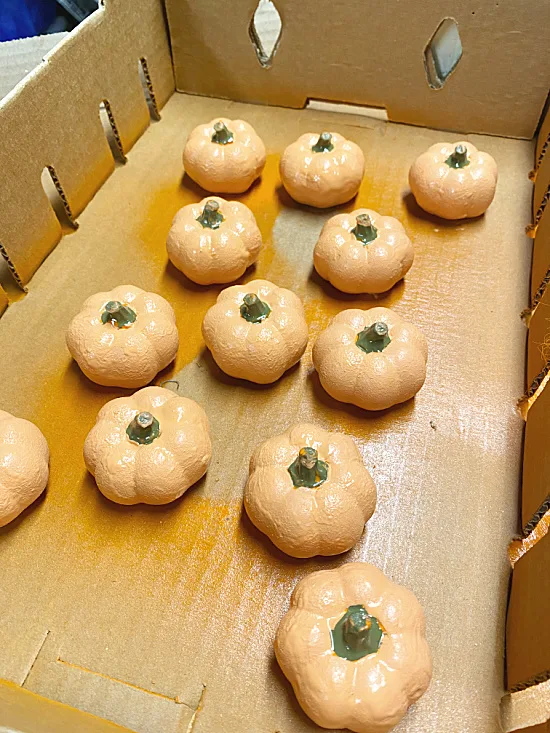
I painted the little pumpkins with the orange baking soda paint and let them dry.
At first I thought that painting the stems green before I painted the pumpkins was a good idea but it was not. 👎 I got the baking soda paint all over the stems and had to touch them up at the end. 😑
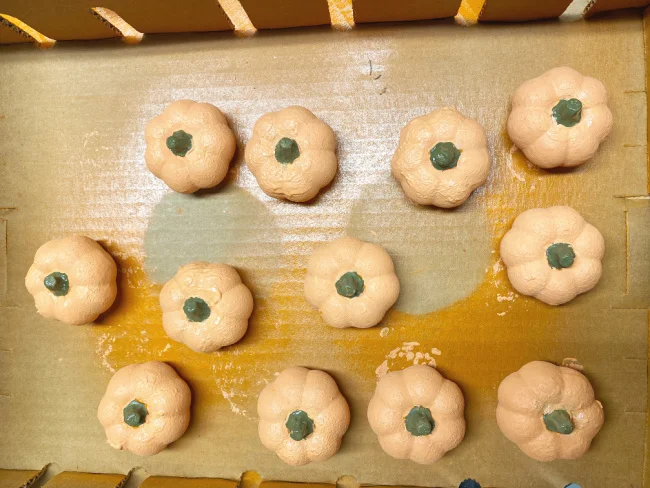
When the first coat dried I went back in and dabbed on a second coat. By this time the mixture was even thicker and created a great texture on the pumpkins.
Next, I repainted the green stems and let that dry.
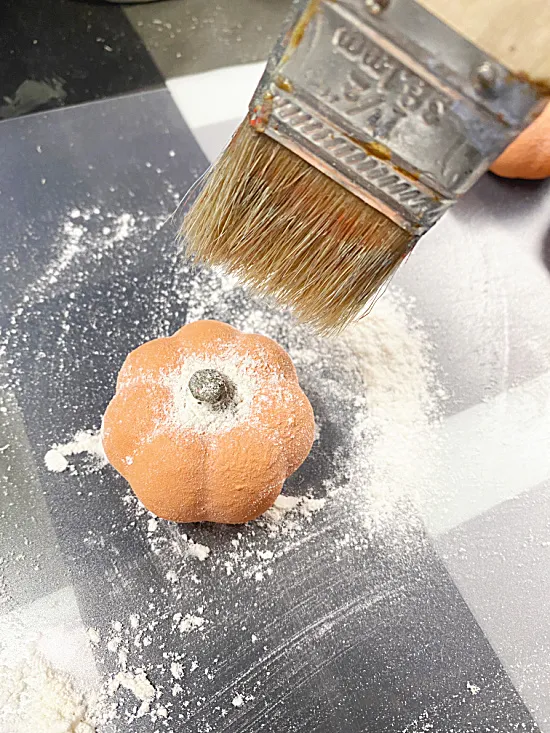
Finally, I dusted the mini pumpkins with flour. Yep, regular baking flour.
See, I told you that most of the supplies you probably already have at home.
I used a dry chip brush to dust off the flour and it settled into the texture nicely.
That is all it took to create a terra cotta look on these cute little mini pumpkins.
I gave the pumpkins one final brush with the dry brush and they were ready to decorate my home.
Circle them around a mum (that needs a little water I just realized).
Decorate along the crate I made to use in my kitchen, it is a great place for decorations!
Please pin for later --->>
READ MORE: FALL DECOR
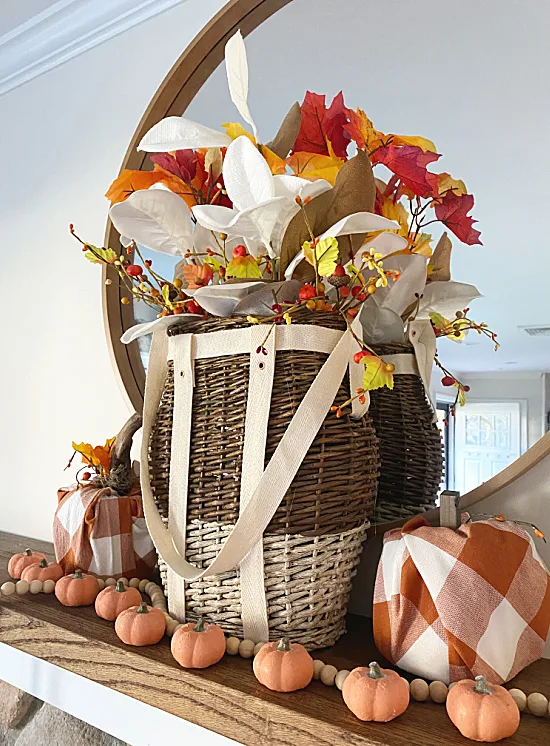
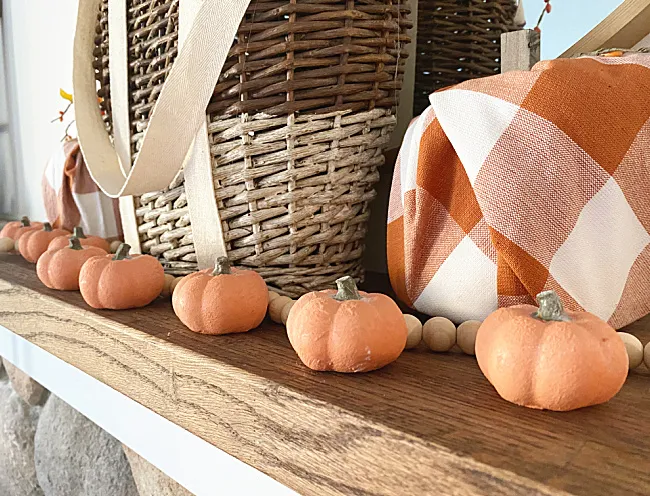
There are so many places you can use these little cuties for fall but they ended up on my mantel with the backpack basket I made recently.
I added some tiny fairy lights surrounding the row of pumpkins and they look amazing at night!
Those cute napkin wrapped pumpkins was another DIY project and you can find it by following the blue link.
The strand of wooden beads came from Amazon and was a great price, cheaper than making it yourself!
Thanks so much for visiting and I hope you give this textured paint treatment a go!
READ MORE: DIY PUMPKIN PROJECTS
Be sure to sign up in the pop up for the Homeroad emails where I send every project I make straight to you!

