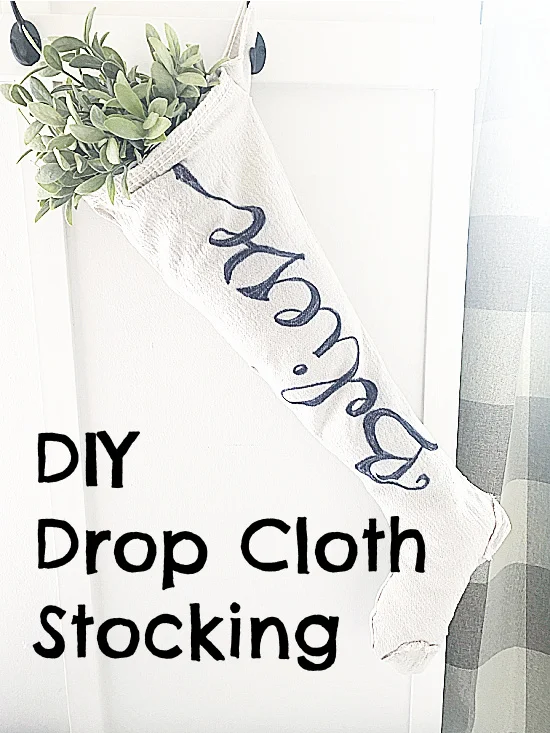
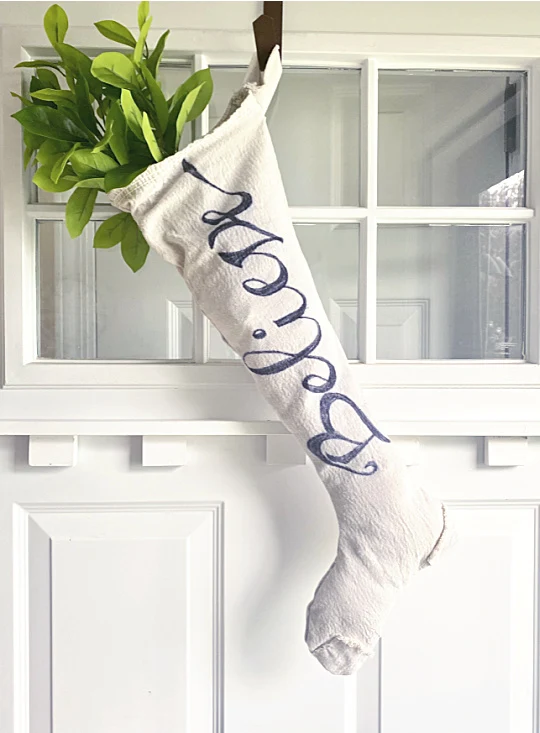
DIY Drop Cloth Christmas Stocking
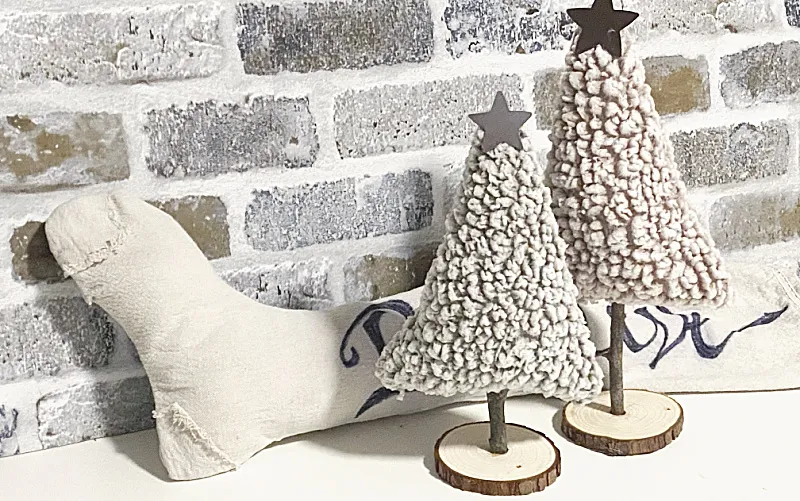
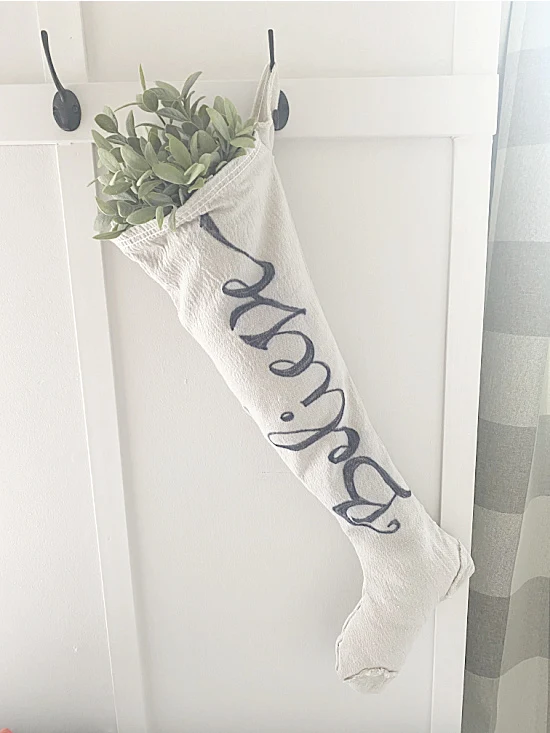
This beautiful Christmas stocking was an experiment from the beginning. After seeing a neutral stocking in a holiday magazine I thought I'd try to make one for myself!
The Sherpa Christmas trees were another recent DIY project that were easy to make and used recycled Sherpa.
To begin this project I grabbed some scraps of drop cloth fabric I had laying around.
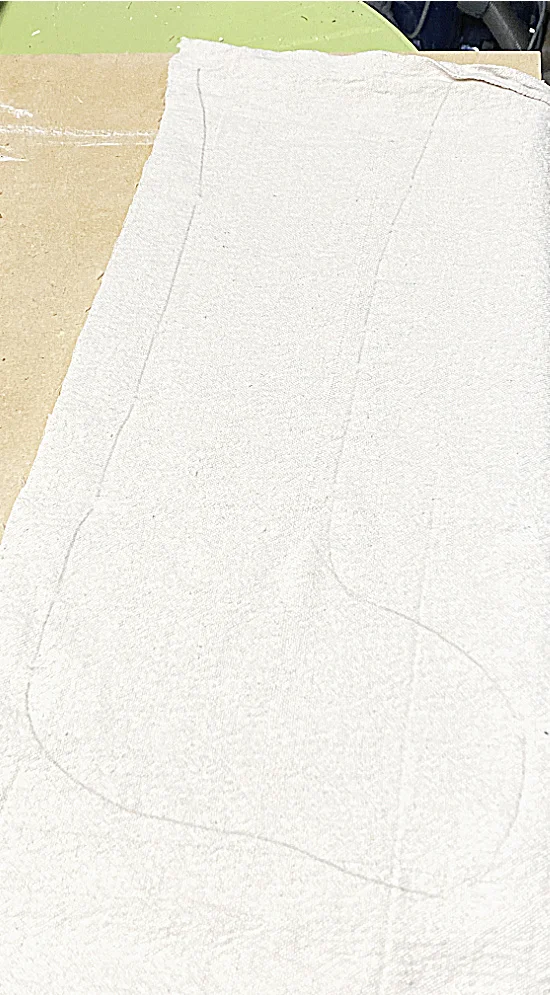
I sketched out a long stocking shape onto the drop cloth fabric and cut out 2 stockings.
I positioned the stocking so that the seam of the drop cloth fabric was the top of my stocking so it had a finished edge.
I made my vintage stocking nice and long.
I drew it a little wider than I wanted it so I would have a seam for gluing.
As you read through this post please pay attention to the bold blue links for more Homeroad information and the products I used for this project. Also please sign up for the emails for more DIY projects sent straight to you!
Yes, I said gluing!
I am using Surebonder fabric glue to hot glue my stocking pieces together.
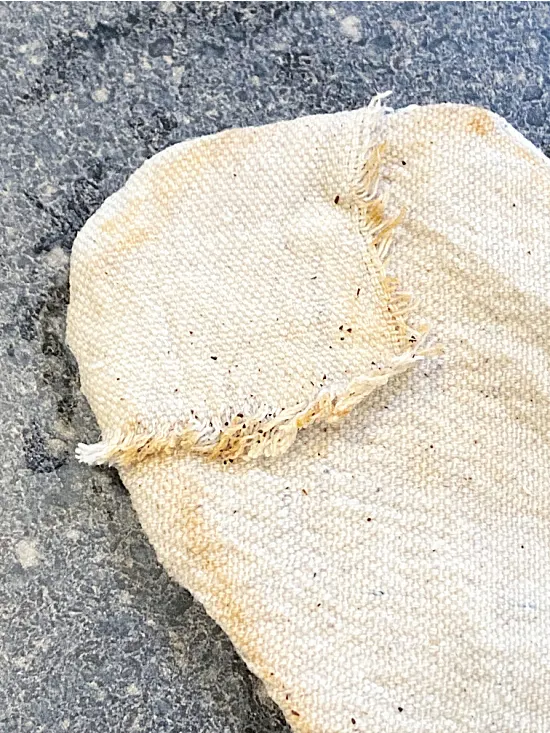
On the toe and heel of the stocking I added a frayed patch to the stocking with the fabric hot glue.
You can do this with drop cloth fabric or with a contrasting colored fabric.
Once the glue dried, I turned the stocking inside out and ironed the stockings flat.
At this point you can either print out a font from the computer and use graphite paper to trace it onto the stocking or draw the word freehand.
I added a font to the drop cloth in this project using the pencil method.
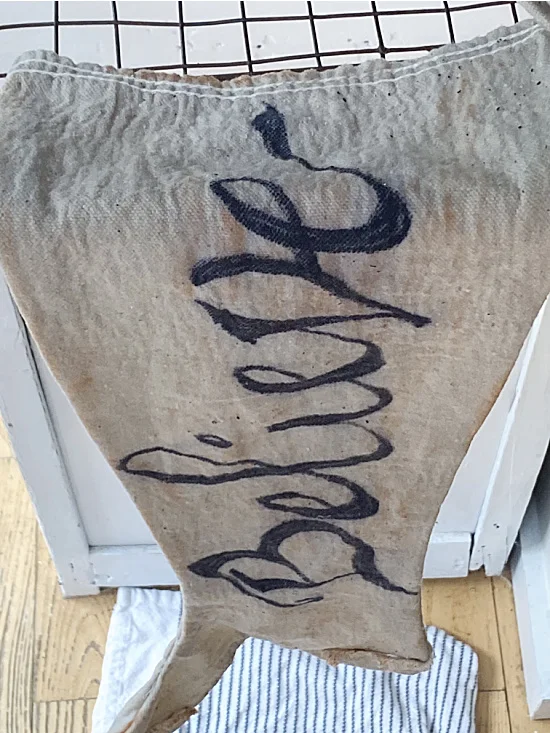
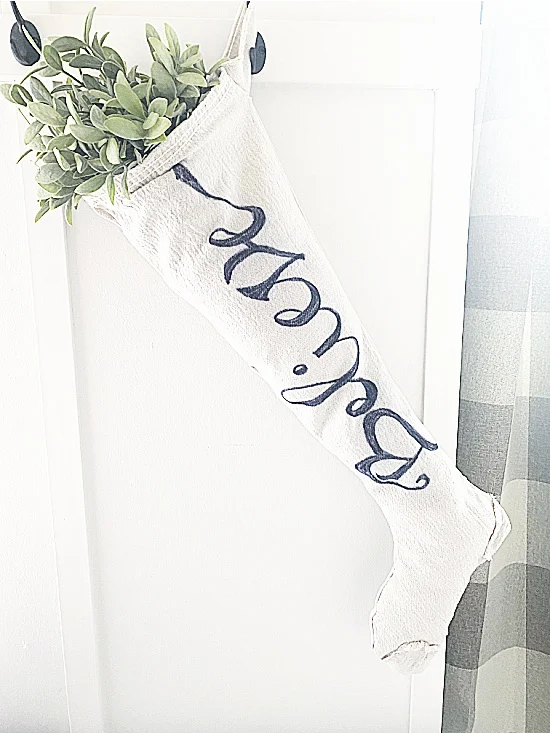
I decided to write the word BELIEVE using a permanent oil based sharpie paint pen freehand.
I made sure the paint was dry and then soaked my stocking in a watered down coffee mixture to stain the fabric.
I dropped the stocking into a large bowl and used a mason jar to hold it down into the coffee for a couple of hours.
When I removed the stocking from the coffee I used a brown marker to add more brown stain to a few areas.
I then hung the stocking to let it dry.
When the stocking dries it lightens up.
I then ironed the fabric once more.
I added a loop of drop cloth to the top of the stocking for hanging.
That's it!
Please pin ---->>
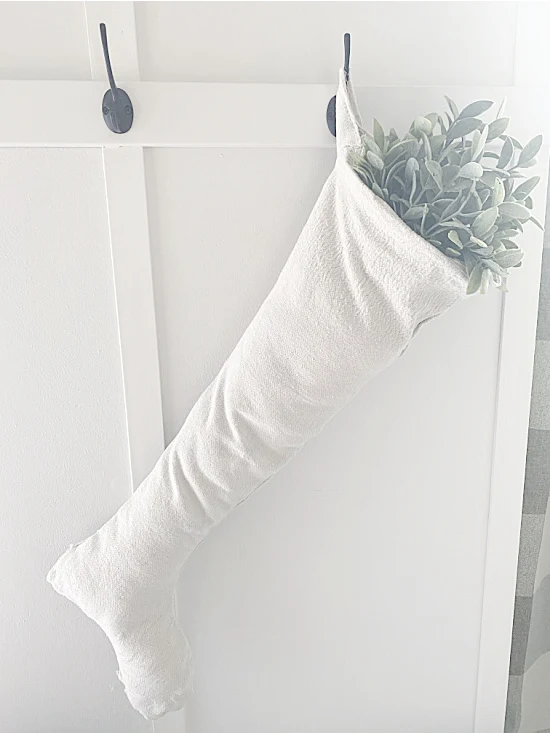
I turned my stocking around to show you how it would look if you made one with no writing for a different look...
Either way, the stocking came out adorable!
Fill it with greens and hang it on the front door with a wreath hanger!
Thanks so much for visiting and before you go please sign up for the Homeroad emails so my next DIY tutorial will be sent straight to you!
This post contains affiliate links. That means when you click on some of the links in this post and you make a purchase I earn a small commission at no cost to you. All my opinions are my own.

