Vintage Brass Candlestick Makeover
If anyone were to tell me that brass was making a comeback, let alone that I'd be trying to recreate the look of brass, I'd tell you you were crazy!
Brass has never been one of my favorite finishes. That being said, the brass color you can make yourself is gorgeous!
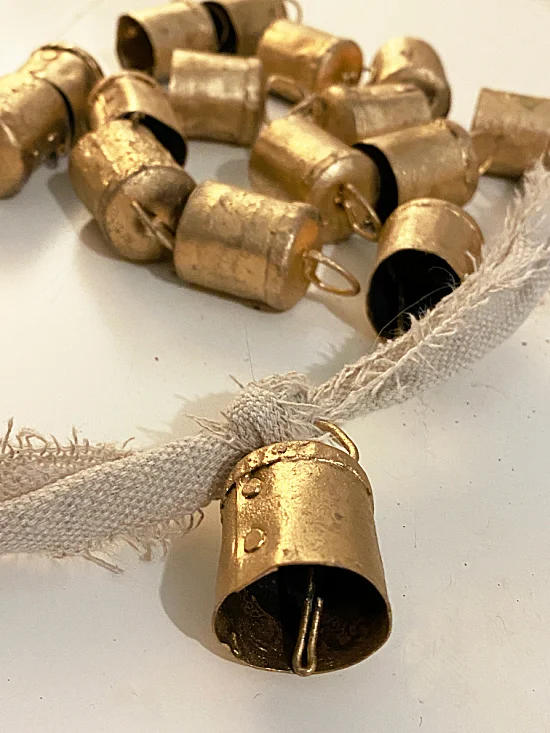
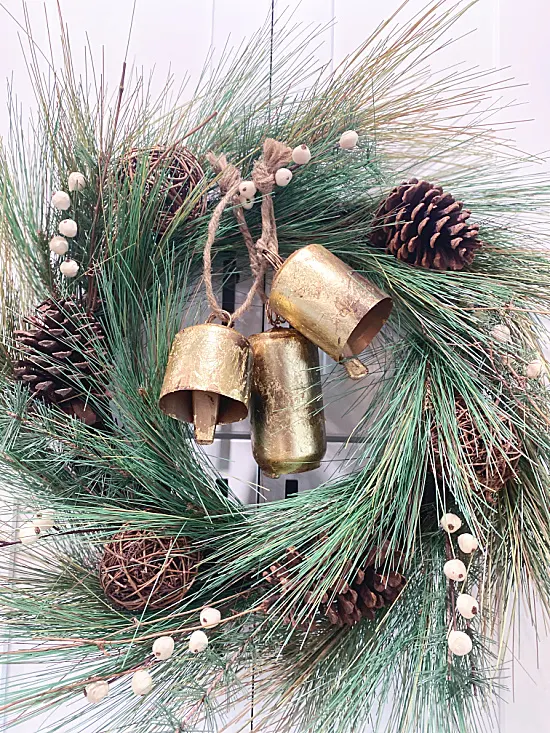
I'm the guy that was painting everything flat black not too long ago and now I'm reproducing the look of vintage bells and adding it to my home decor.
Starting with these candlesticks...
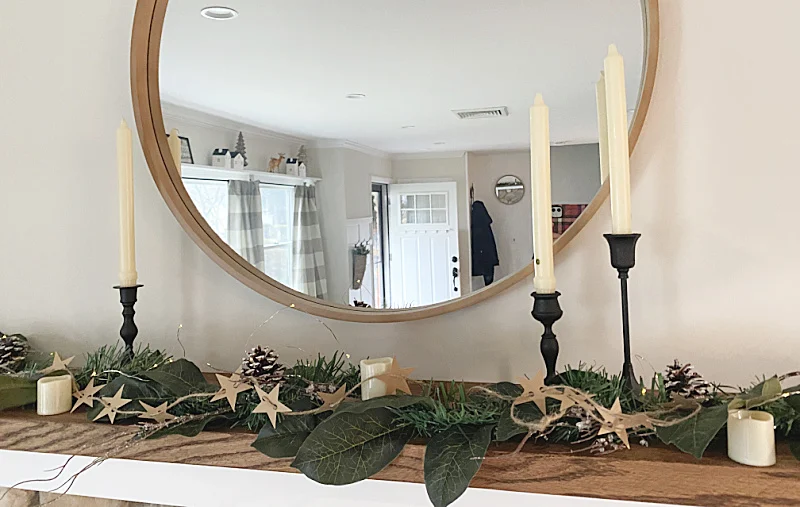
If you've been following along you probably remember that I searched through thrift stores to find candlesticks that I could spray paint flat black and make a set for my mantel.
While you're reading through this post please visit the bold blue links for the products I used and links to related Homeroad projects. The READ NOW section will take you to bonus projects too!
And yes, some of the ones I bought were brass-ish. 😂
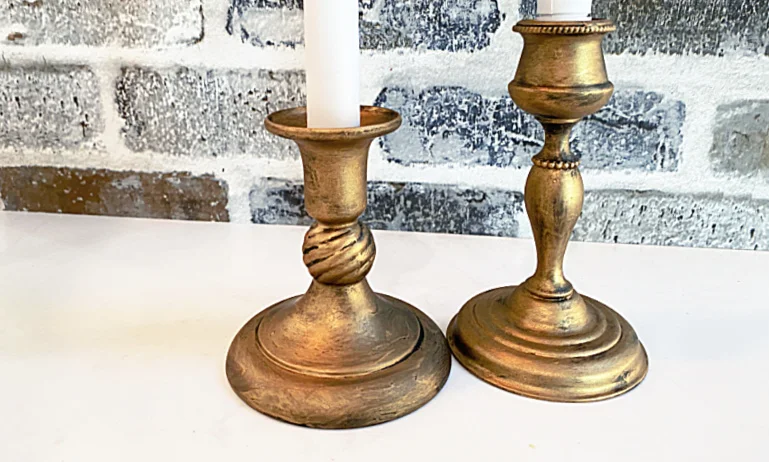
Today, I'm using those same flat black candlesticks and giving them the look of vintage brass bells.
The DIY brass I love! Below is the look without using the black.
First, you're going to start with black candlesticks. Great! I have those now!
If you don't then you will need to paint your candlesticks, or anything else you want to give this look, with black paint.
It doesn't matter if it is flat but I wouldn't go with anything too shiny. You can spray paint black or paint with a brush.
Next, you're going to use my new favorite product Rub and Buff. Yes, the same stuff we used on everything back in the 70's!
Here it is on my bayberry candle candlestick, this candle has a great story!
Rub and Buff is back and now it comes in many new colors. I'm using the gold leaf Rub and Buff for my vintage brass color.
This is no big secret, this technique is all over Pinterest. But beware, once you start with the gold leaf Rub and Buff on one thing, you're going to move onto everything that isn't tied down!
READ MORE: METALLIC PROJECTS
I used a soft brush to apply the Rub and Buff. I put a small amount on a piece of paper and used that as my pallet.
I applied the gold right over the black, not being too careful. You want a little bit of the black to show through.
When you're finished with one, move onto the whole set, or the whole room!
Please pin ---->>
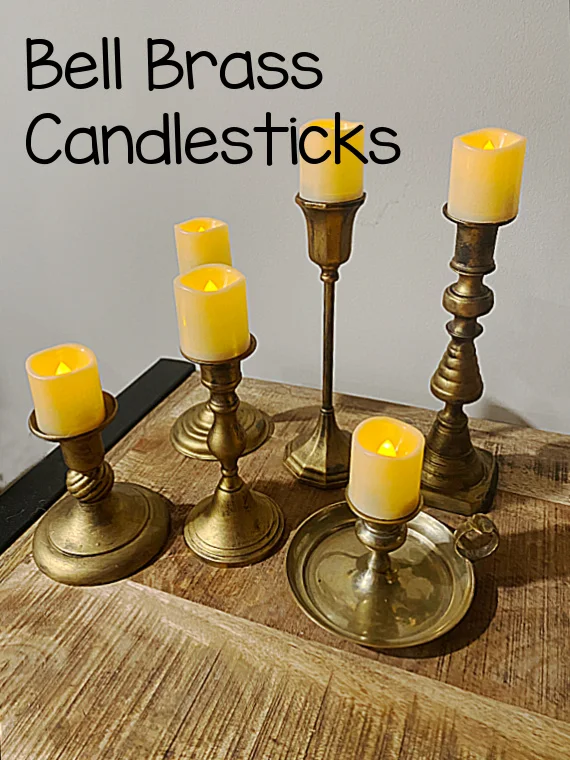
I turned my black candlesticks into a new set of vintage brass candlesticks in no time! And no... not the 70's brass. If you have any of that, now might be the time to paint it black and have at it with the Rub and Buff.
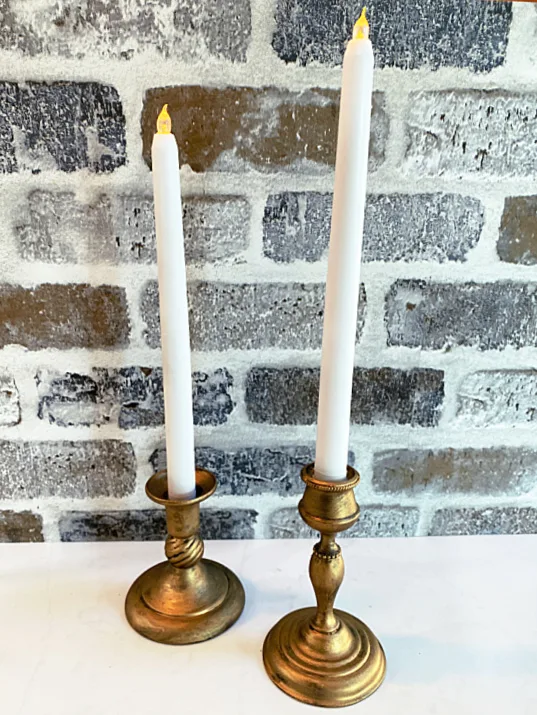
READ MORE: CANDLE PROJECTS
These great votive lights fit perfectly on top of the candlesticks and they have a remote!
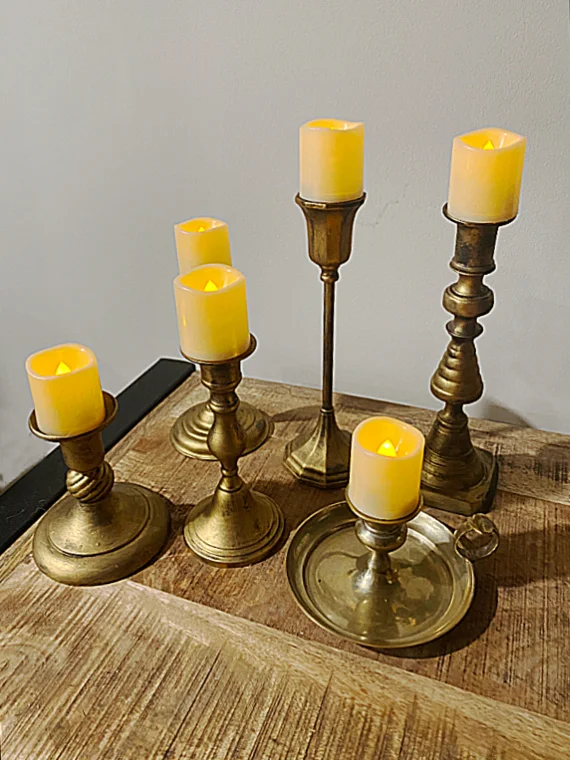
These candlesticks will be beautiful on my mantel along with some twinkling lights.
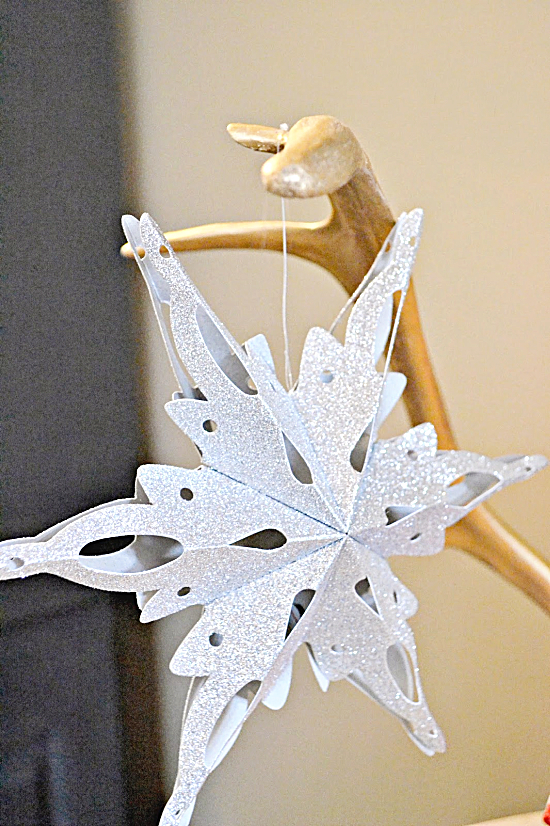

Now that Christmas is down I will be jazzing up the mantel and using my new brass bell vintage brass look.


Thanks so much for visiting and before you go please sign up for the Homeroad emails so my next DIY tutorial will go out straight to you!
