Adorable Scrap Wood Standing Santa

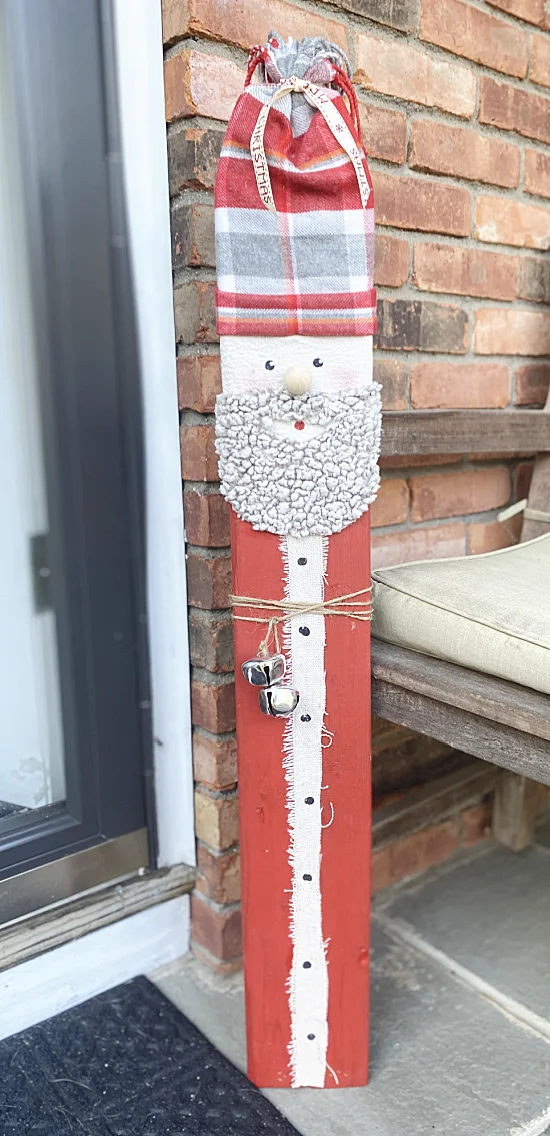
If you love working with free scraps you're going to love this rag-tag standing Santa! He's made with reclaimed fence pieces and scrap fabric from the donation pile! He would look great on your front porch or by the fireplace! 

scrap wood fence pieces


First I began with 2 fence pieces I found on the side of the road at one time. 


As you read through this post please pay attention to the bold blue links for more Homeroad information and the products I used for this project. Also please sign up for the emails for more DIY projects sent straight to you! 


affiliate disclaimer


Lucky for me, these fence pieces were bundled up all pretty and ripe for the picking as I tossed the pile into the back of my car. 


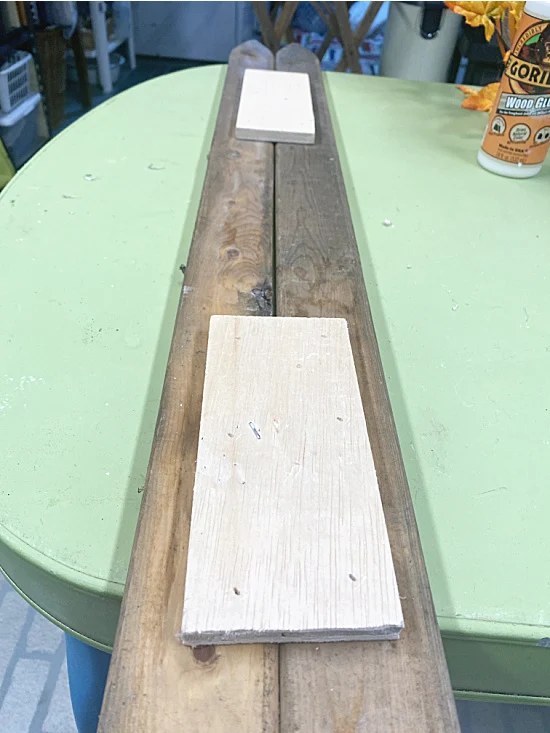
I attached 2 boards with scrap wood, wood glue and small nails. 


boards with scrap wood to hold together


I painted the boards red on both sides. 


I used Rustoleum Chalked Paint in Farmhouse Red.


red boards


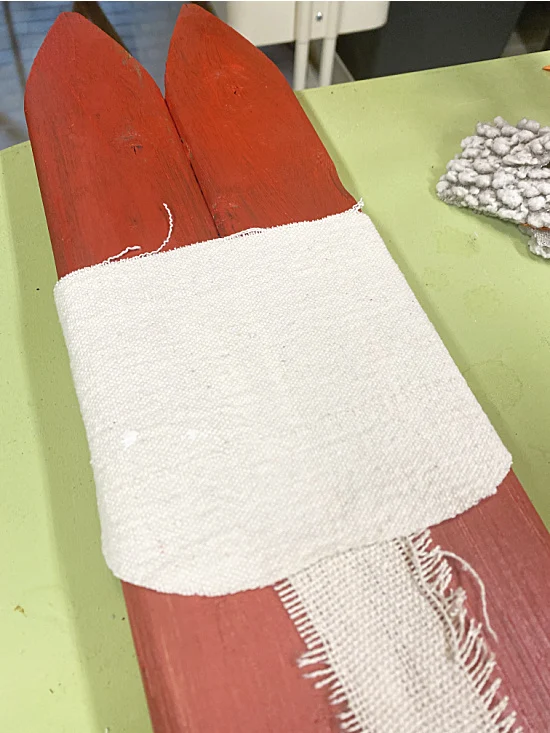
When the paint dried I attached a 1" scrap piece of torn drop cloth fabric with glue. 


drop cloth strip of fabric


I cut another piece of drop cloth fabric into a half circle for the face and glued it to the wood. 


drop cloth face


The size of the face you will need will depend on the width of the wood you are using. 


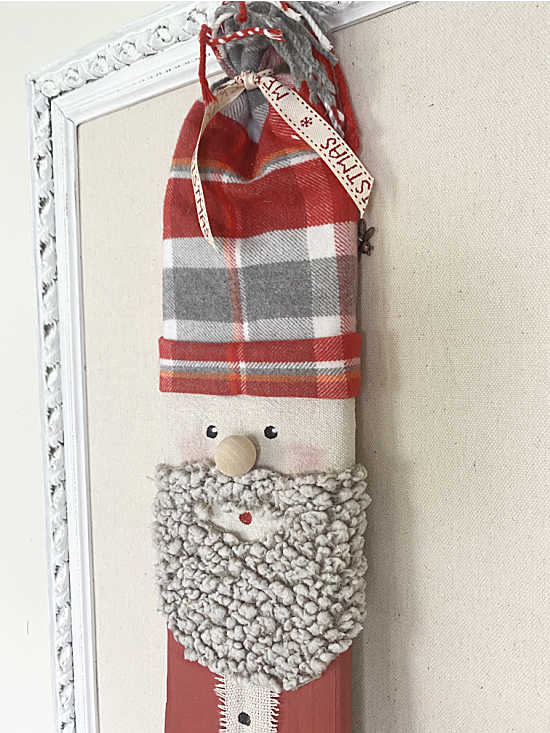
Next, I cut a scrap piece of sherpa fabric with a slit for a mouth and glued it on top of the drop cloth face. 


The sherpa fabric can be purchased on Amazon, use a scrap sweater like I did, or even cut up an inexpensive sherpa blanket. 


sherpa santa beard


I stapled the sherpa on both sides of the wood for extra hold. 


I used the same sherpa for these cozy pumpkins


Now it was time to make the hat...


I used an old scarf that was headed for the donation pile. 


scarf hat


I cut a piece to the size I wanted, folded a brim then stapled it onto the wood on the back. 


santa hat stapled to the back


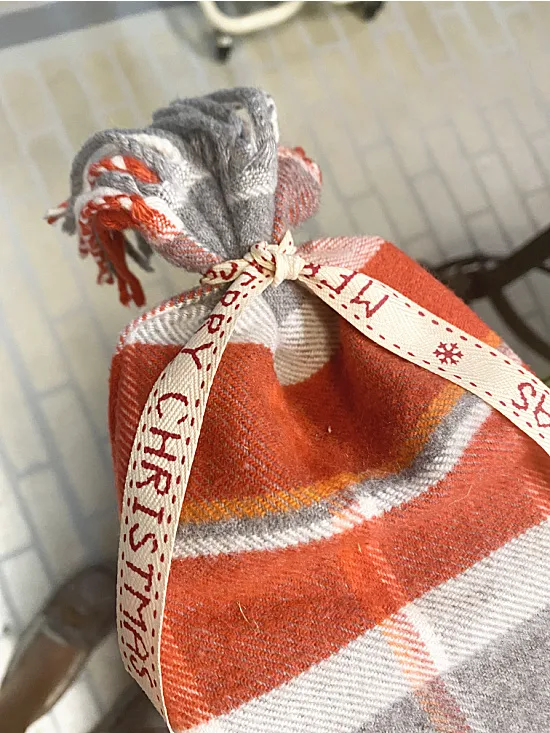
The size and length of the hat is up to you, I made several different kinds on my Santas, this one has a Christmas ribbon. 


santa hat with bow


Next, I used a bead with only one hole as the nose. 


bead nose for Santa


I attached the nose to the face with wood glue and hot glue. 


I used a light pink color and a dry brush to give Santa a little blush. 


eyes and mouth and blush on Santa


Using the eraser on a pencil I made buttons down the front, eyes, and a mouth using craft paint. 


You could also use real buttons! 


paint buttons on fabric


I used jute twine to hang bells I had in my Christmas box around Santa's waist. 


bells and twine embellishment


You can add any kind of embellishment to your Santa including maybe a small wreath on the front. 


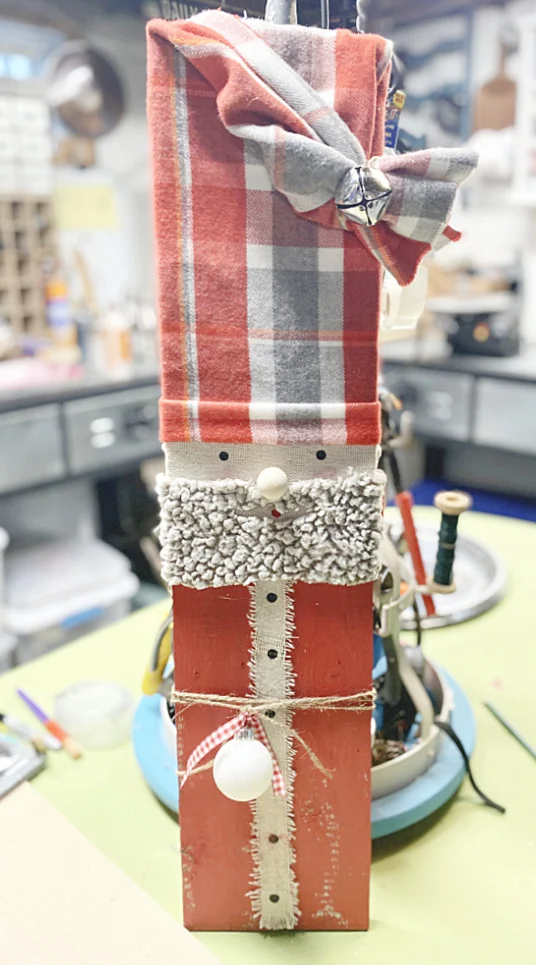
Santa in the workshop


An option is to add a small 2x4" piece to the bottom of the Santa so he can stand. 


2x4 stand for back of Santa


I think he came out adorable so I made a whole bunch more! 


2 different Santas


Each of the Santas I made is a little bit different from the next. 


Santa with scarf hat and bells


These Santas will look great on the front porch or leaning against the fireplace. 


Santa by the front door


Read more... DIY Christmas Projects.


Santa outside on deck


Thanks so much for visiting and before you go don't forget to sign up for the Homeroad emails so my next DIY tutorial will go out straight to you! 


Santa face with scarf hat and sherpa beard


Homeroad
Homeroad

I am Susan, the author and creator at Homeroad. I am a wife, mother of 4 daughters, and a grandmother of 5 and counting. I am a retired teacher, a DIY blogger and an artist at heart. .

Comments

  1. Replies
    1. Thanks so much Dodie... yes it is so simple to make :)

      Delete
  2. Replies
    1. Awe thank you!! It is really sooo easy to do! Have fun making one!

      Delete
  3. Replies
    1. Thanks so much Becky! That jacket went a long way!!

      Delete
  4. How darling is this project!! Pinning right now!

    ReplyDelete
  5. Such a cute project. And I love how you used scrap wood (I'm now going to dig through my scrap wood corner).

    ReplyDelete
  6. Adorable; you always have the cutest x-mas crafts!

    ReplyDelete
  7. These are so cute and your tutorial is so easy to follow.

    ReplyDelete
  8. From the colors, plaid fabric and the fun beards, these are just adorable! Thanks for the easy "how to", Susan.

    ReplyDelete
  9. So cute! ❤️
    At first I was thinking ski I’d.
    But I Love this idea!

    Sandi

    ReplyDelete
  10. This Santa is soooo cute. You got me inspired. Off I go to the thrift store to see if they have what I need. Great idea.

    ReplyDelete
  11. Well Susan, I hope you're ready for a viral project because it's my bet and hope that this 1-plank vertical Santa is it! It's adorable! And who doesn't have 1 plank of wood?!

    ReplyDelete
    Replies
    1. Oh thank you my friend ❤️ I had so much fun making these!!

      Delete
  12. Susan,
    Two of my friends and I got together today and made these wooden Santas. We all loved yours and enjoyed making ours also. We will be using them in our homes this Christmas. I will donate one of mine to my favvorite charity which is locally operated by several churches. I love making crafts, espcially those for holidays. Thank you for being such a great inspiration!

    ReplyDelete

Post a Comment

Thank you for stopping by, I love your comments and I will do my best to reply to all your questions and comments. By leaving a comment you are consenting to your email being collected for communication purposes only. Your privacy is important to me.
Have a nice day.
Susan