Gold Clay Stars for Christmas
You get a gold star, and you get a gold star, and you get a gold star!
Can you tell I was a teacher for 30+ years? Well I was and I love a good gold star!
Today I'm making a simple project and experimenting with a couple different kinds of clay. It's a project that you and your kids will have fun with for Christmas or New Years!
Take a look...
I began this experiment with white Crayola Model Magic Clay, it is air dry clay. I'm also doing similar stars with 2 colors of Polymer clay.
While you're reading through this post please visit the bold blue links for the products I used and links to related Homeroad projects. The READ NOW section will take you to bonus projects too!
First, I used the Crayola Model Magic Clay. This was purely an experiment because as much as I use this clay with my preschoolers, I had no idea if thin stars would dry hard enough.
I rolled out the clay between 2 sheets of parchment paper using a rolling pin. I rolled out the clay to about 1/4" thick.
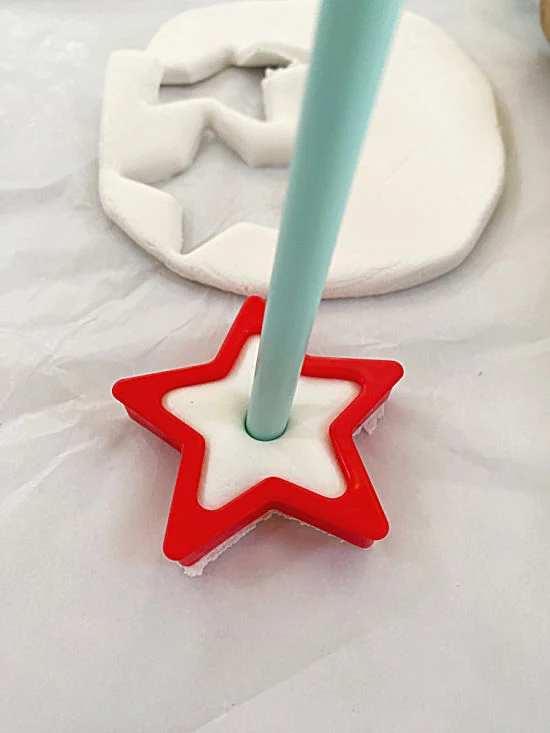
Next, using a star cookie cutter (straight from my grandchildren's Playdoh box). I cut stars into the rolled out clay.
I used a plastic straw to make a hole in the center of the stars then I put them out on a drying rack and let them dry for 4 days. Yes, 4 days and they were still the consistency of a stale marshmallow.
Didn't matter, they were cute and I was pressing on! I sanded the sides of each star smooth.
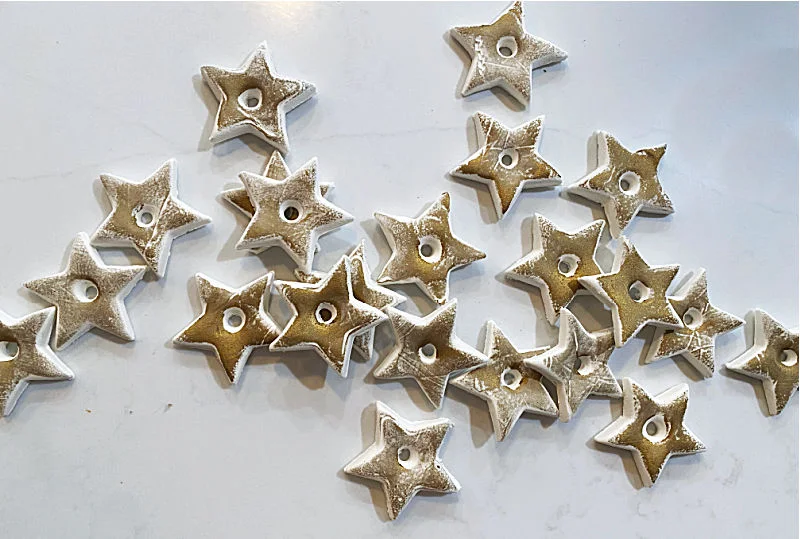
Next, I used Rub and Buff in the Gold Leaf flavor to rub just a touch over the top of my stars. If you notice it shows every little dent in the star which made me think how cool it would be if I actually had put a texture on my stars first... next time!
So now I had a basket full of semi dry gold stars. What could I do with them next?
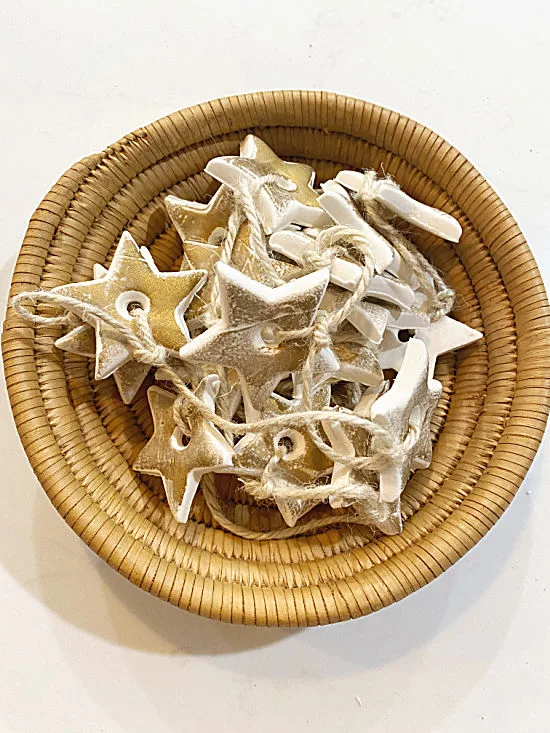
I decided to use a light jute twine to string them about 4" apart down the length of the jute. I tied a double knot around each star.
Now my star garland was about 5' long and I decided there were several things I could do with it.
Certainly if I hung it someplace it would continue to dry but would it dry completely? Does it even matter if it drys all the way? It looks pretty cute hanging on a shelf.
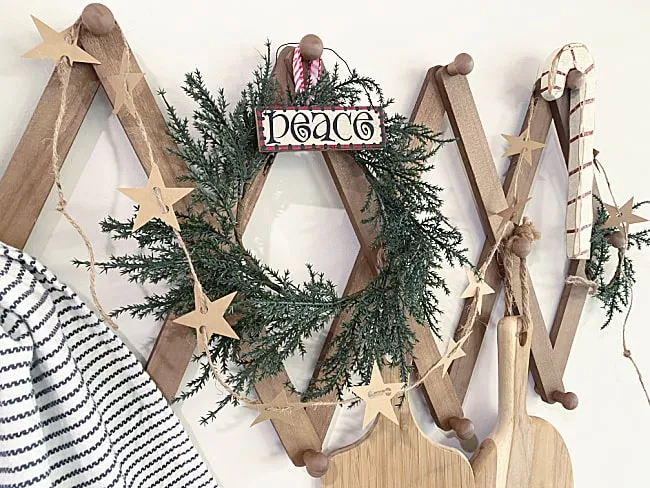
You could drape it over a Christmas sign for the holidays.
Or wind it around in a cute basket.
Not being one to give up on a project I also made the same stars using 2 colors of Polymer clay. I used the same cookie cutter but this time before I strung them on twine, I baked them in the oven at 275 degrees for 20 minutes. No need for gold leaf this time because one of the clays were gold-ish.
Yep, you guessed it, after baking the Polymer stars were hard as a rock! I'm stringing these stars onto the light jute as well.
The only real difference besides the hardness is that I used 2 colors of Polymer clay on the second ones.
READ MORE: DIY GARLANDS
I'm not sure which ones I like best but I think if I make them again I'll use the Polymer clay because I am not sure the Model Magic Clay will last in storage until next year. But, the clay was three dollars so I could make them again next year. Maybe I'll do another experiment and see!
You can see the similar but much easier paper star garland I made last year here!
READ MORE: DIY HOLIDAY PROJECTS
Thanks so much for visiting and before you go please sign up for the Homeroad emails so my next DIY tutorial will go out straight to you!


