Rustic Christmas Wall Vase
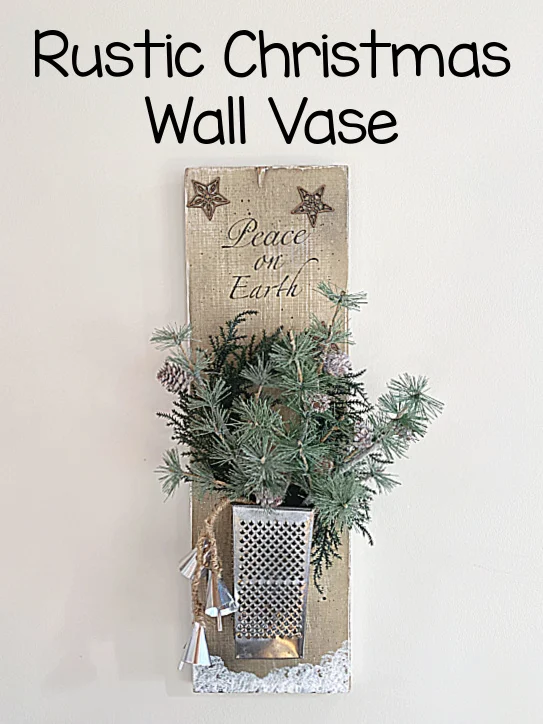
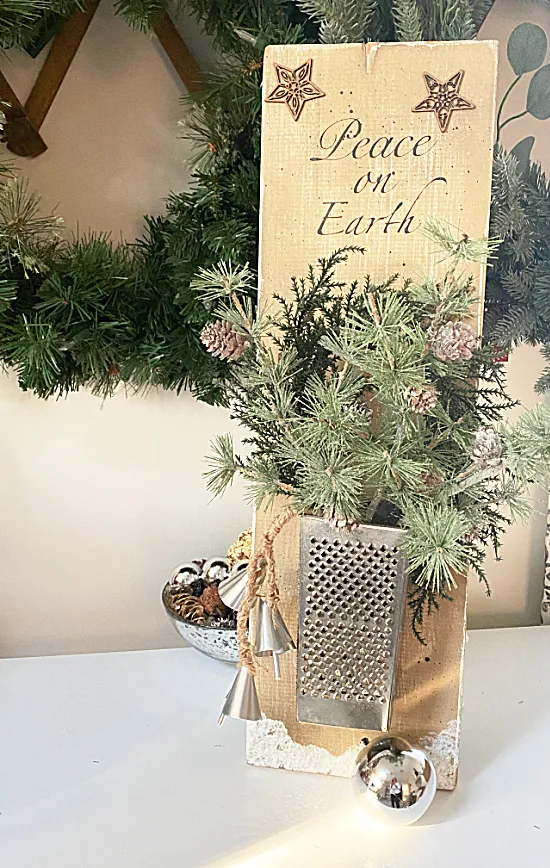
Today I'm creating a rustic wall vase made from a repurposed vintage metal cheese grater.
If you don't have vintage I'm going to show you how to age a new one and give it a great patina! I have tons of ideas linked below for repurposed cheese graters!
Today's wall vase will hold Christmas greens and berries or drop in a plastic cup of water for fresh flowers!
It was so easy! ...
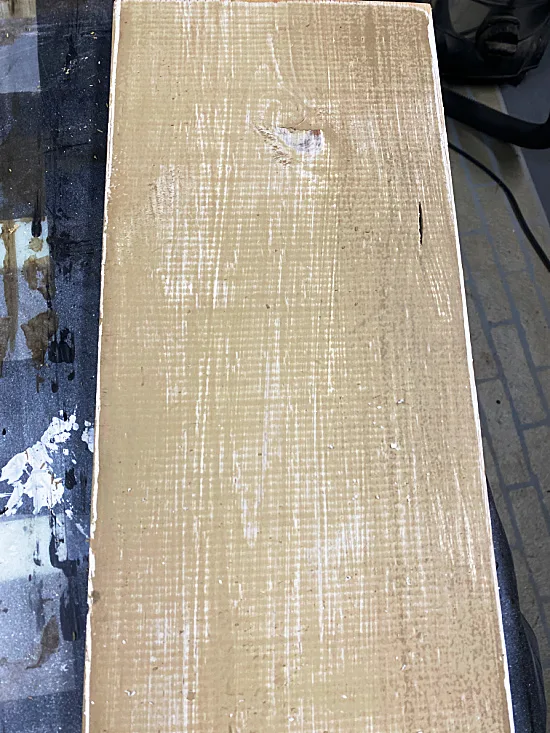
First, I started with a reclaimed piece of wood from my basement. I think it used to be a shelf, it was painted white on one side and a khaki color on the back. I'm going to use the back for this project.
As you're reading through this post please visit the bold blue links to find the products I used and more related information from Homeroad. Follow the READ MORE links for bonus DIY ideas!
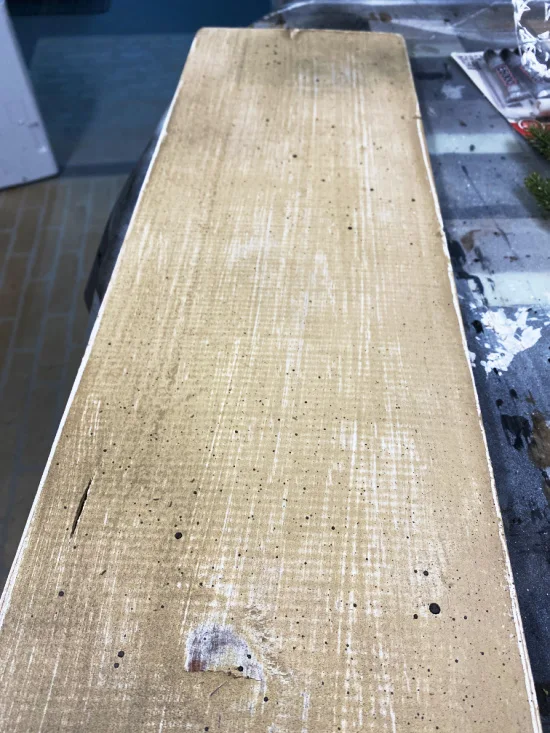
Using a large grit sand paper and an electric sander, I sanded the edges and the surface of the khaki painted side until the white underneath was coming through.
If you're starting your board from scratch you can paint the whole board white, then one side the color of your choice, sand it when it dries.
I distressed the board more with a can of black matte spray paint. I held the spray can high above the board and sprayed in random places to give it darker spots in some places. I also held the can sideways above the project to create splatter marks on the board.
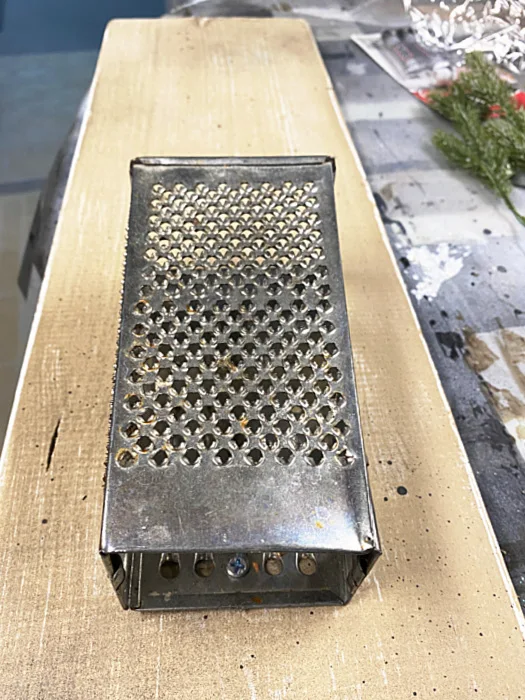
Next, I grabbed a vintage cheese grater I had in my collection and cut off the handle with tin snips. You can leave the handle and use it later to hang things from like I did on this project.
If you don't have a vintage grater, here is how you can make a new one look vintage!
I screwed the cheese grater to the board with the wide side up. I left some room at the bottom of the board for decorating.
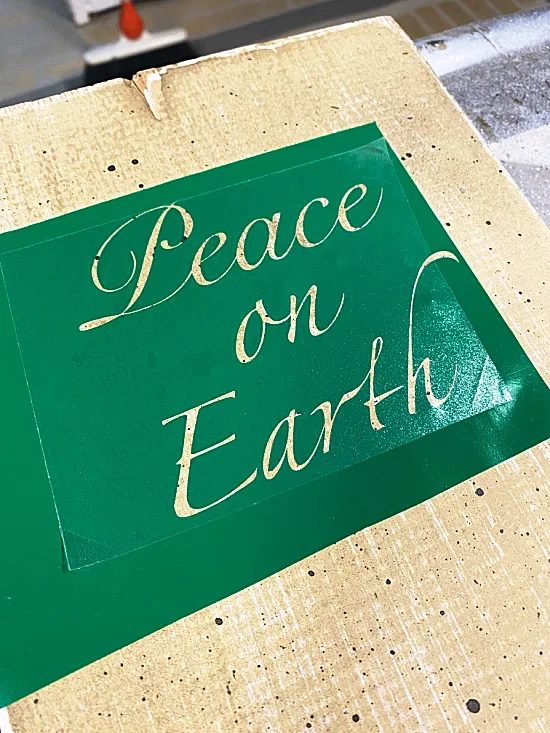
For the next part I used my Cricut Joy vinyl cutter to cut out Peace on Earth in cursive. I've probably used this vinyl cutter a million times since I've gotten it!
If you do not have a vinyl cutting machine you can print out the words on the computer and use transfer paper to transfer the writing to the wood. I did that in this project.
I used white craft paint and some ultra fine glitter to look like snow at the bottom of the board then added wooden stars from the dollar store to the top.
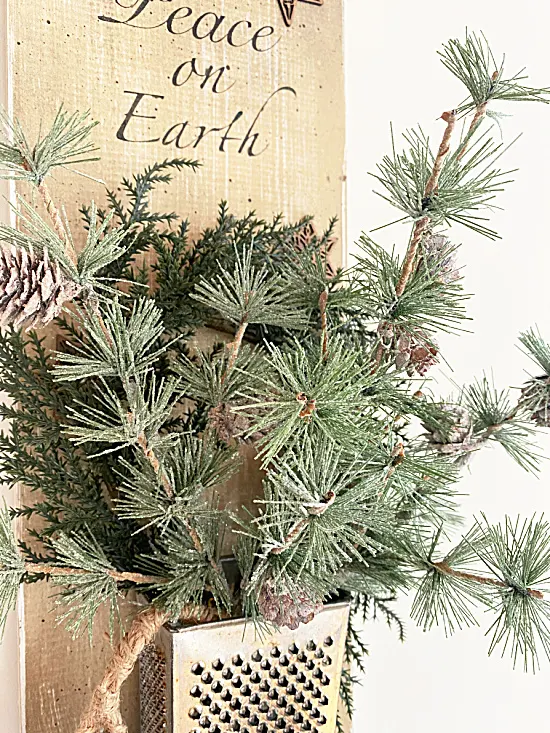
All that was left to do was to fill it with whatever you want! I filled it with a small wreath that I squished into the vase as a first layer then used these adorable fir and pinecone picks I got at Michaels for the filling.
READ MORE: CHRISTMAS PROJECTS
Lastly, I hung a string of homemade bells I made from roof flashing. You can read all about the bells here.
READ MORE: BELL PROJECTS
Please pin ---->>
I hope you like my rustic wall vase. I made another one similar to this one several years ago. Read all about that project here.
READ MORE: CHEESE GRATER IDEAS
Thanks so much for visiting and before you go please sign up for the Homeroad emails so my next DIY tutorial will go out straight to you!


