Cardboard Tube Ornaments and Garland
I saw the cutest cardboard stars made by Living Inspiration on Instagram and I knew I had to give them a try! With a small twist of course!
Everyone has cardboard tubes, toilet paper tubes, paper towel tubes, even gift wrap tubes. Today I'm giving a couple of those a try and creating a beautiful garland and ornaments with them.
Come take a peek...
I saw these ornaments in a video by Art Design PH. Please visit this link to see the original artist in action!
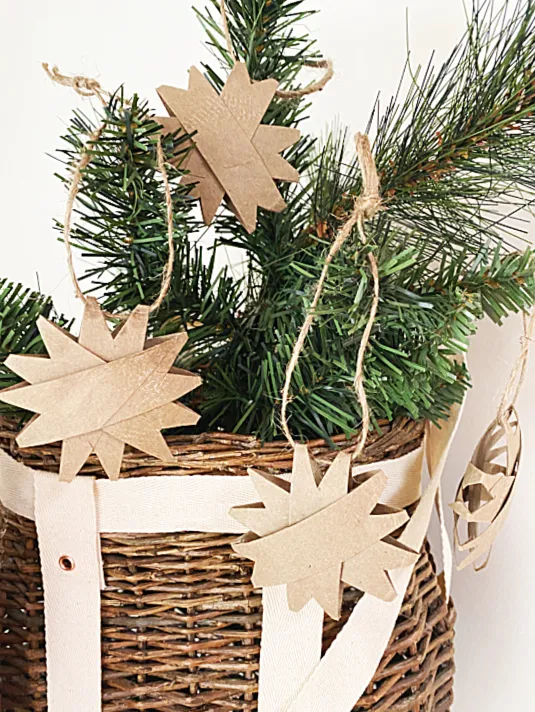
First, I started with a paper towel tube. I flattened out the tube and cut slits in it that were about 1/2" wide. You'll need three of them for each ornament.
While you're reading through this post please visit the bold blue links for the products I used and links to related Homeroad projects. The READ NOW section will take you to bonus projects too!
I cut a triangle in both sides of the fold on each strip then used glue dots to hold the 3 pieces together.
They came out beautiful and I hung them on the greens in a basket. The Adirondack basket is one I made, take a look at how. The chunky carved Santa was a gift from my brother many years ago.
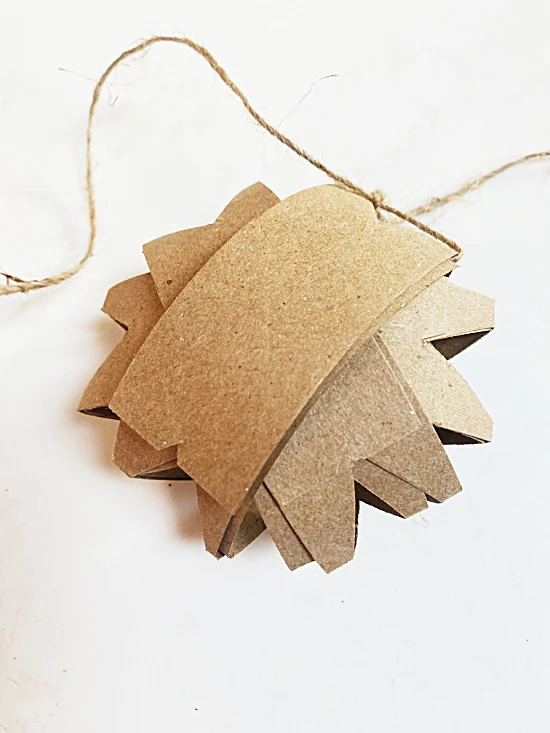
I decided to make some larger ornaments using the thick cardboard from the end of my gift wrap. Some wrap comes with a cardboard tube but mine came with heavy cardboard coiled together.
Again, I flattened the tube and cut 1" slits. I cut triangles in the end just like the smaller ones. These tube slits had several layers so I needed a few more glue dots to hold them in place.
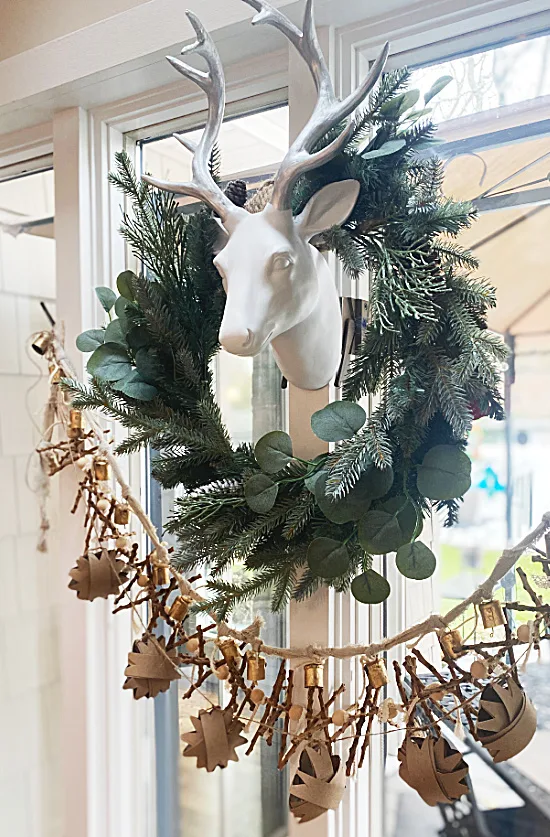
Once I made a bunch of them I began stringing them onto jute twine.
The garland I created was perfect to hang with the rag bell garland and the BOHO stick garland I recently made to hang in my kitchen window.
The reindeer has been hanging there all year long, I just keep changing the wreath to go with the season.
The garland is the perfect addition and I'm always making garlands to swap out with the seasons.
Please pin ---->>
READ MORE: CHRISTMAS ORNAMENTS
Thanks so much for visiting and before you go please sign up for the Homeroad emails so my next DIY tutorial will go out straight to you!


